Hi, my lovely artists! I hope this post finds you in good health. The current COVID-19 pandemic situation has changed our lives in so many ways. For one, we have got so much lovely time to spend with the family members which was a bit difficult to manage earlier due to busy schedules.
Working from home has also changed the meaning of productivity at so many levels. I for one became much more productive working from home!
So, when I and my husband got the news of a weeklong lockdown starting in a day (which was in March), we quickly packed our duffel bags for a week’s stay at our parent’s place. We drove with some basics and reached my in-law’s place.
We felt so warm being with them in these hard times. They were at peace to not worry about us being so far away from them.
Everything was smooth and we got into our work from home routines and yes you guessed it right, the quarantine phase was here to stay. It’s been 3 months now that we are here. But not complaining at all. With beautiful family members and tasty food (my mother-in-law is an amazing cook, this is how my husband got those chef genes) on our table each day I feel really blessed.
It’s only that I did not pack my video recording equipment and my favorite Winsor & Newtons with me. Believe me, that was the last thing to come to my mind in that rush.
But yes, I did pack one case of watercolor cakes and a few brushes along with a small pack of watercolor sheets in my purse! Well, yes you can’t get watercolors out of an artist’s mind after all!
I must say these minimal ‘just in case’ art supplies I carried with me turned out to be the best thing for me. I could paint a few small subjects over Sunday’s after a hectic workweek. This gave me the feeling of having a small part of my previous life in this new home!
So, today I am sharing with you some of the works I could produce during this quarantine time. Hopefully, this time will also pass and soon I will be able to produce some video tutorials for you all.
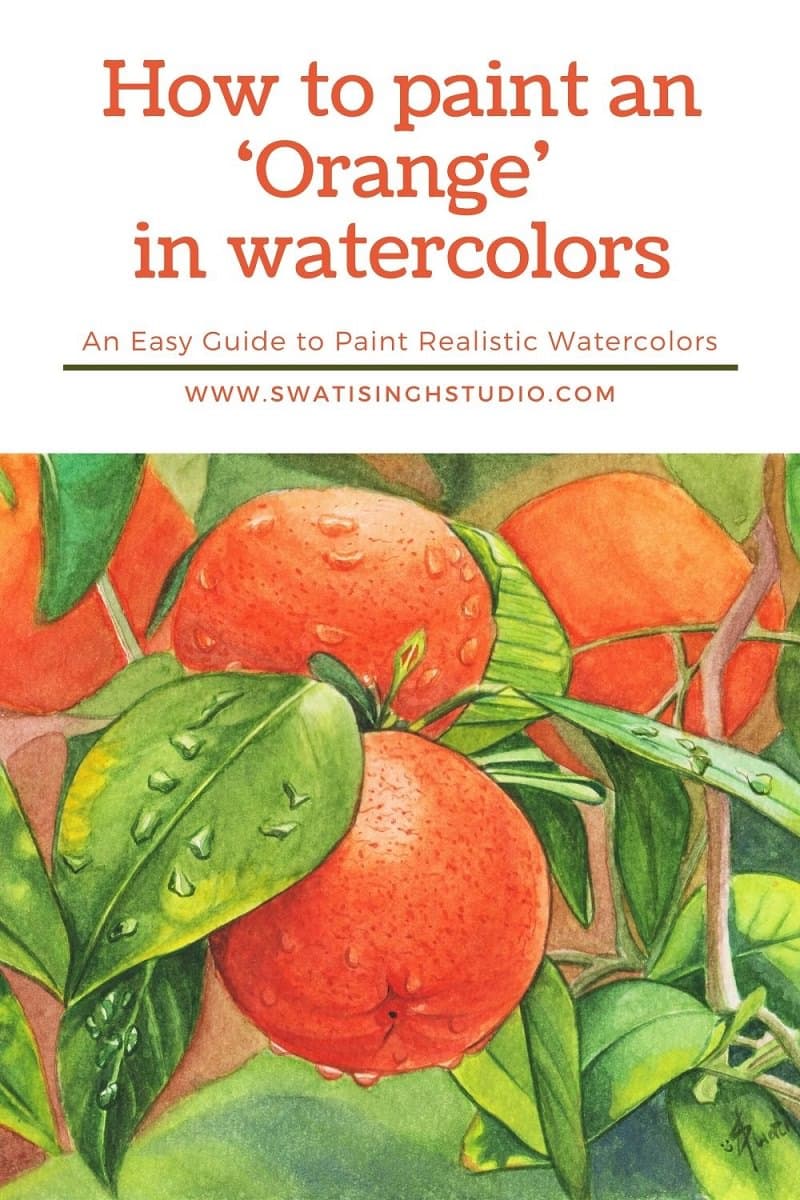
Today’s tutorial is on an orange painting I did recently.
I took some pictures with my phone earlier and will try to explain the process I followed using them since I do not have a video shoot.
Excuse the image quality.
Below you can see the reference image I used.
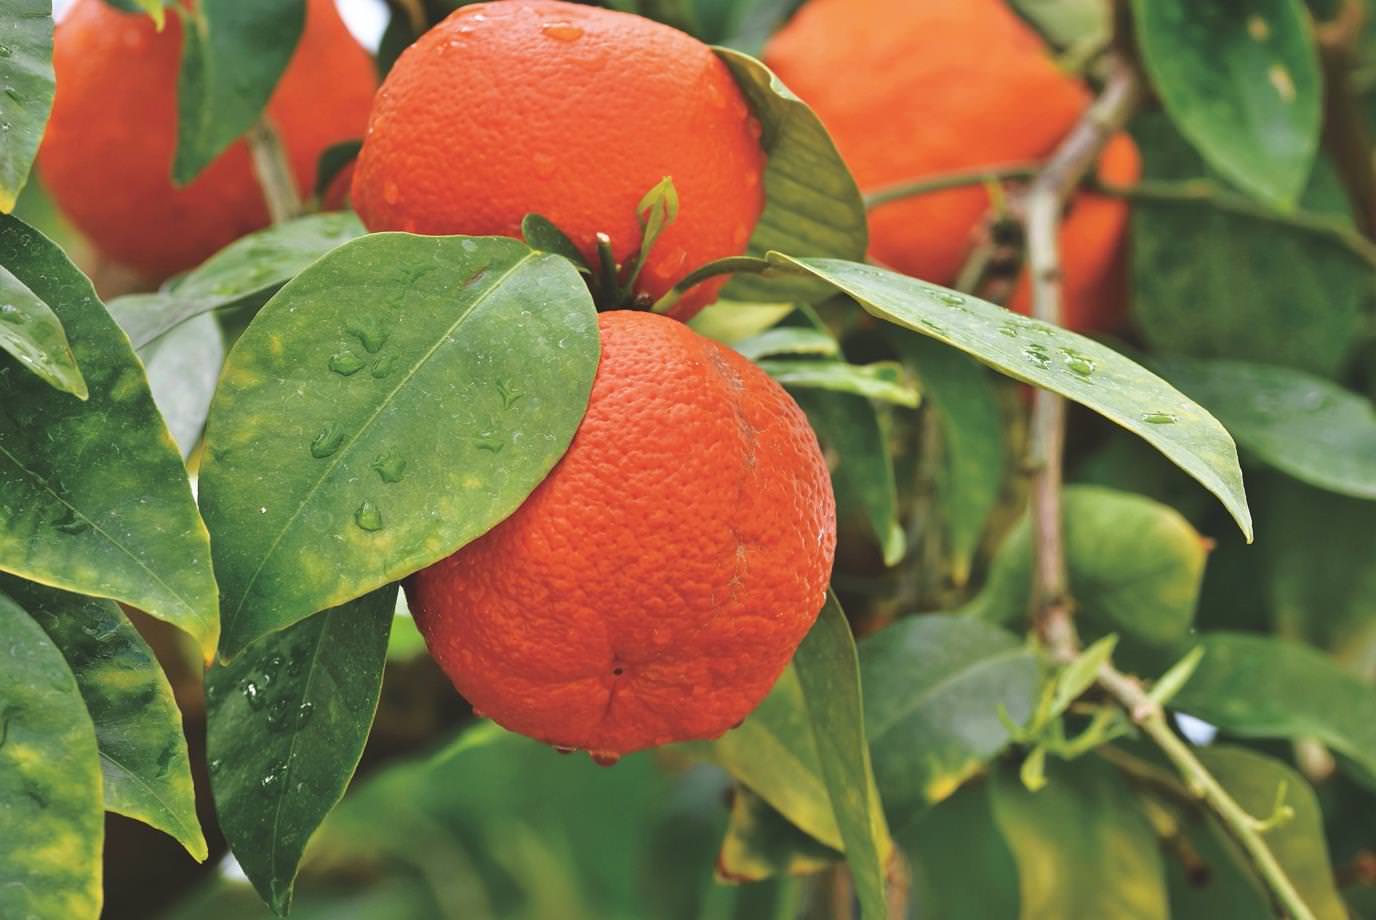
The colors I used are as follows:
Since I did not have my regular Winsor & Newton colors this time, my color palette is a bit different from my regular one.
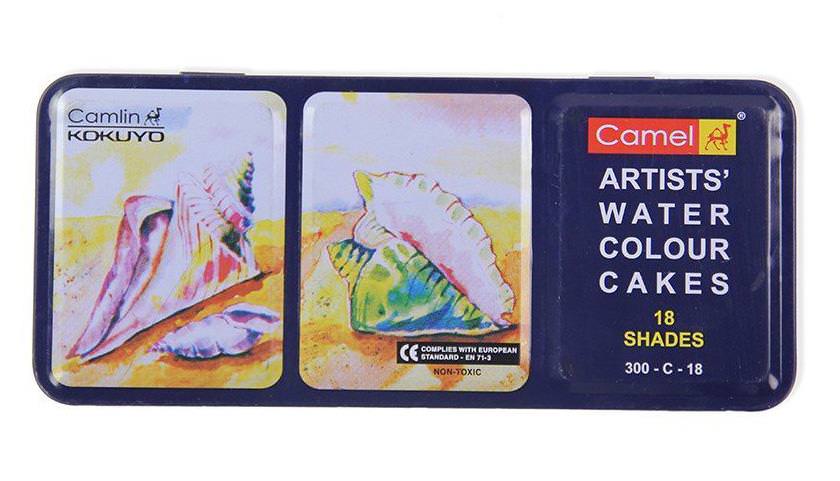
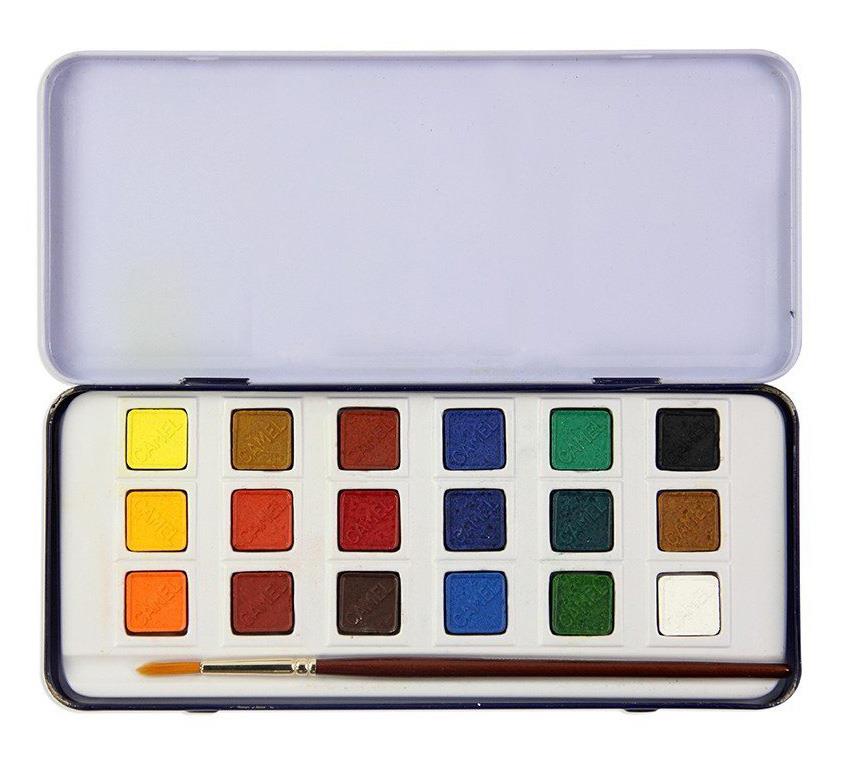
These are the colors that I had in my camel watercolor cake set.
For leaves
1. Lemon yellow
2. Sap green
3. Raw umber
4. Ultramarine blue
For oranges
1. Lemon yellow
2. Gamboge Hue
3. Orange
4. Scarlet red
5. Light red
Brushes- I used majorly #2 and #0 for fine details.
Technique- Majority of the layers have been developed using wet on wet technique.
The Method
1. I started by applying a very light wash of clear water first. This helps in prepping the sheet.
2. Next, I added a light wash of lemon yellow to the leaves and the orange.
3. By mixing sap green and raw umber to together I got a very earthy green and added just a tiny amount of ultramarine blue to brighten it a bit.
4. LEAF- I applied this green shade in the leaves while the sheet was still wet. In case your sheet dries in the color mixing stage simply apply a very little amount of clean water on the sheet to wet it again. Protect the drops and the fine vein in the center.
5. ORANGE- Simply, add some gamboge hue on the shadow area following the contour of the fruit. It is very important to follow the curve of the orange to give it the roundness we are looking for.
6. Following the same contour, I added the darker shades below the previous one. To get darker shades of orange I started applying the colors in the following order
Gamboge Hue
Orange
Orange + scarlet red (little)
Orange + light red (little)
I applied the shades below each other to give it roundness. Darker shades in the shadow areas.
7. To get a smooth mix of all these layers it is important to keep the sheet sufficiently wet. But this comes with practice. If you feel you have applied too much water on the sheet then wait for a few minutes and begin again.
8. At the same time, I protected the dew drops by going around it. I tackled them in the end.
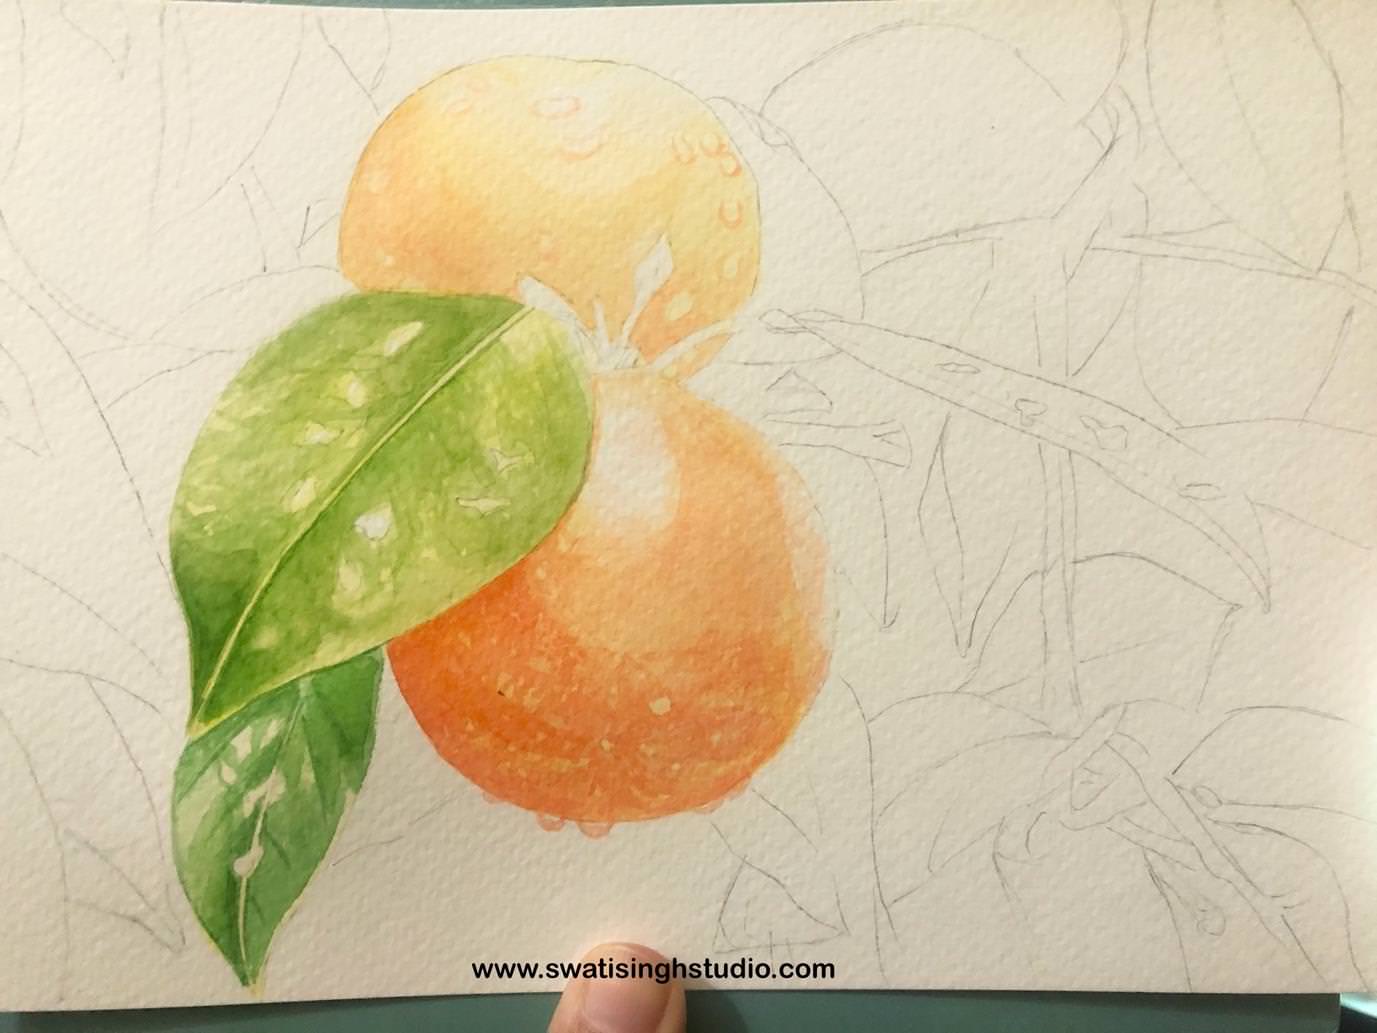
9. I kept doing the same to other leaves in the composition as well. Pay attention to the curve you see in the leaves. Various twists and turns produce various shadows on each other. Apply darker shades of greens on the shadow areas by simply adding a little more ultramarine blue.
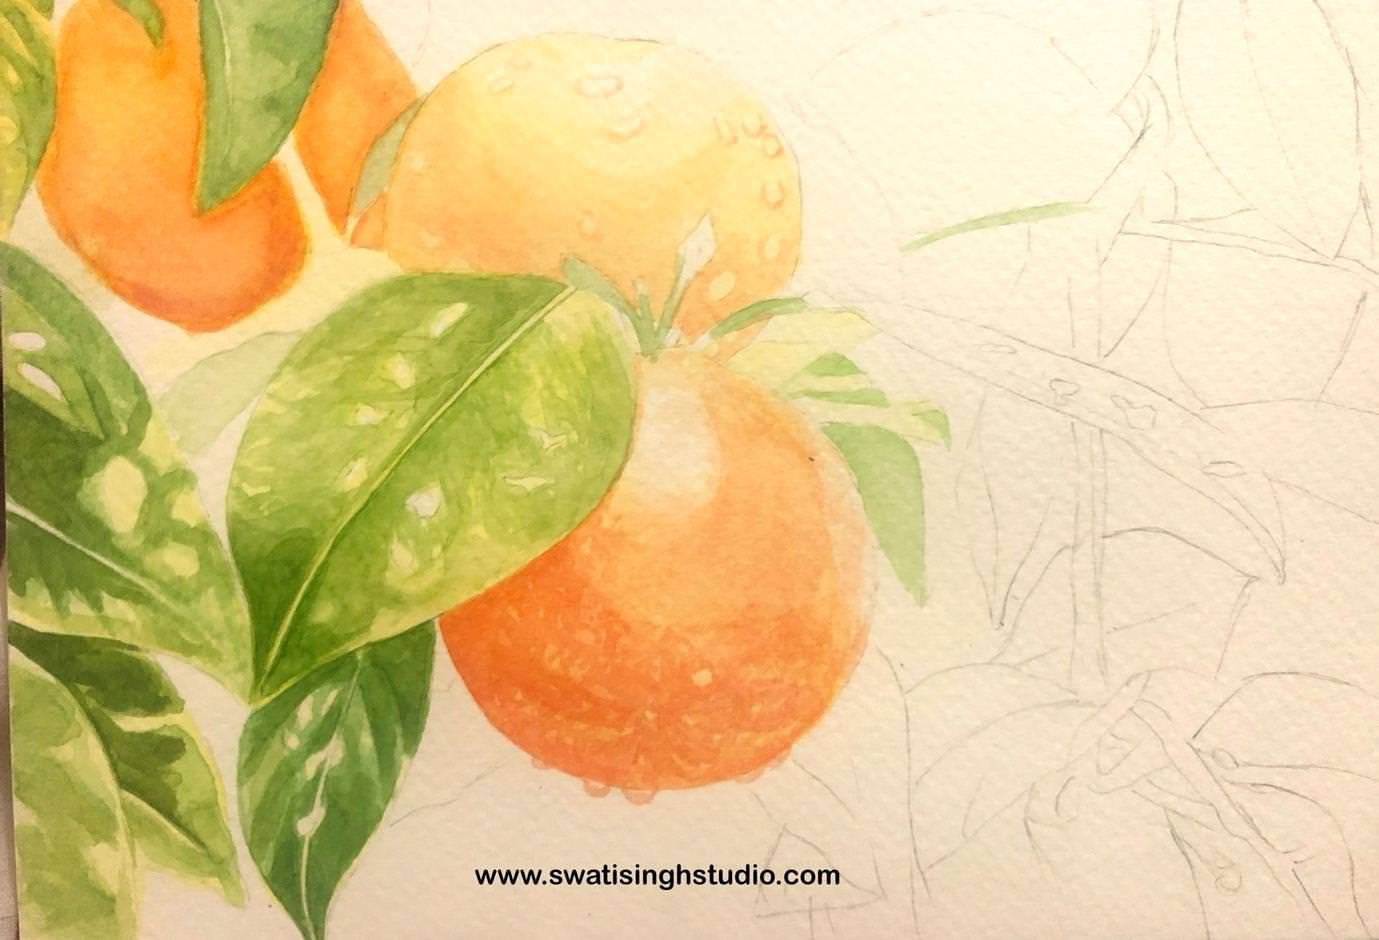
10. I also made the texture of the orange skin with a fine #0 brush. I simply took some orange color and drew marks I see on the surface of the fruit. I put dots and curved marks as you can see in the picture below.
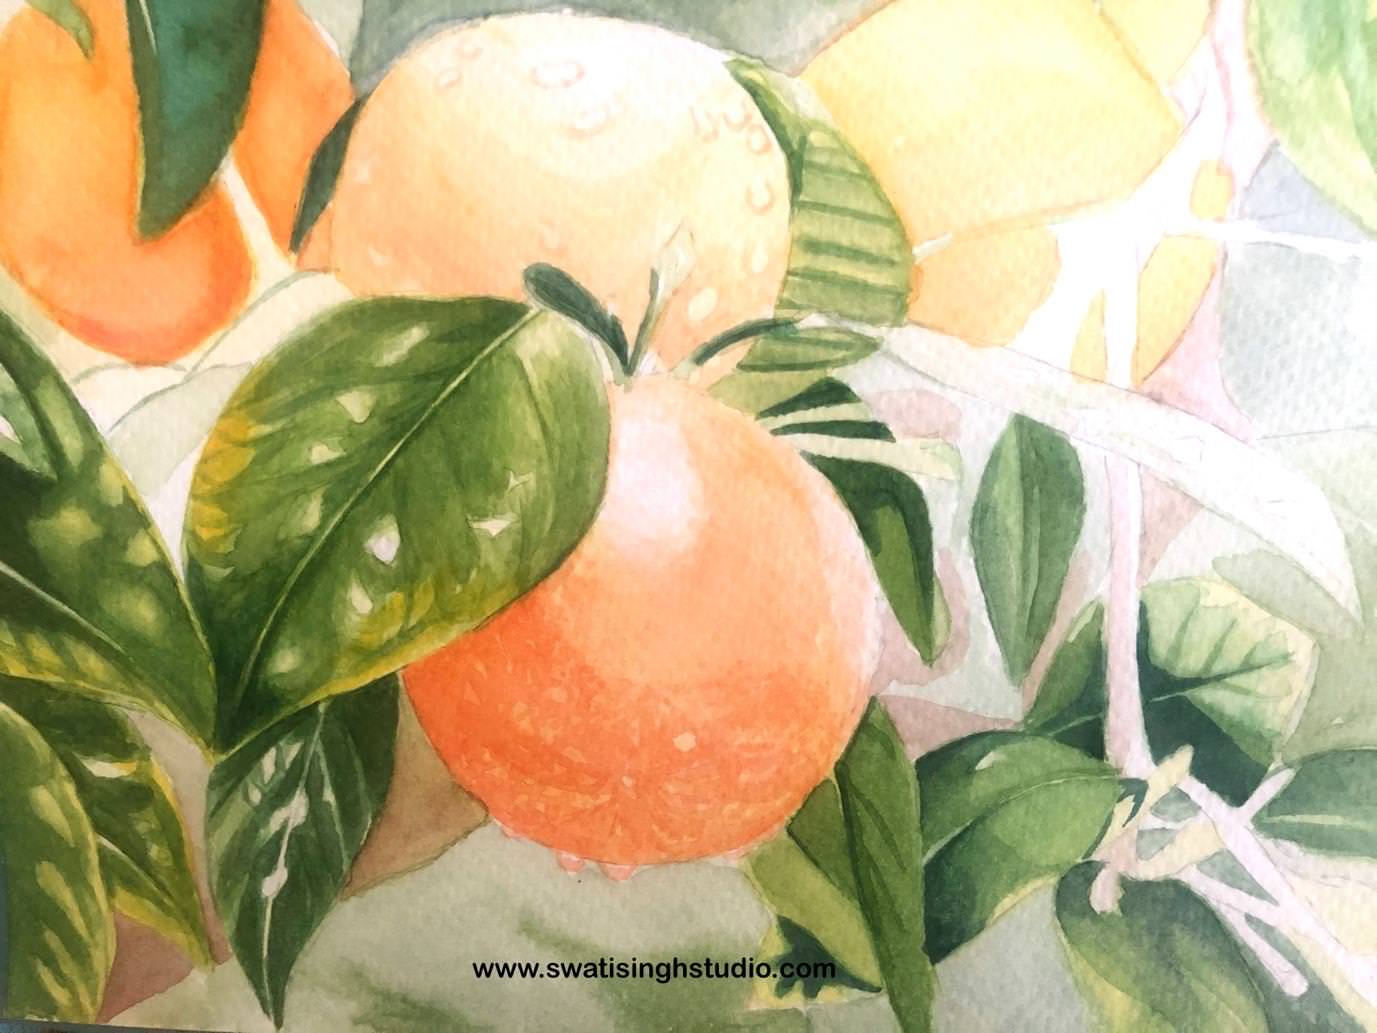
11. Once all the orange and green areas were taken off I then tackled the dew drops. Simply, add the darkest shade of green you mixed at the base of the drops. Use a very fine brush to make this line.
12. Then I added a watery shade of green just above this line leaving some areas pure white to suggest highlights. Adding dew drops surely makes it look prettier!
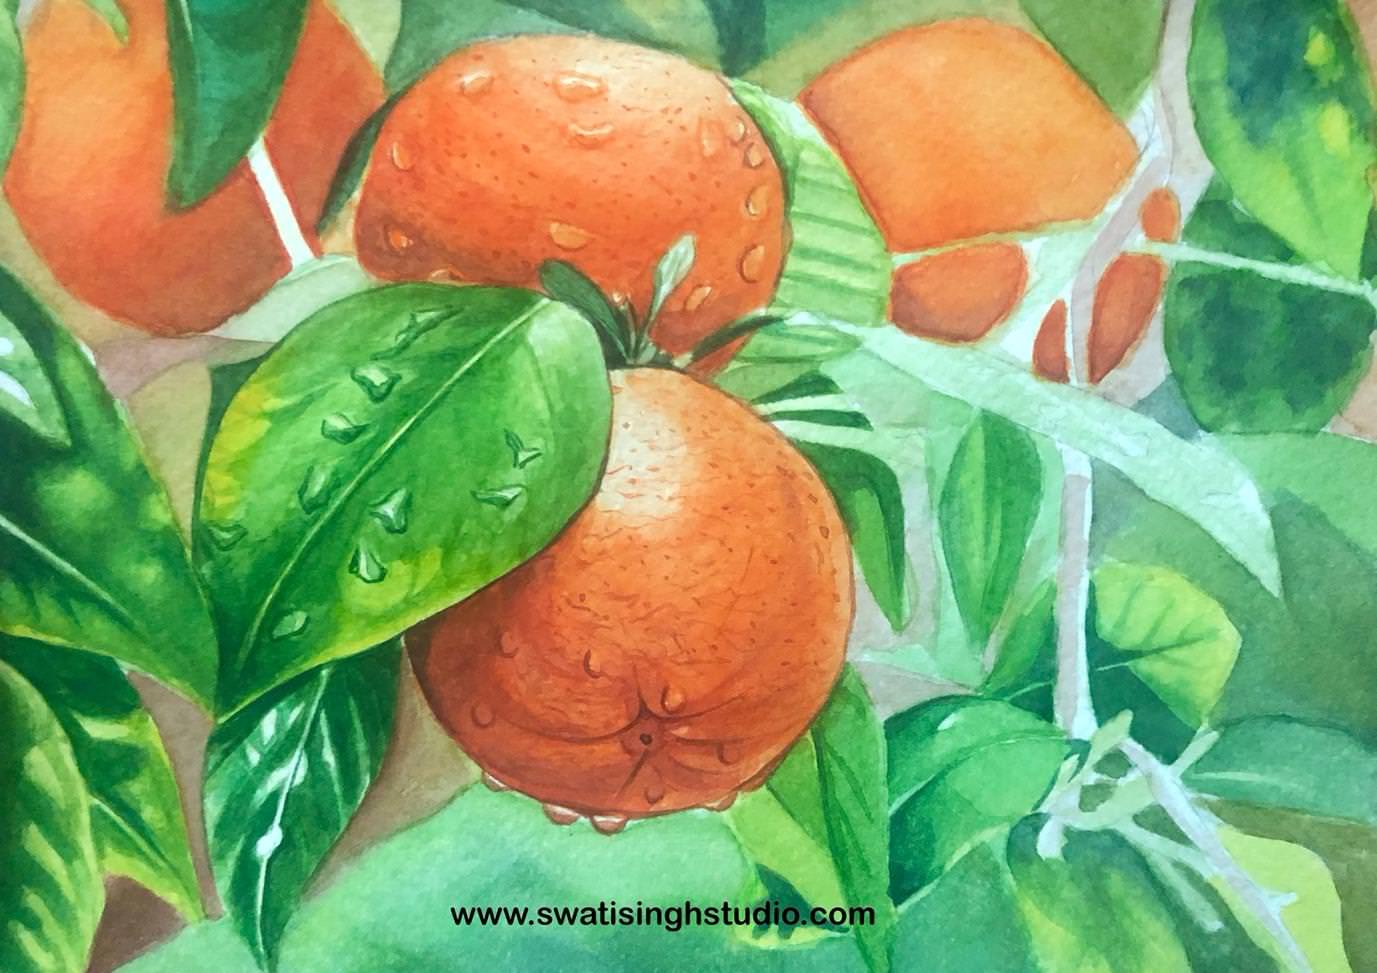
13. You might see some shade changes in the above pictures. Since these were taken in different light conditions with my phone they don’t look consistent. Below is an image that shows the true colors I was producing. These shades are more towards yellowish-green rather than bluish-green.
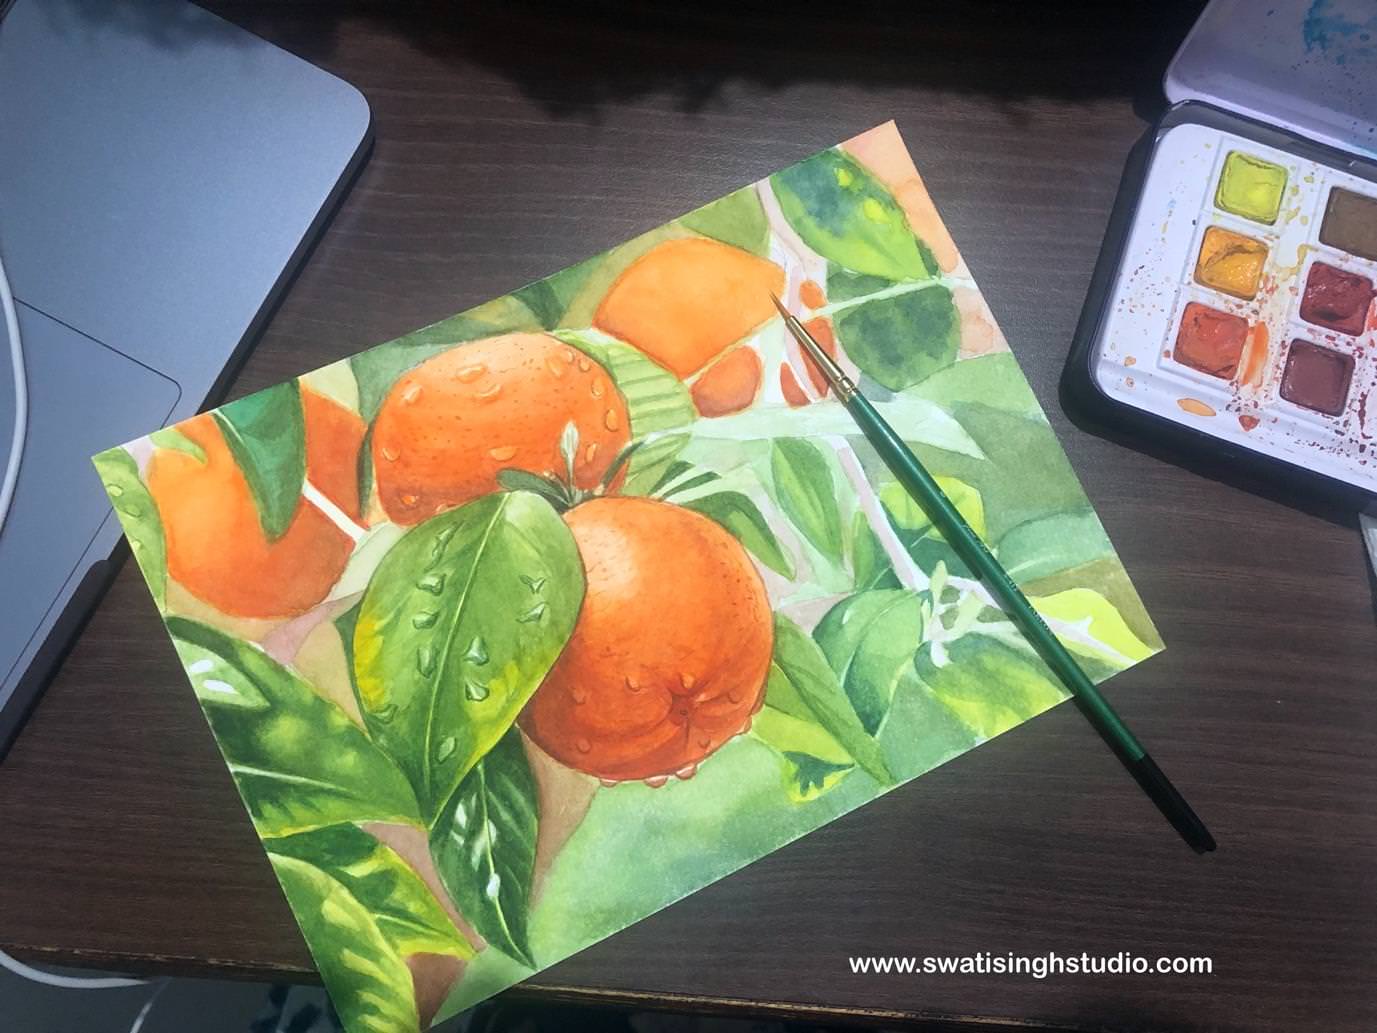
14. This is how it looks after some adding some more details on the right portion of the composition.
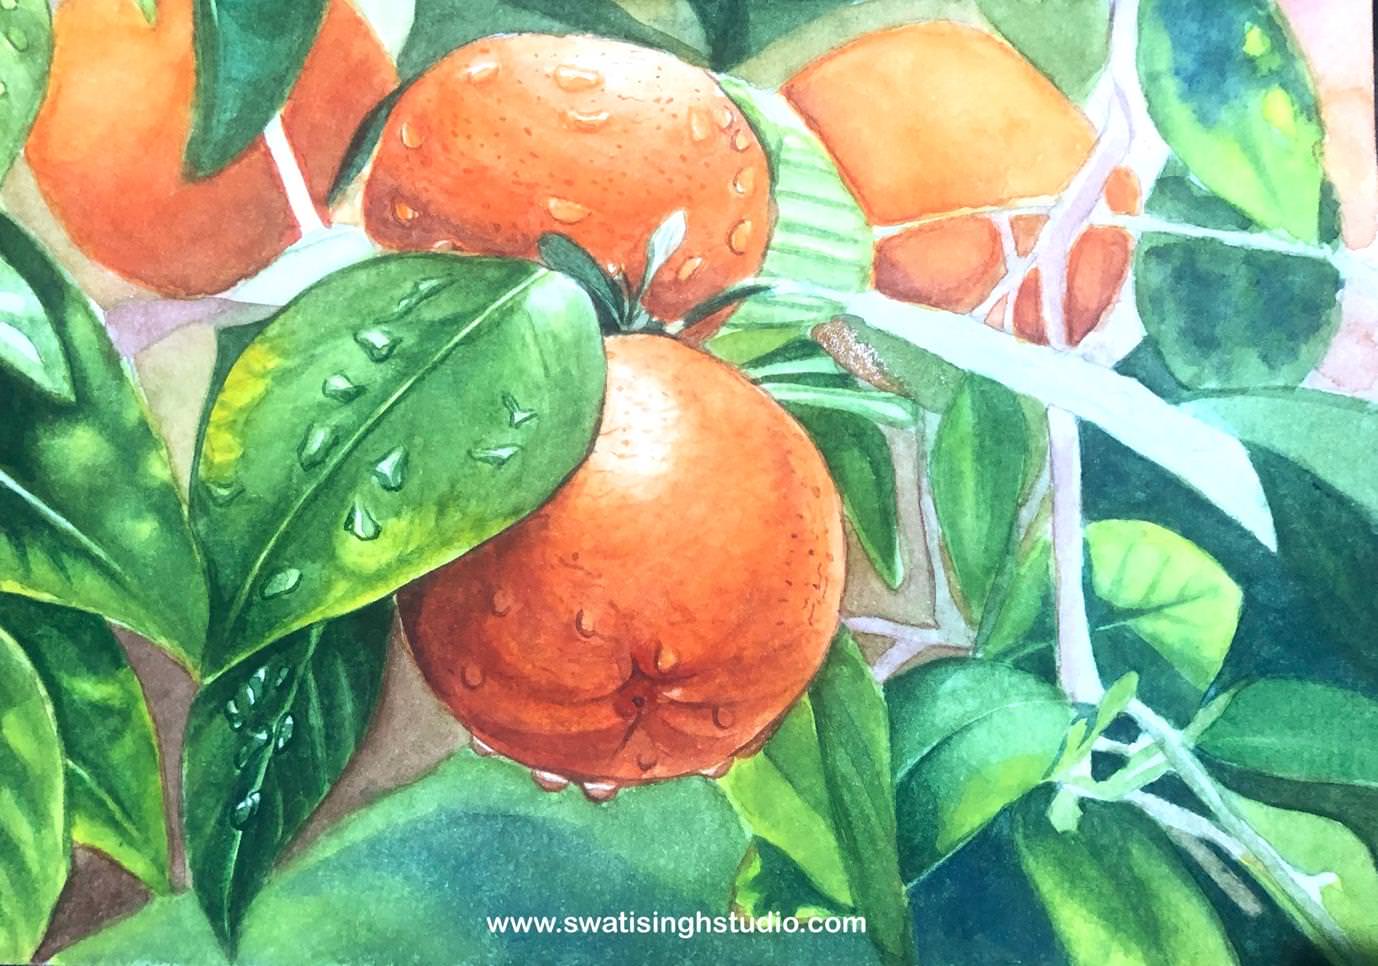
15. After adding the colors in several layers this is how it looked in the end. It always feels good to sign a painting when it’s done. Although sometimes I am not able to say stop to myself and I keep adding more details. I stop when I feel it looks realistic enough or my husband says stop you will overdo it!
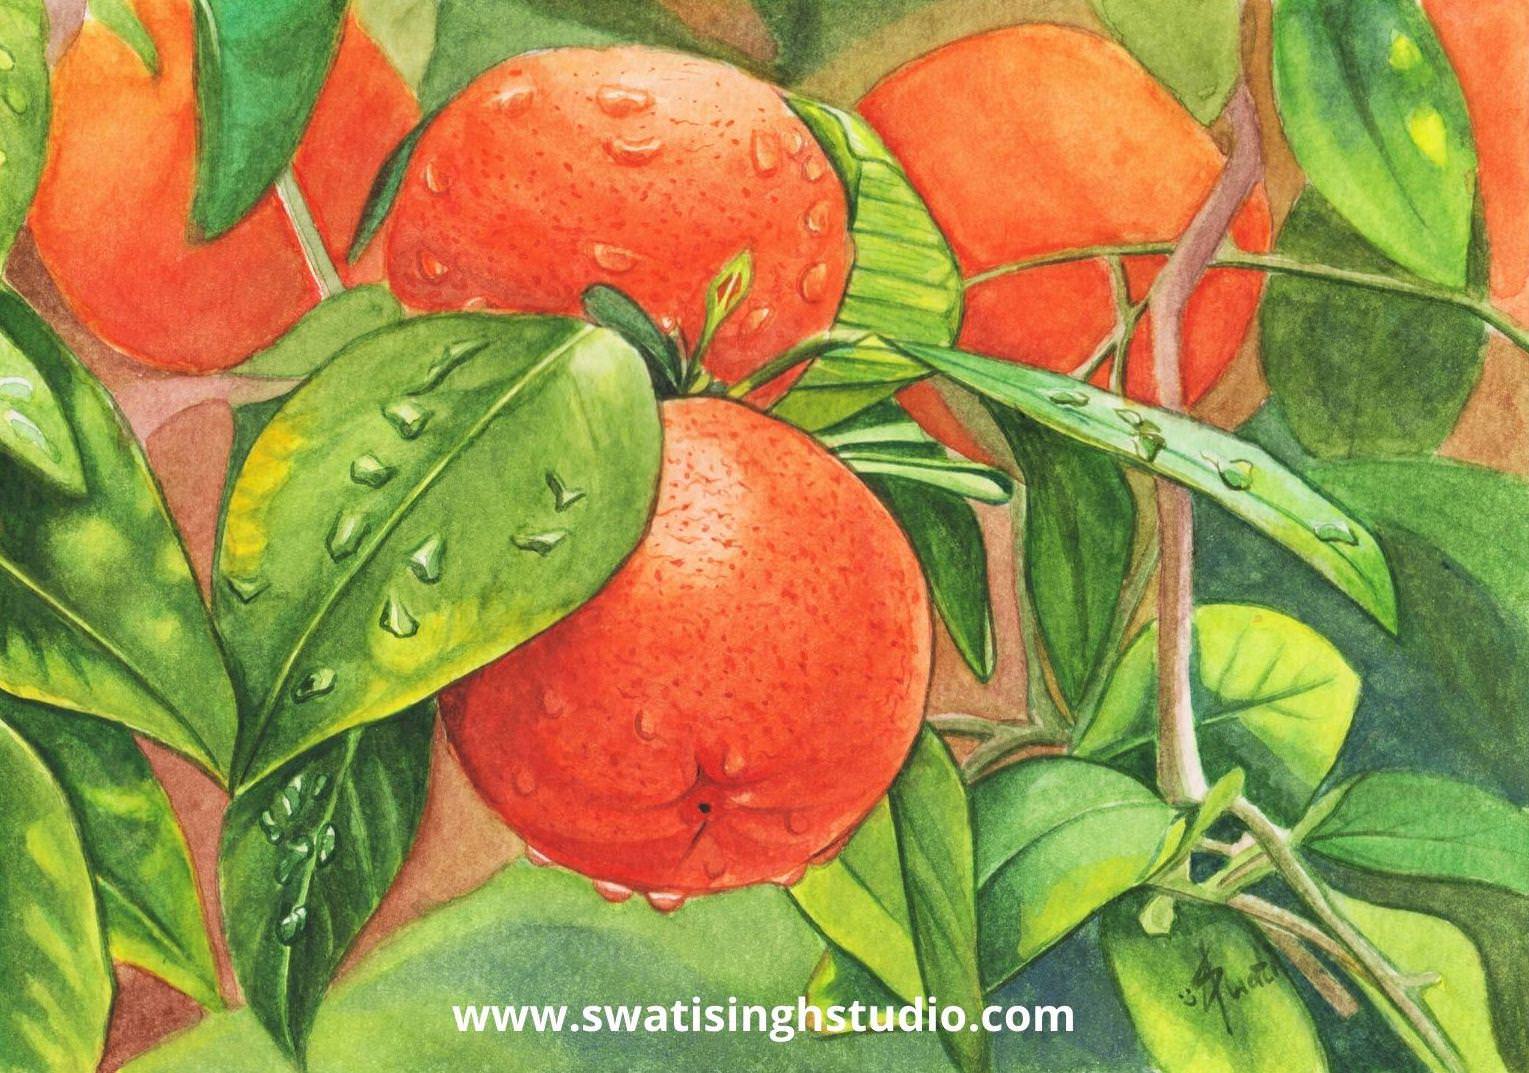
Although this tutorial post was quite unusual since it had way less number of images to refer to. But, I hope this proved a bit useful to you and I also got a chance to check back with you in these pandemic days.
So apart from these oranges let me share with you some other artworks that I produced in these past few months.
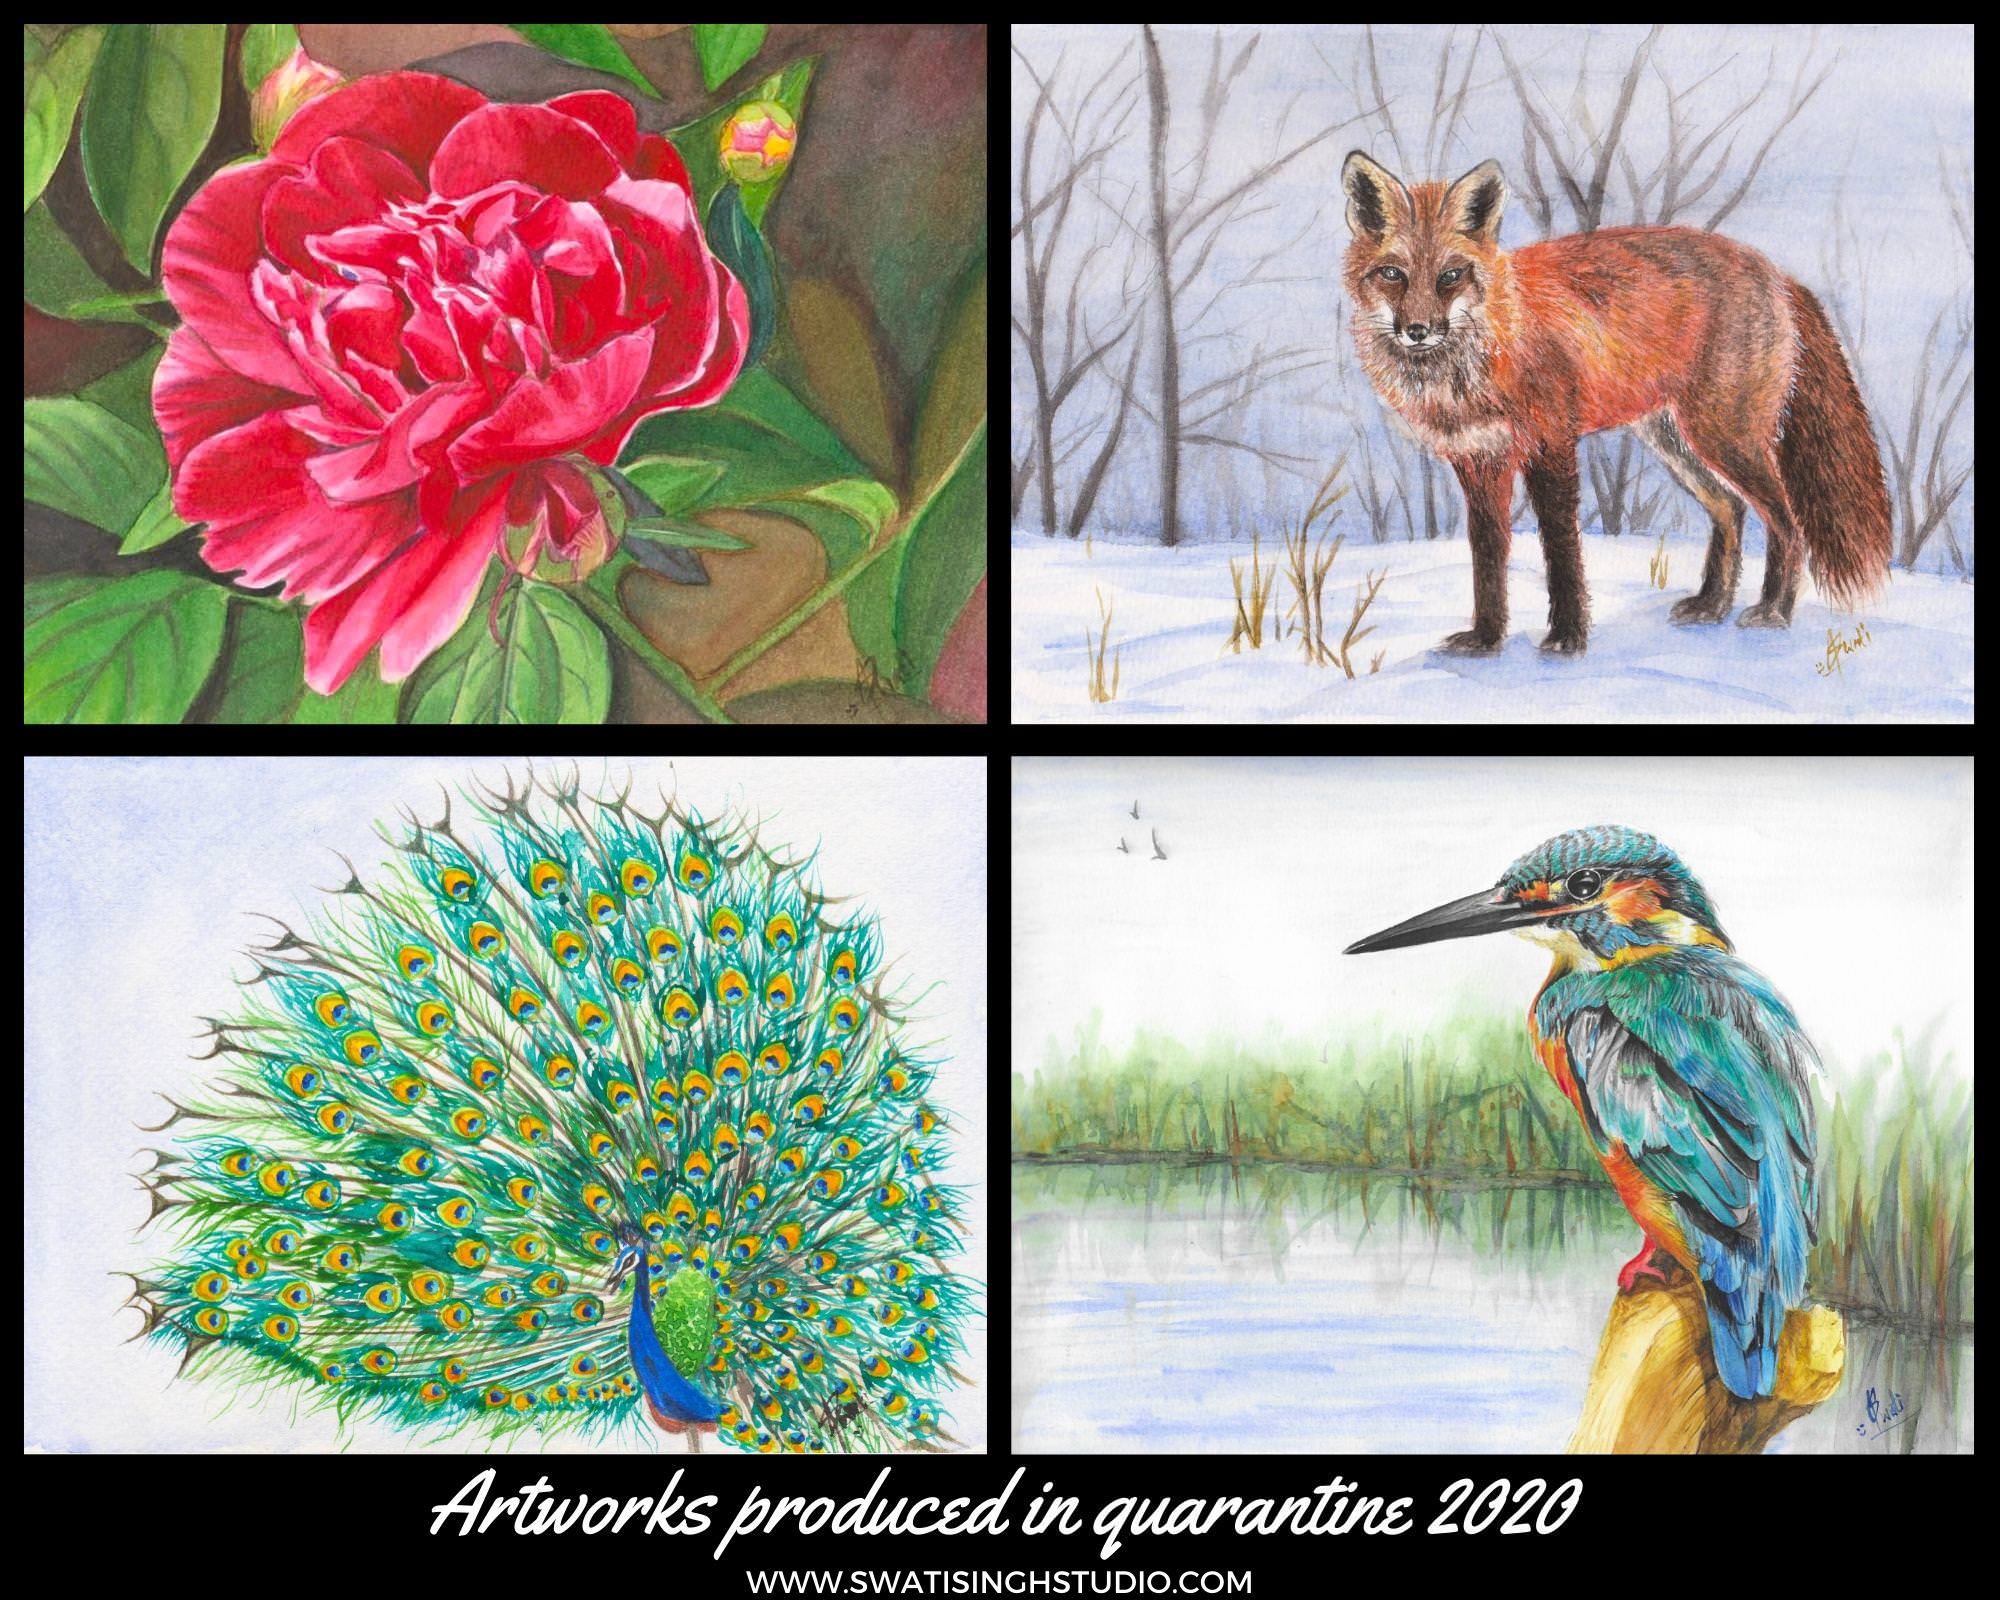
I painted a peony, fox, peacock, and my personal favorite of them all the beautiful kingfisher. I simply loved painting each one of them. Now when I look at this collage I realize I was going for wildlife this time!
I usually share all of my in-process images on social media platforms regularly. If you follow me on Instagram or Facebook you might have seen a majority of these pictures before.
If you want you may follow me on these platforms to stay in touch!
Hopefully, everything gets back to normal soon. I pray for you and your family to be safe in this COVID situation.
Feel free to contact me for any doubts you may encounter in your painting journey by emailing it to me.
Till then stay safe!
Happy painting
Swati