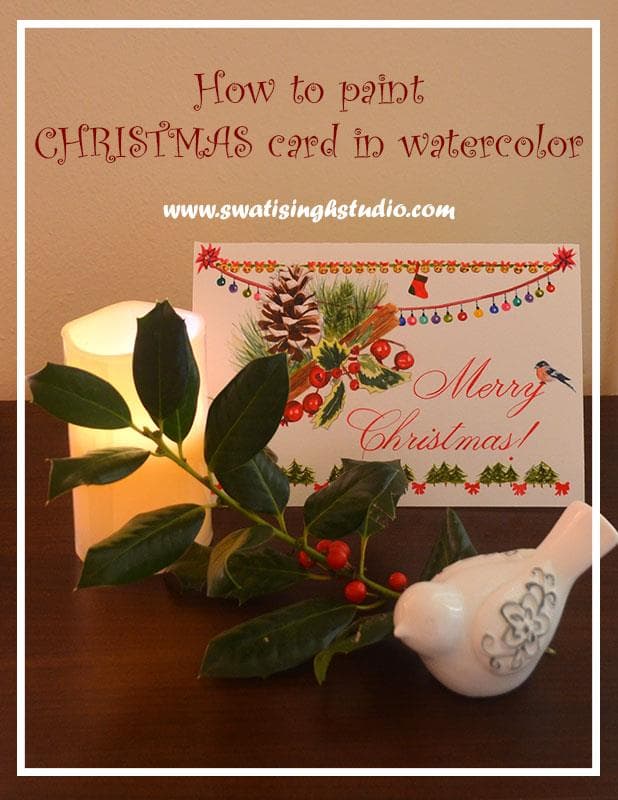
Hello, everyone! I wish you all a very Happy Thanksgiving!
I hope you all are gearing up for the festive season ahead. I am guessing you must have started painting your Christmas cards for near and dear ones. If not, then today I have an easy watercolor card for you all.
Christmas is a time for celebration, joy and sharing!
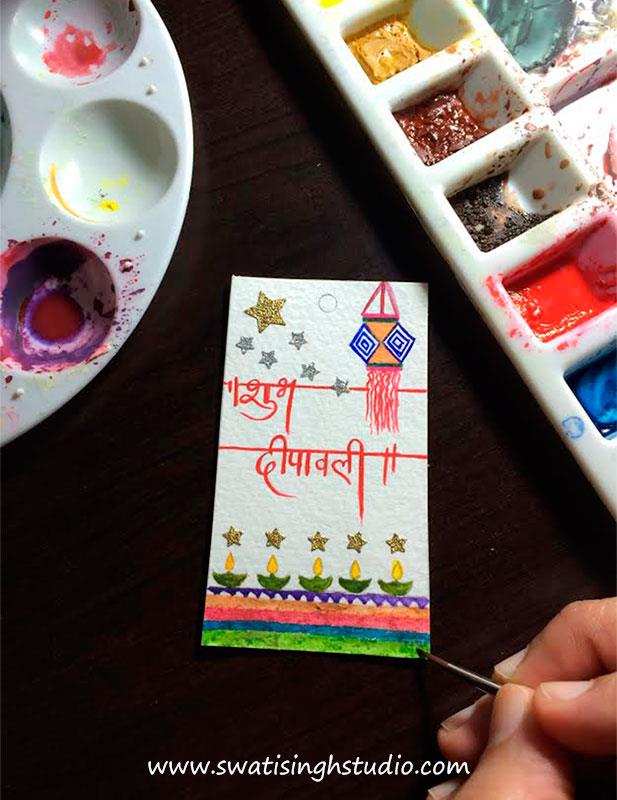
I celebrated the 5 day festival of lights-Diwali this early November! It is to Hindus what Christmas is to Christians. I truly enjoyed painting this Diwali card for a very dear friend of mine. She loved it!
Handmade cards have so much love and warmth to them. I hope this Christmas card brings joy to all your loved ones as well. I saw this Christmas arrangement in a store nearby and it inspired me to paint a festive card just for you!
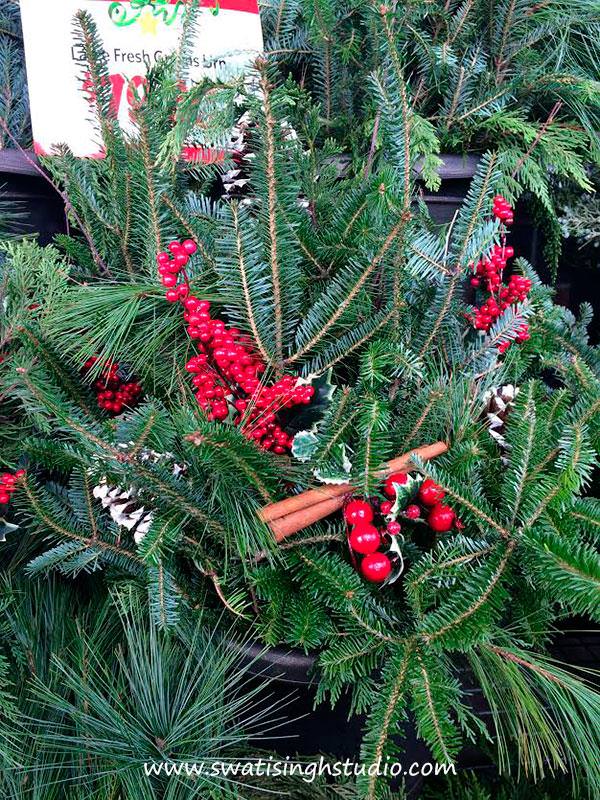
The components of the card are:
1. Cinnamon stick
2. Red berries
3. Fir leaves
4. Holly leaves
5. Pine cone
You may play around with these elements to make a different composition of your own.
I marked my sheet in half to set the folding line. I am painting in the landscape, you may choose to go for portrait as well.
Drawing is done in HB pencil.
I am using a 300gm watercolor sheet.
Watercolors required are the following:
1. Burnt Sienna
2. Burnt Umber
3. Indigo blue
4. Yellow ochre
5. Lemon yellow
6. Cadmium red
7. Sap green
To know about other watercolor materials I use you may refer to this BLOG POST!
Let’s begin painting so that the cards reach everyone on time!
Tip: If you need to make a set number of cards, I would recommend you to draw your compositions on all the cards first. Then you can continue painting the individual components, for example, cinnamon on all the cards simultaneously. This will help you save some time. You will not need to mix colors over and over again!
PART 1- PINE CONE
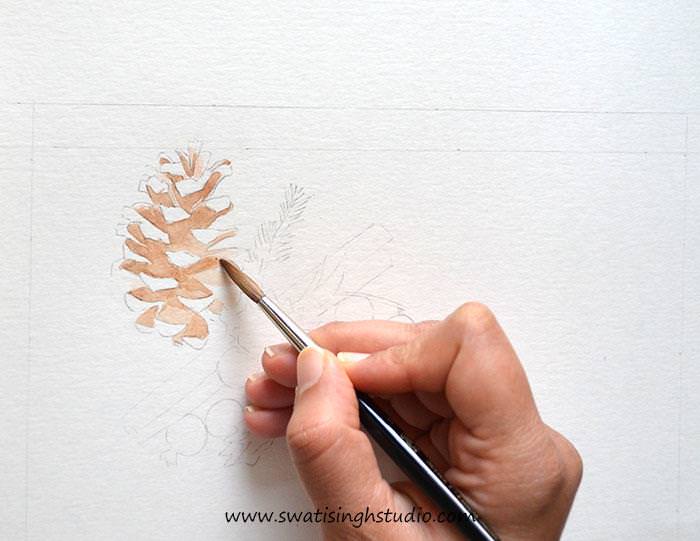
Step 1. Apply a thin wash of burnt sienna to the cone. Leave the white areas as is.
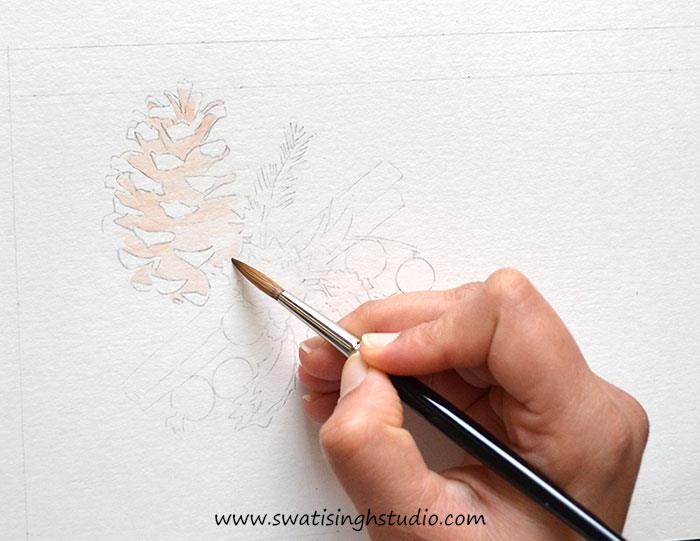
Step 2. Now apply a thin layer of burnt umber as shown below.
Step 3. Prepare a shade of darker brown by simply adding a few drops of indigo blue to burnt umber.
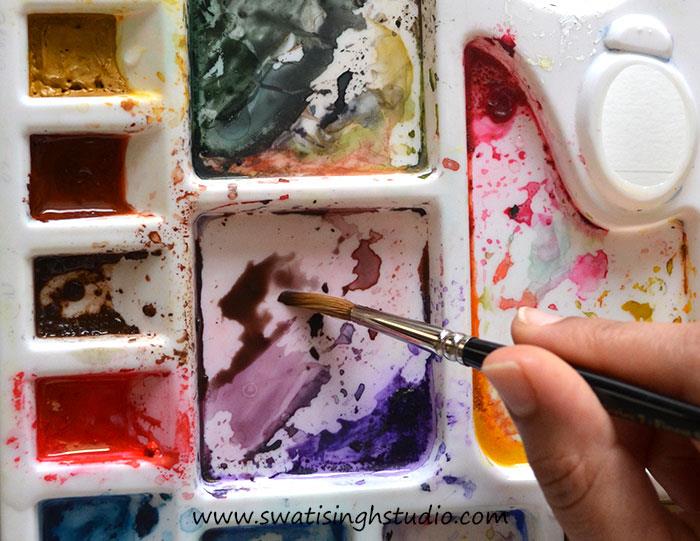
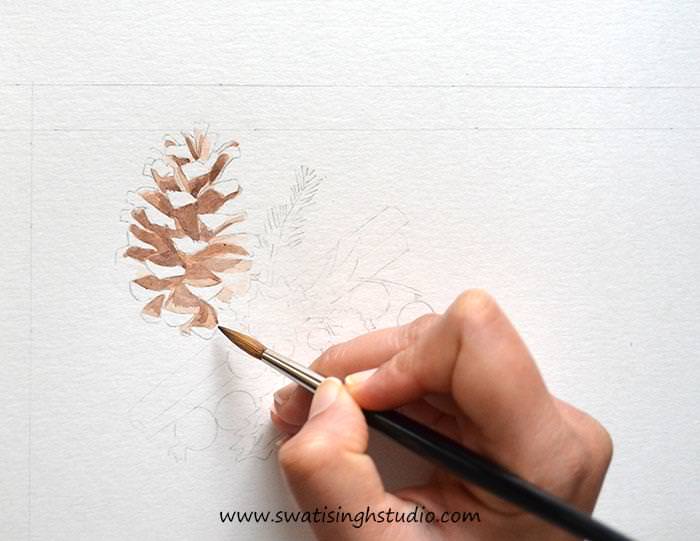
Apply this color to the darkest areas to give the cone a 3D look.
PART 2- CINNAMON STICK
Step 1. Apply a very light layer of yellow ochre to the stick.
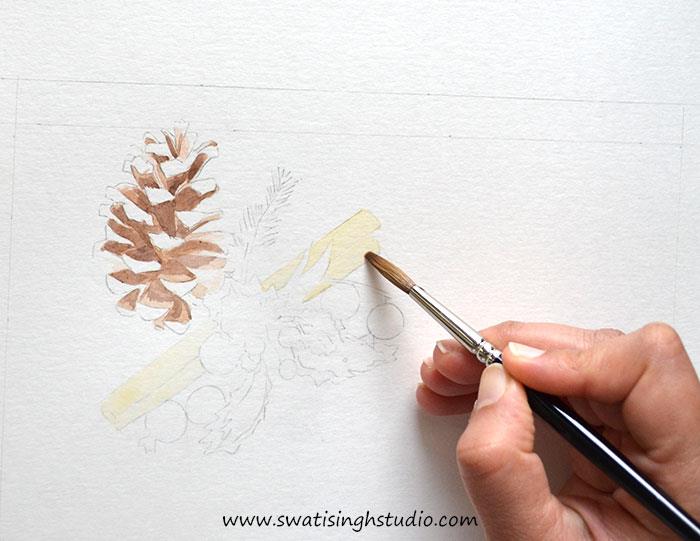
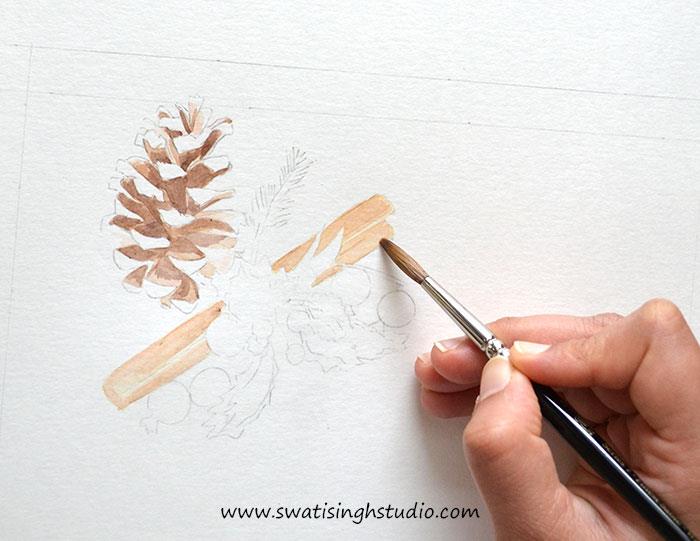
Step 2. Now add a thin layer of burnt sienna.
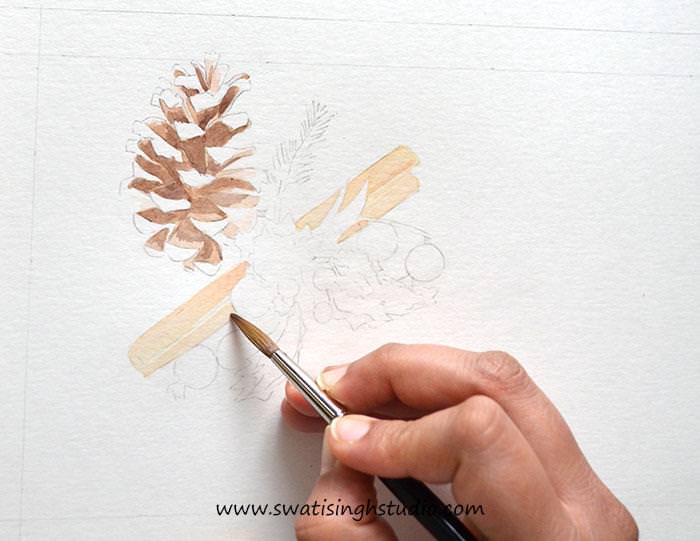
Step 3. While the sheet is still wet drop in some burnt umber in the shadow areas so that it blends in well with the rest of the cinnamon.
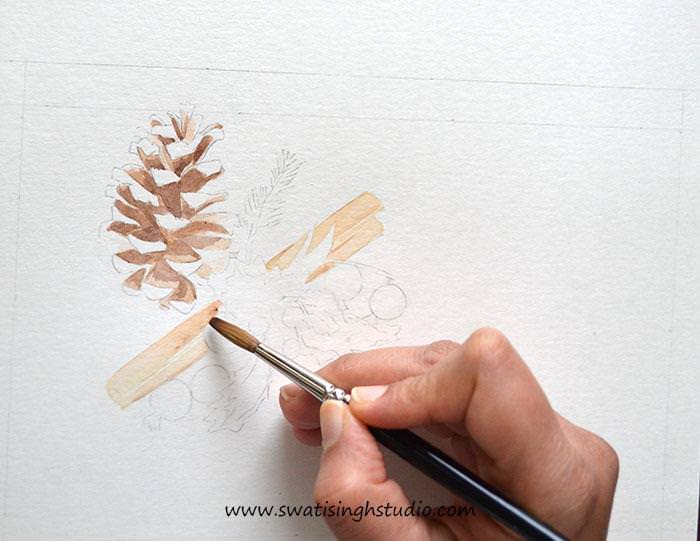
Step 4. Repeat another layer of burnt sienna.
PART 3- RED BERRIES
The colors in the berries are almost similar to the ones I used in the STRAWBERRY tutorial. You may find it useful.
Step 1. Although the berries look pure red they do have a lemon yellow undertone. Hence, apply a thin layer of lemon yellow to the berries. Do not color the white highlights.
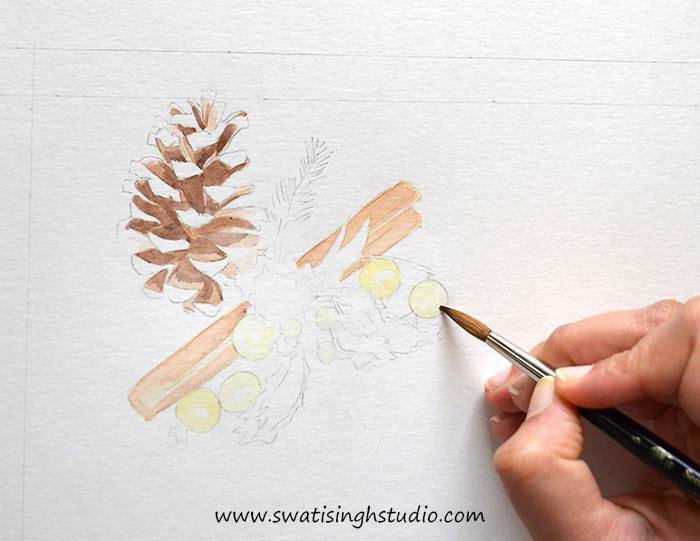
Step 2. Now add a thin layer of cadmium red.
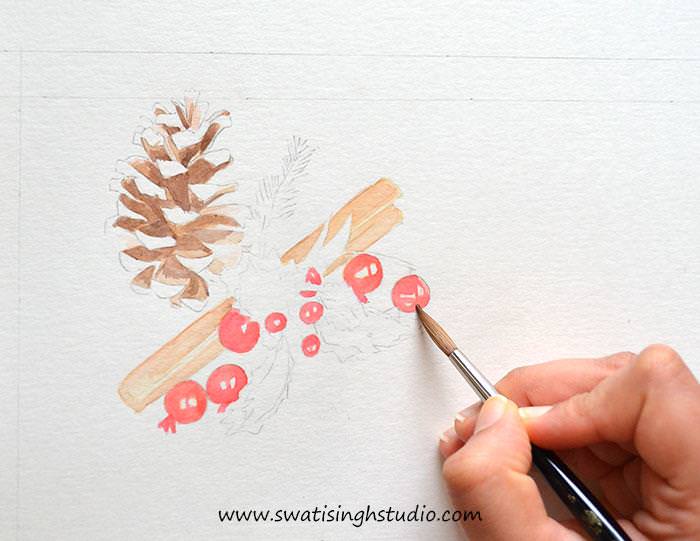
Step 3. Prepare a mix of darker red by adding some amount of indigo blue to cadmium red.
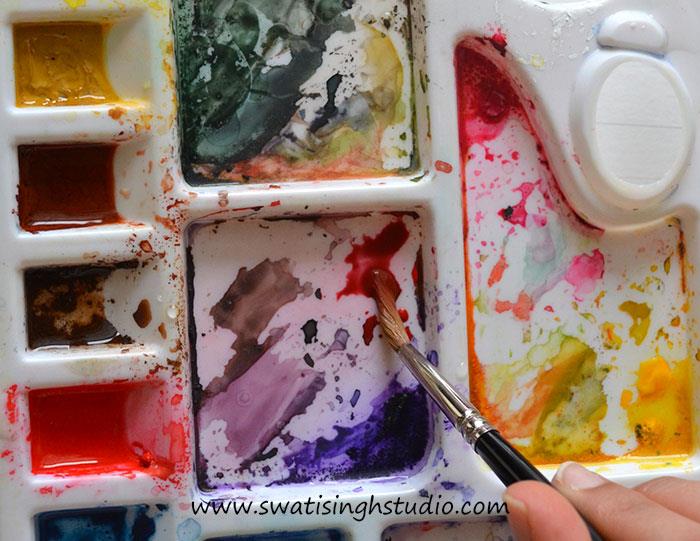
Add this color to the shadow areas as shown below.
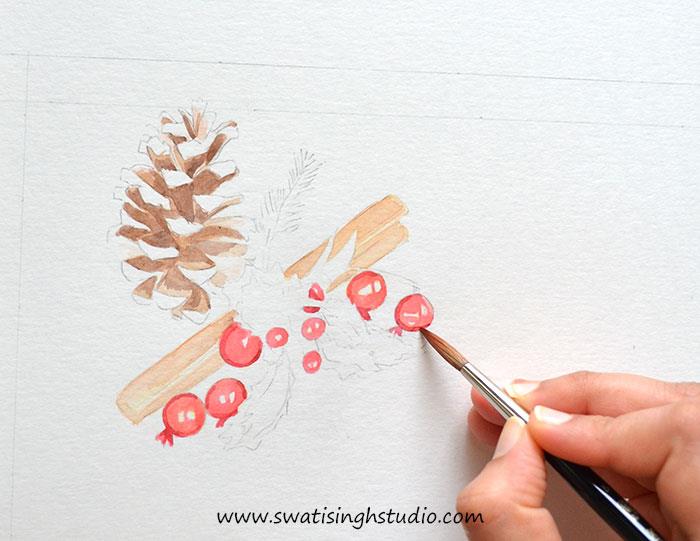
Step 4. Repeat another layer of cadmium red to make it all come together.
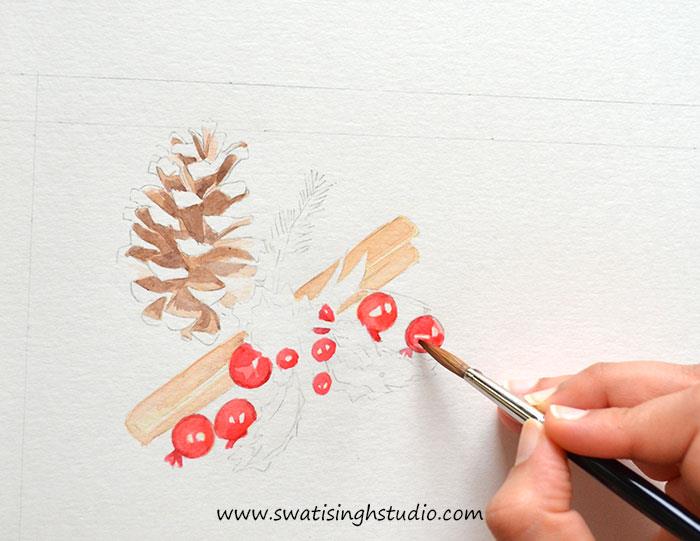
PART 4- HOLLY LEAF
Important- It is advisable to change the water in your container before moving to the greens as it must have turned muddy by now.
Step 1. Apply a thin layer of lemon yellow all over.
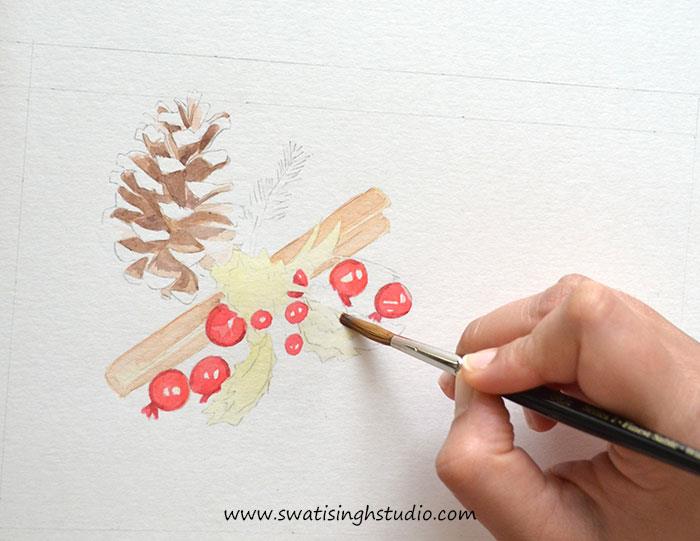
Step 2. Mix a little amount of indigo blue to sap green.
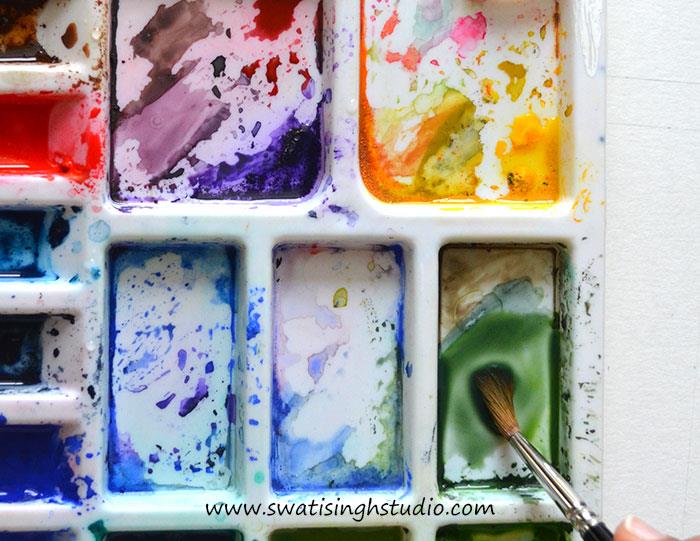
Once the sheet is completely dry apply this color in the green areas.
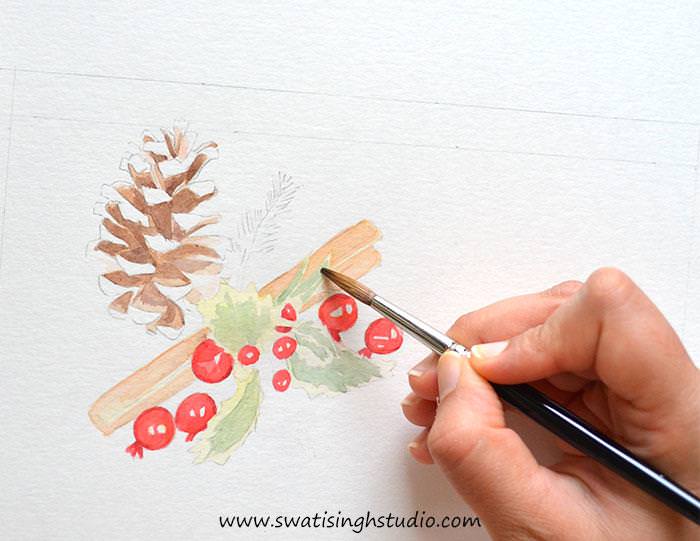
PART 5- FIR LEAF
Step 1. Apply yellow ochre to the stem. Paint leaves in sap green. Use a thin brush and paint in outward strokes. 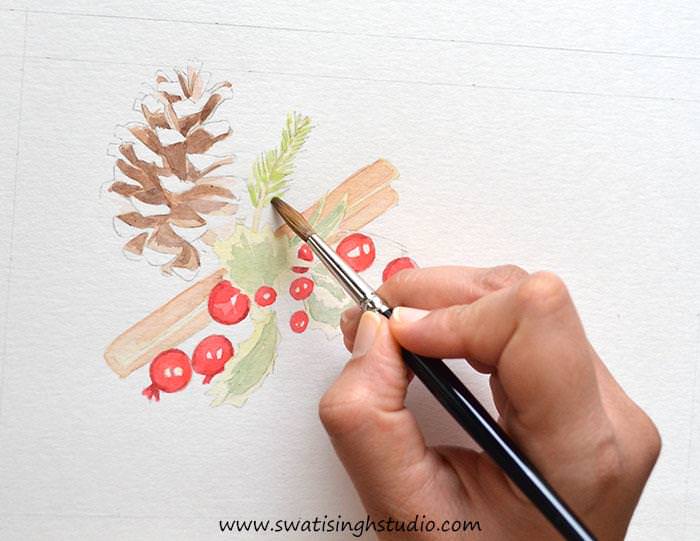
Step 2. Apply another layer of green in the inner sections near the stem.
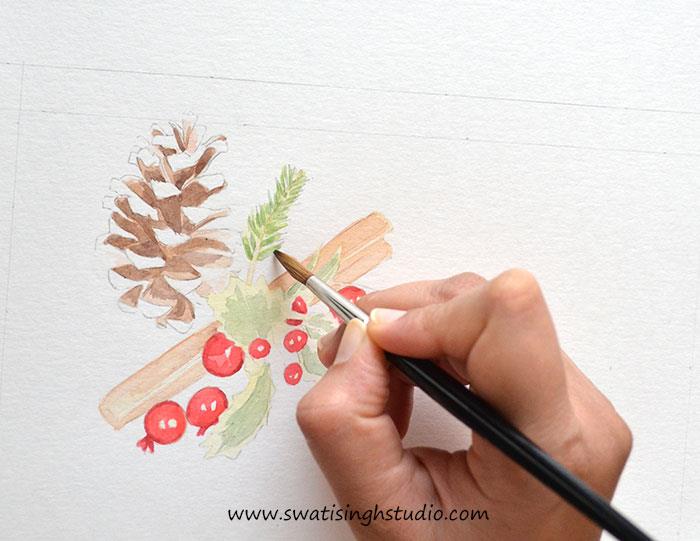
You can go as realistic as you want depending on the amount of time you have and the number of cards you wish to make.
FINISH- Adding a few more layers!
Simply add a few more layers of colors and the card should be ready in no time.
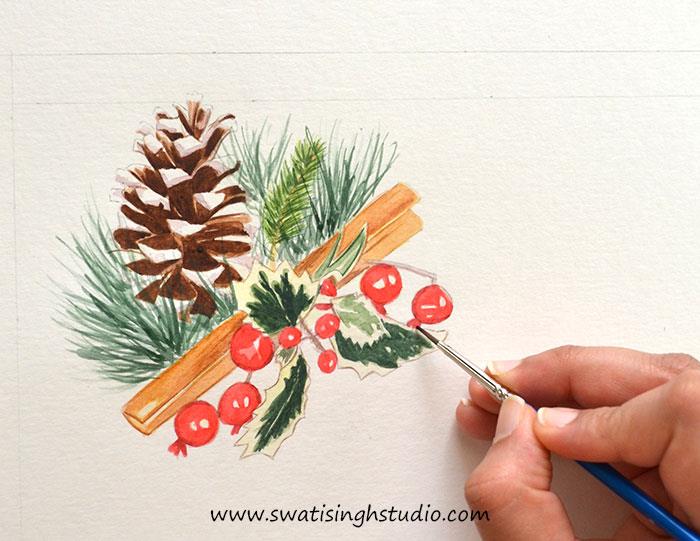
I went ahead and added some more elements to the card to make it look complete. I did the lettering using a very fine brush (no. 1) to get the fine details.
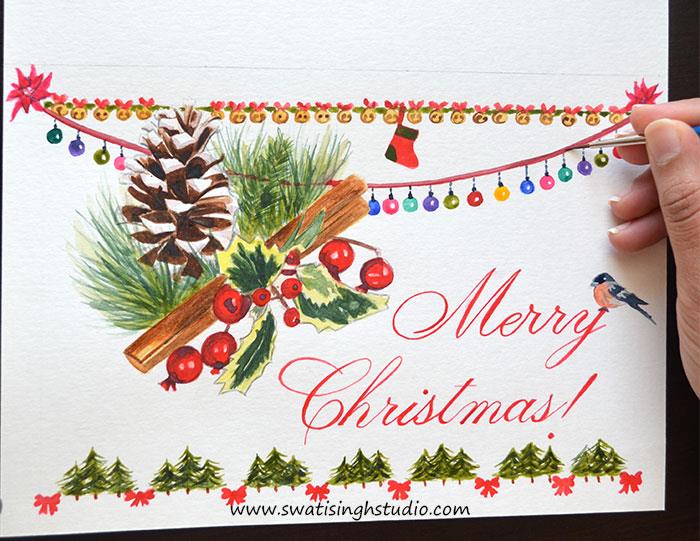
Once you master all the individual elements in the card, you can come up with as many compositions as you want!
I hope you liked this tutorial. Have a wonderful holiday painting. And do not forget to share your own cards on my Facebook fan page. I would love to see them! You may also share your cards through e-mail.
If you are really short of time, you may also BUY this card from my online Shop!
Have a fun-filled weekend. And do not forget to SUBSCRIBE to my blog to stay updated on future tutorials.
Happy Thanksgiving!
Swati