Hello, lovely people. Wish you all a very happy Easter weekend! The weather around has changed a lot. New leaves can be seen everywhere. Just loving the fresh breeze. I hope you are enjoying the spring season too.
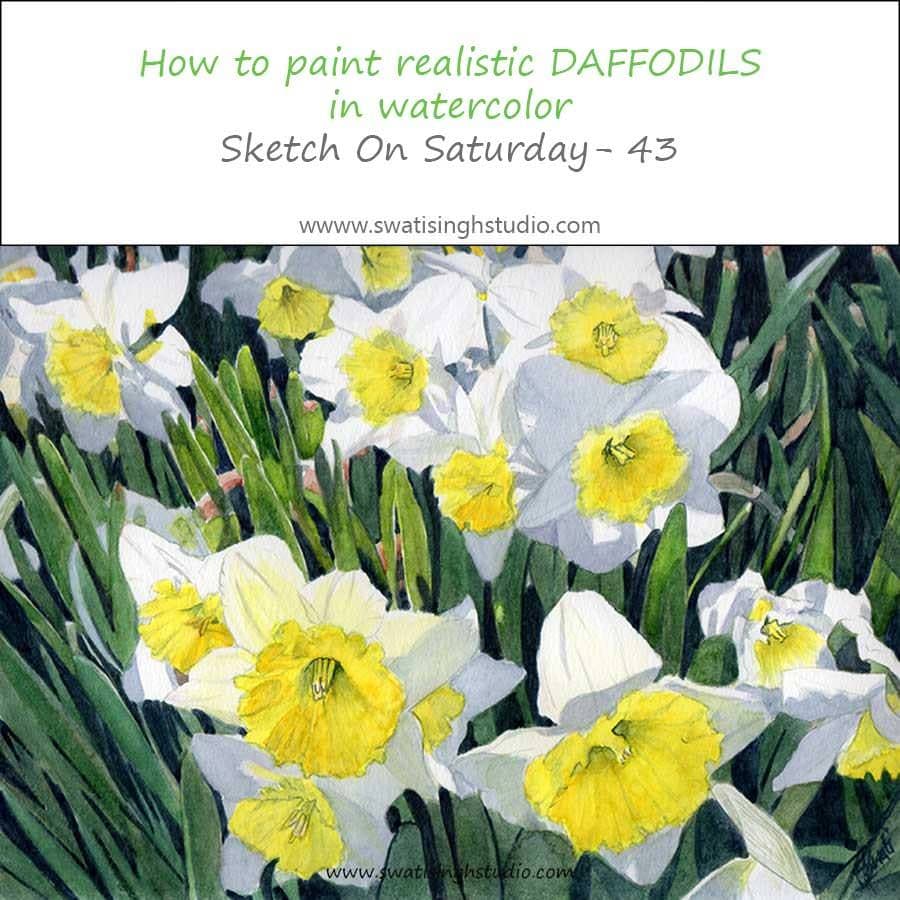
Today I am sharing with you the step by step method of painting daffodils in watercolors. Daffodils are such cute flowers. Daffodil is also the flower of March.
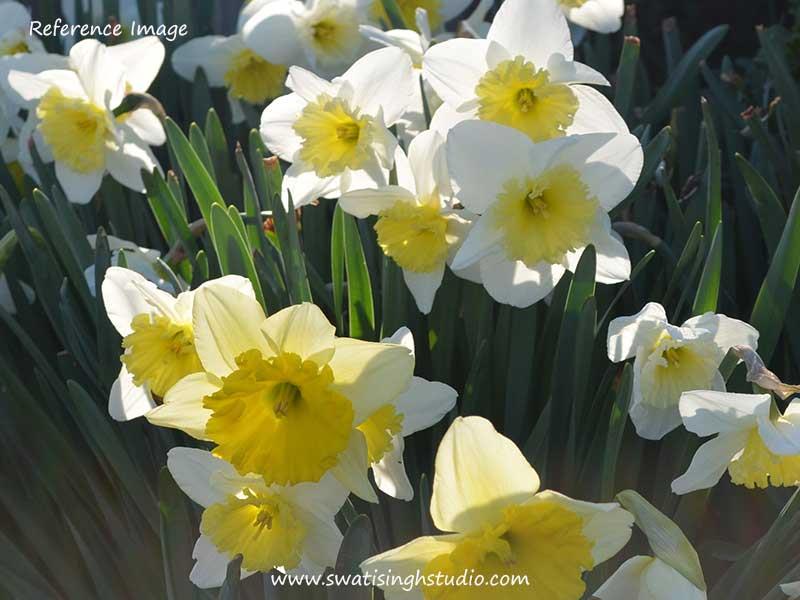
Below is a photograph I took a few days back. I am painting this photograph with little changes to make a better composition.
I did the drawing in HB pencil. It is important to draw all the surrounding leaves beforehand for a much accurate painting. Take your time while you draw.
The watercolors I used are as follows
1. Cobalt blue
2. Cadmium red
3. Lemon yellow
4. Sap green
5. Indigo blue
6. Cadmium yellow
7. Burnt sienna
So let’s get started.
Step1. First, prepare a mix of grays for the shadows on the petals. As I mentioned in the last post, all grays are not the same. Some are more bluish and some are more reddish or yellowish. Hence, lay all your colors side by side and keep varying the amount as you see the individual petals.
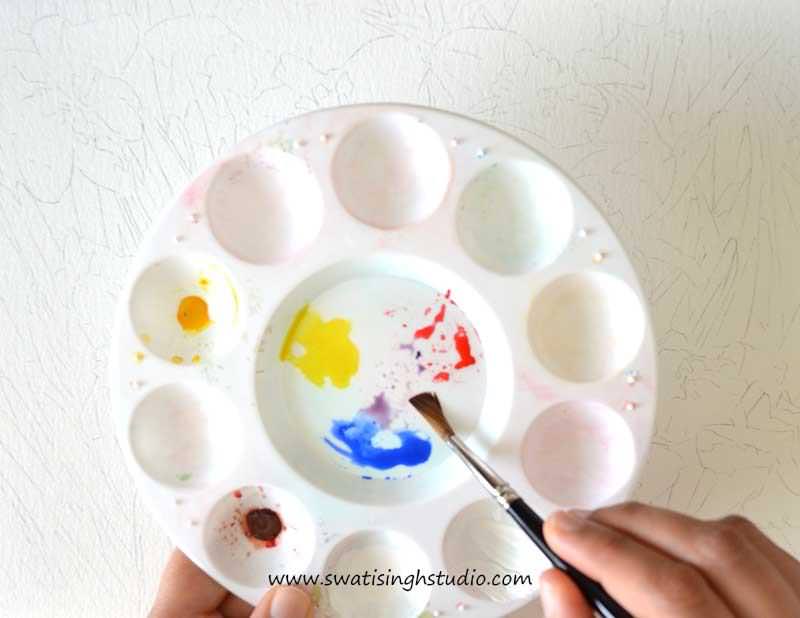
Erase any harsh lines before you start applying the color. Apply a thin wash of clear water to the area and drop a little amount of gray so that it spreads evenly. I am using a number 5 round brush here.
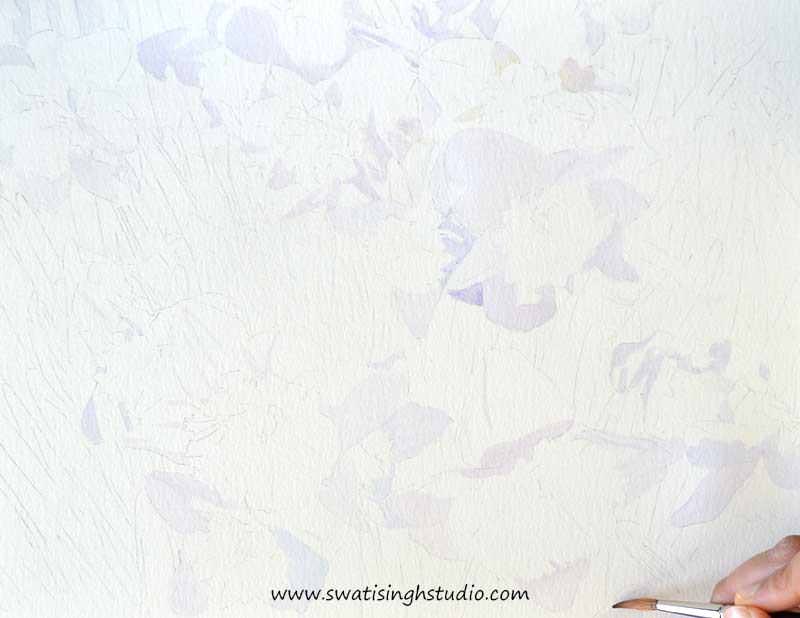
Important: Go around the highlights carefully, we do not want the white highlights to get dull.
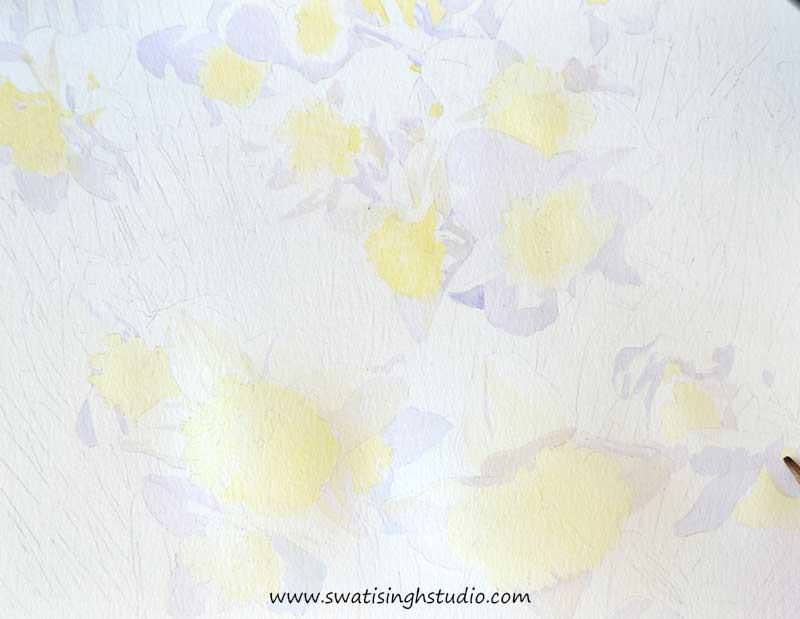
Step 2. Some parts of the petals are more yellowish than others. Hence, once the sheet gets completely dried, apply a very thin wash of lemon yellow in the center and over the grays as shown below. The thin glaze will make the shadows show through.
Step 3. Moving on to the greens now. Some leaves are much brighter than others due to the sunlight falling on them. The darker greens are bluish. Hence, we need a variety of greens for the leaves.
Lay out sap green, lemon yellow, indigo blue and burnt sienna on a palette.
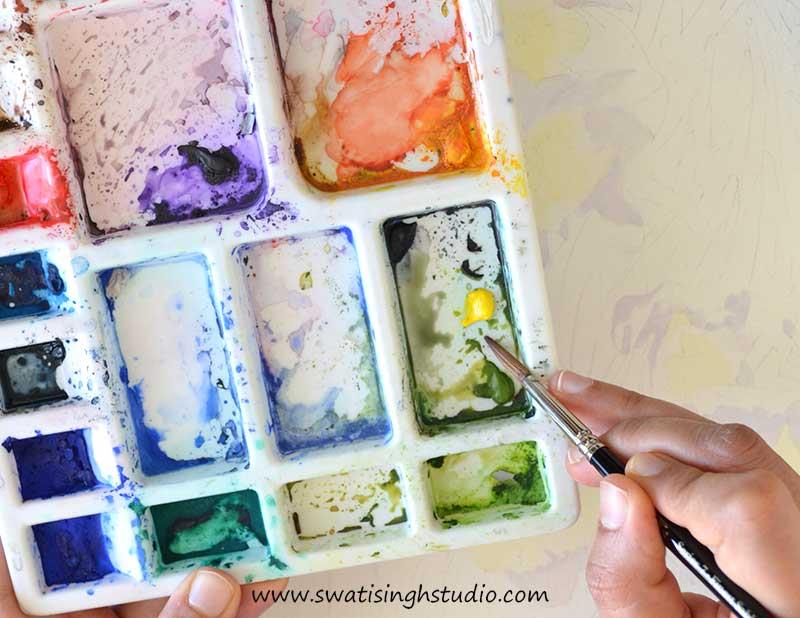
Keep varying the amounts to get different shades of mixes. Below you can see some rough swatches of the color mixes I prepared.
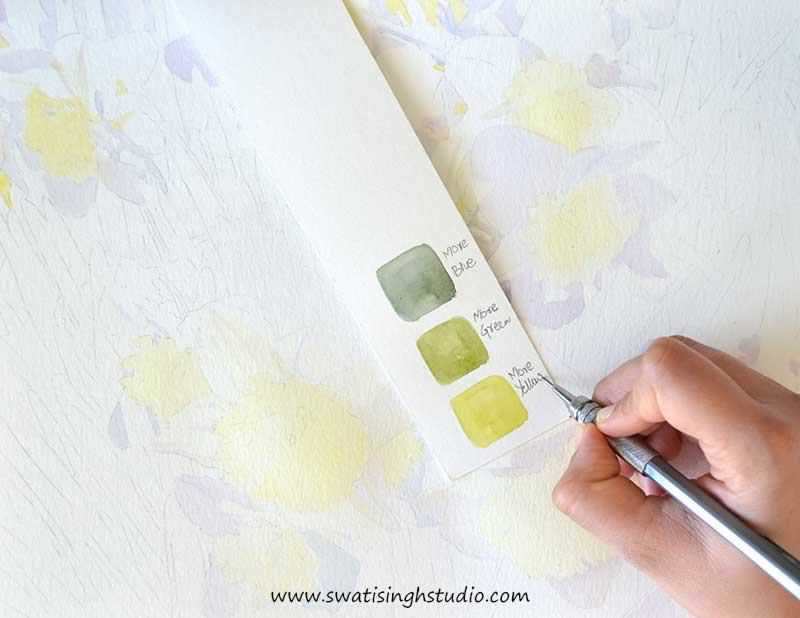
The rule to follow is simple, more the yellow the brighter your greens will look and more the blue the darker your greens will appear.
Hence, try your mixes on a rough sheet of paper, prior to applying on the drawing.
This is how my sheet looks after the first layer of different mixes.
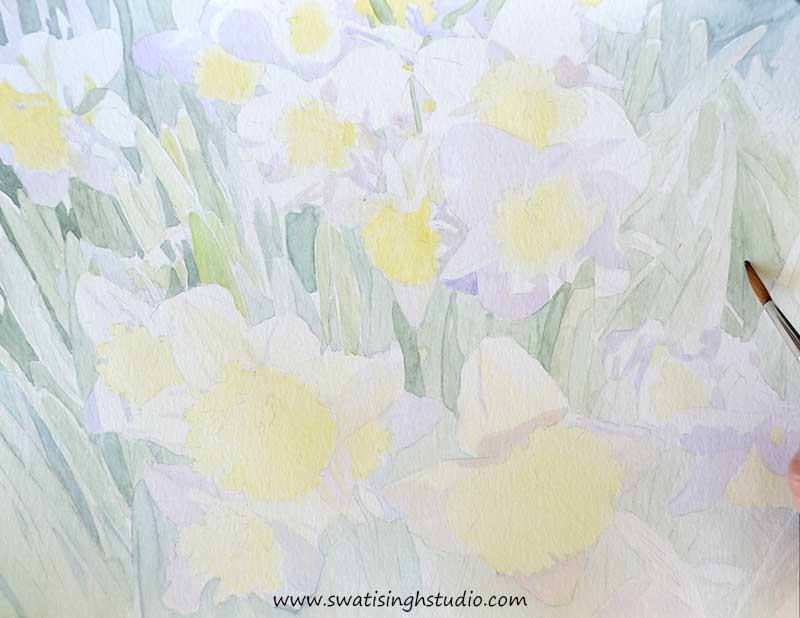
Step 4. Repeat with another layer of greens for greater saturation.
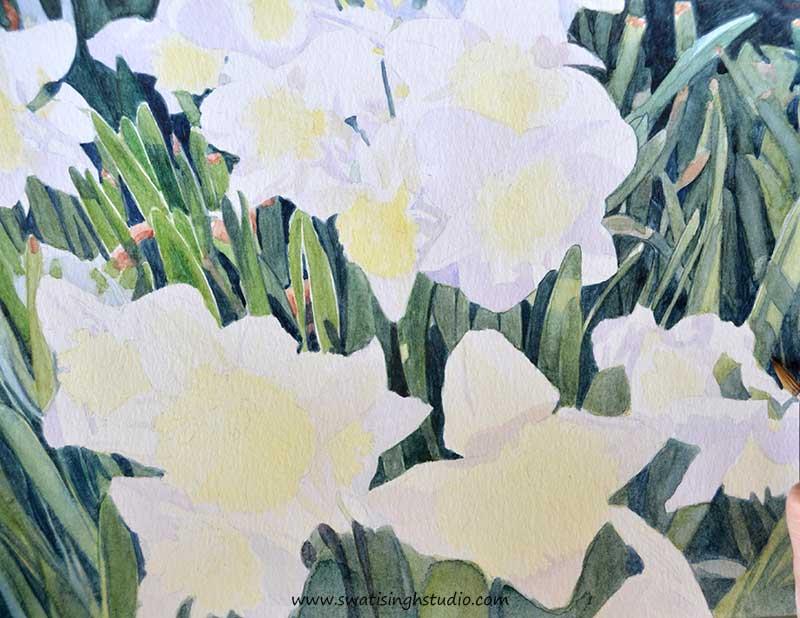
Step 5. While the greens are drying we can start painting the center of the flowers. Apply another layer of lemon yellow at the center as shown below. Keep following the shapes you see in the reference image.
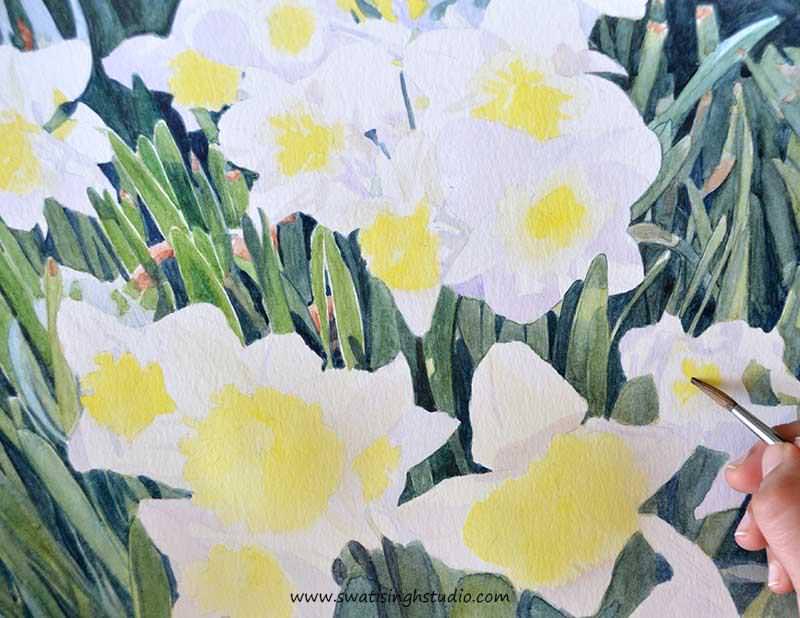
Step 6. Once the lemon yellow gets fully dried, prepare a mix of sap green and burnt sienna to form a very dull green. Dilute the mix with some water. Now, paint the fine details of the flowers using this mix of dull green. I am using a number 1 round brush here.
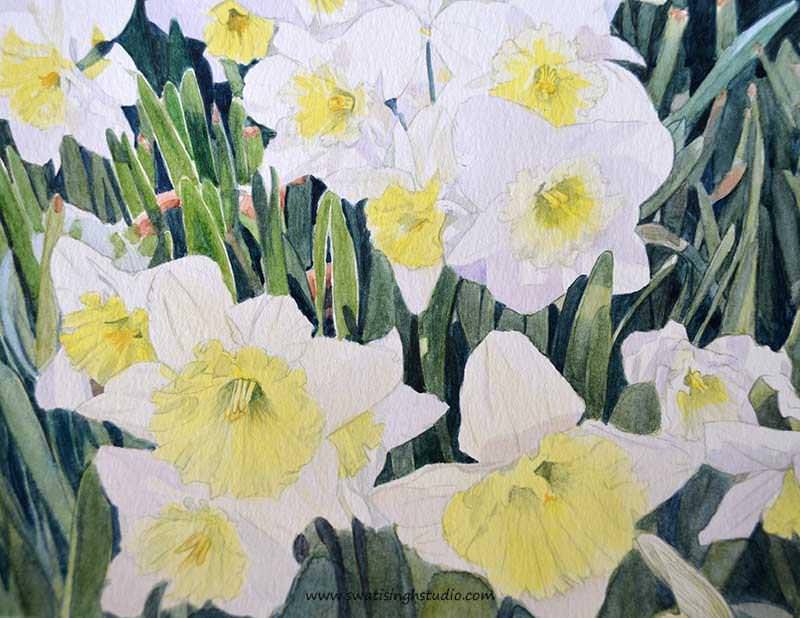
Step 7. Add another layer of shadows on the petals with bluish gray color.
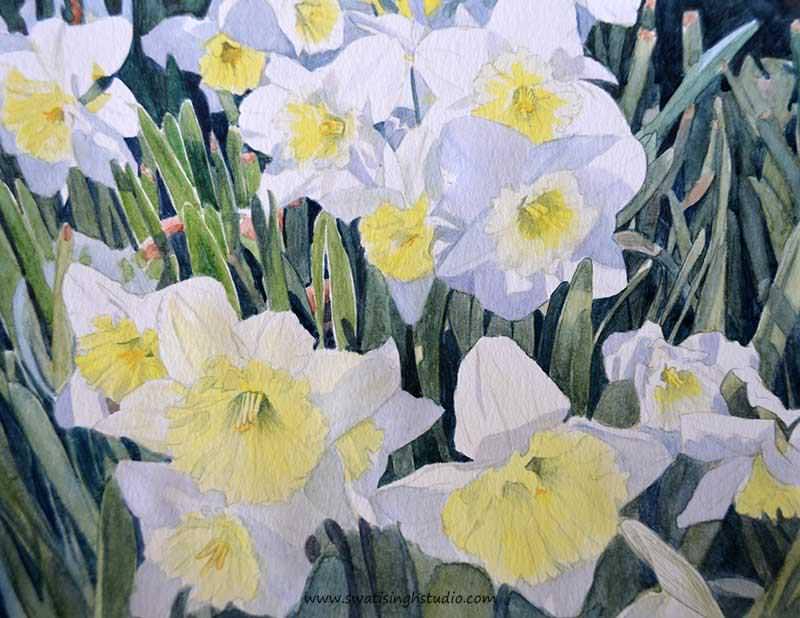
Step 8. Add a touch of cadmium yellow and lemon yellow to the center of the flower. Give the greens a layer or two and the daffodils will be ready in no time!
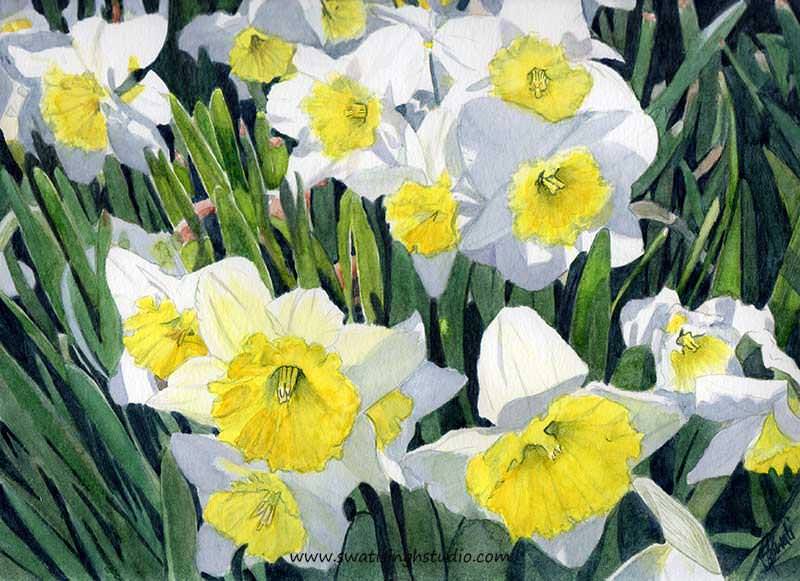
I just loved painting these daffodils. They are adorable. Do try them at home and share your experience with me. I will be more than happy to see your paintings.
I will be back with another painting tutorial next Saturday. You may SUBSCRIBE to my blog for all the updates.
Enjoy painting!
Swati