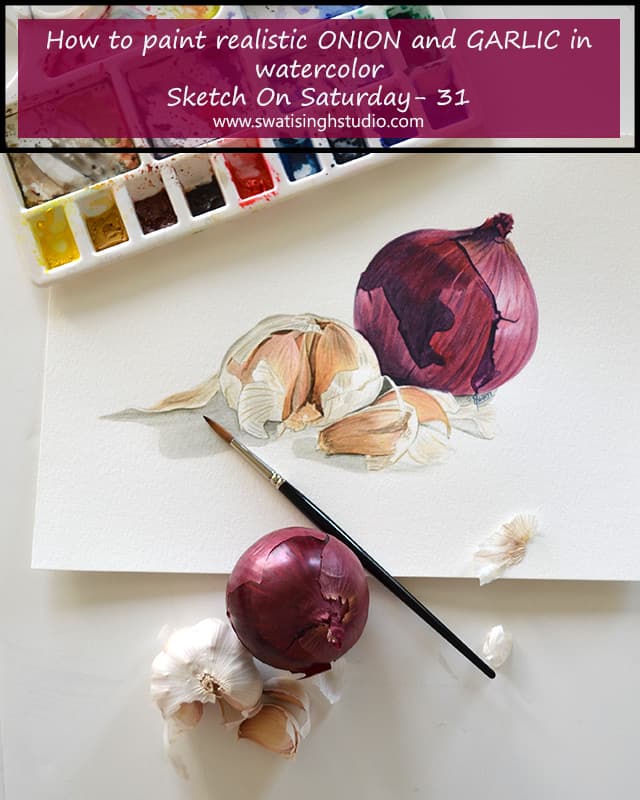
Welcome back, lovely artists. I am really excited to begin this NEW series with you all. It is so refreshing to paint in the studio again!
Today I have onion and garlic study in watercolors.
Both onion and garlic have flaky skin which adds to their beauty.
The watercolors used are:
1. Permanent rose
2. Purple
3. Cadmium yellow
4. Burnt sienna
5. Cadmium red
6. Burnt umber
7. Indigo blue
Below is an image of the models I used!
.jpg)
We will keep switching between onion and garlic back and forth as one of them dries.
Note: I would recommend you to keep two separate bowls of water for onion and garlic. The colors in the onion are very strong and staining, we do not want the delicate whites of the garlic to get stained with the dirty water.
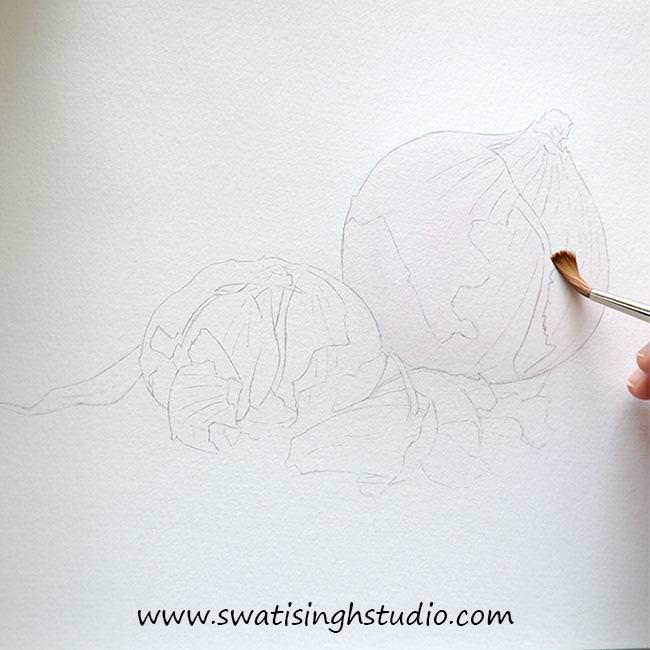
So let’s begin painting! I did the initial drawing using a 2B pencil.
Step1: Prepare the sheet by applying a light wash of clear water inside the onion.
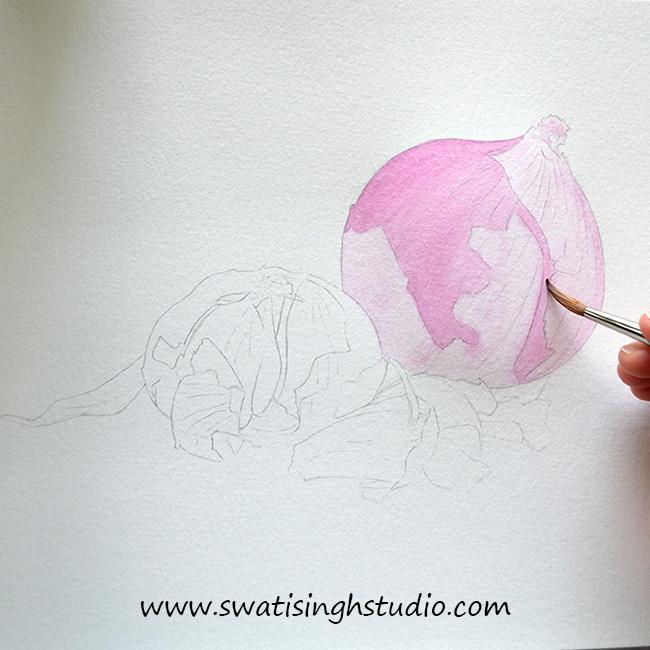
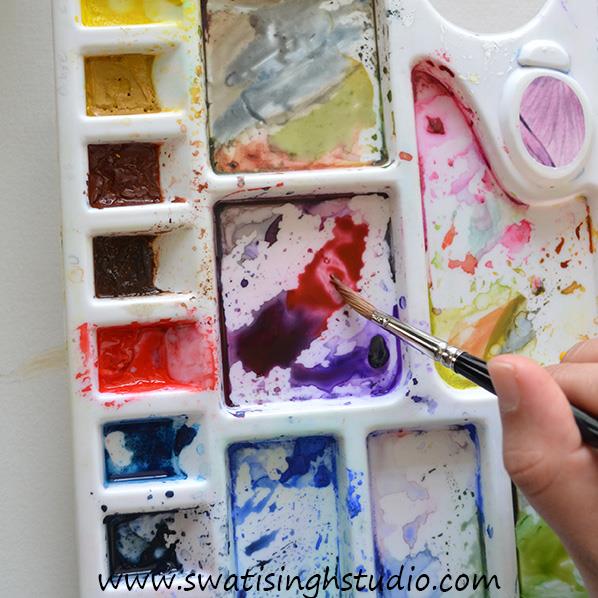
Step2: Prepare a mix of Permanent rose and purple as shown below.

Now apply a very light wash of the color following the contour carefully.
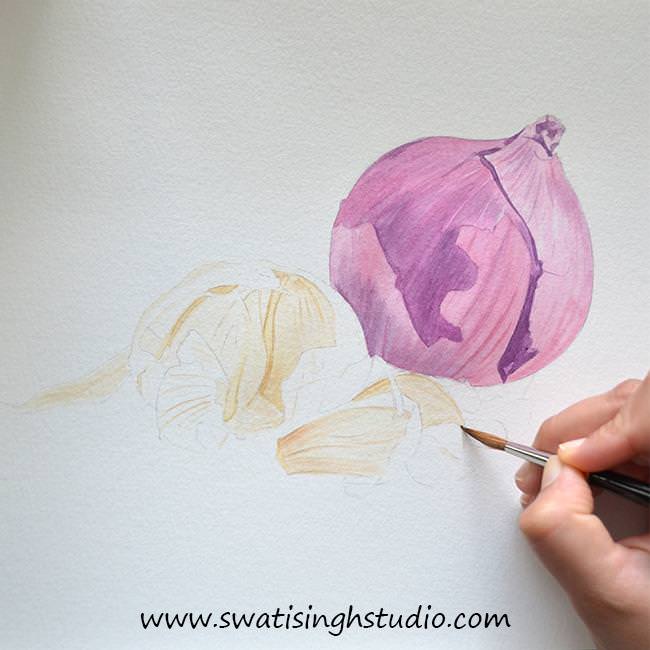
Step 3: Let the onion dry in the meanwhile let’s do the garlic. Mix some cadmium yellow and burnt sienna. Add a very light glaze on the cloves.
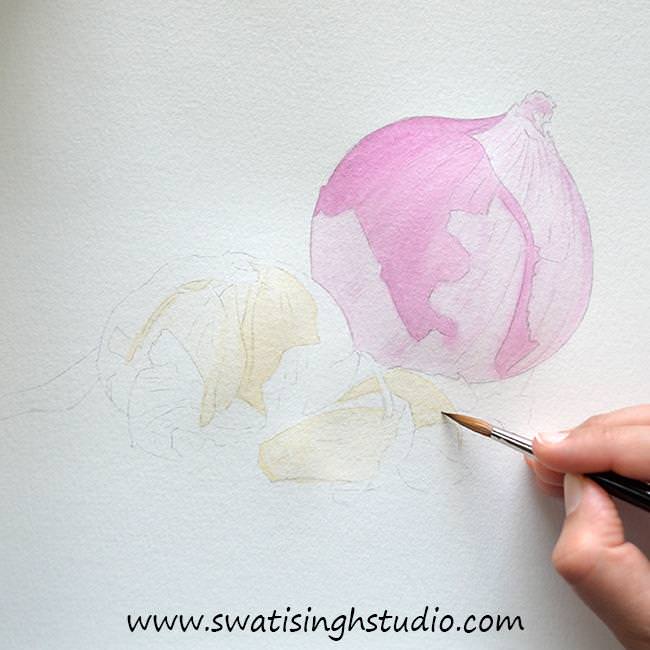
Important: Be very careful while applying the color. Make sure the color is diluted enough to make it look soft.
Step4: Moving again to the onion. Mix some cadmium red to the purple we made in step 2.
Apply a light glaze on the darker areas as shown below.
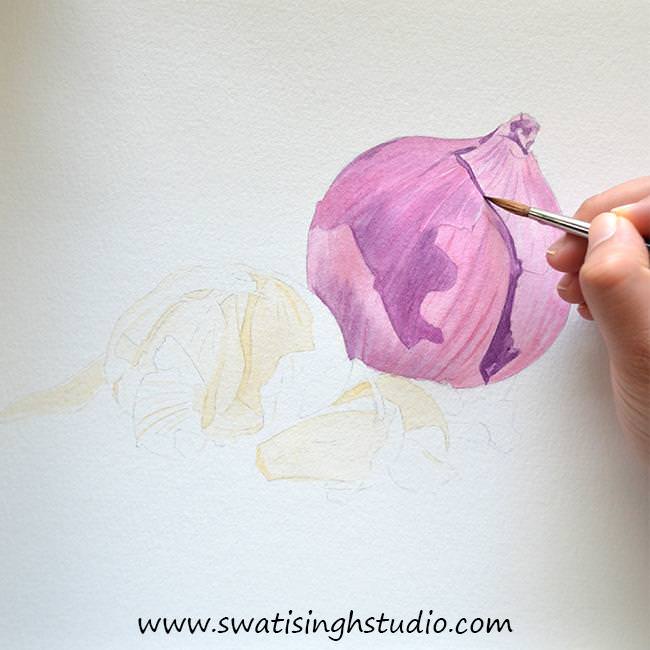
Step 5: Let the onion dry completely. Carefully add some fine details on the garlic clove using Burnt umber. Use a number 0 brush for very fine lines.
Step6: Prepare a mix of purple (Step2) and indigo blue.
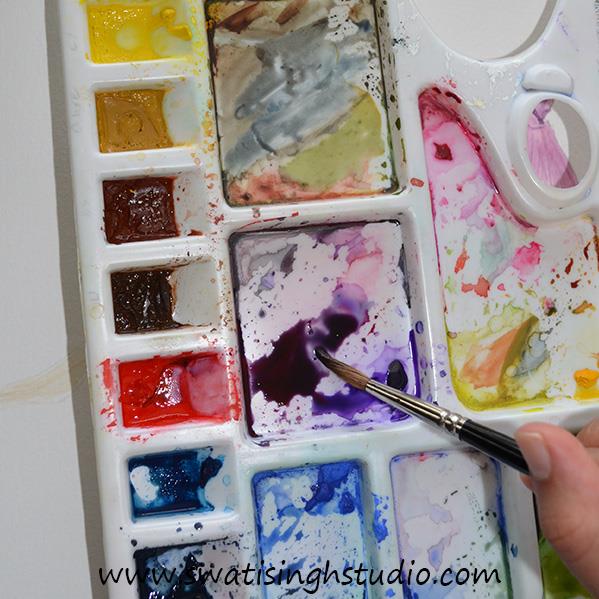
Apply this shade on the darkest areas of the onion.
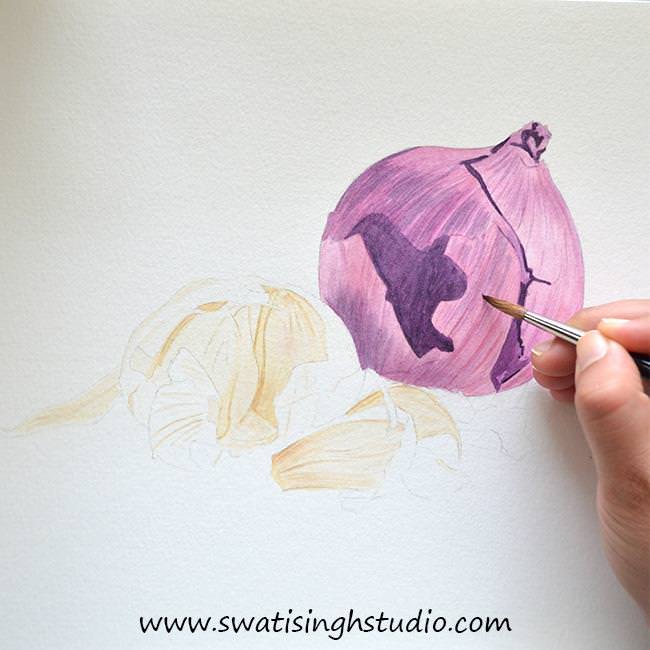
Tip: Once your brush has dried significantly just add a few lines on the outer skin in a dry brush method. Simply drag your brush gently over the skin in an upward direction to give the skin some texture.
Step 7: Now glaze the whole onion with a very light wash of cadmium red to give it a reddish tint.

Step8: Moving onto the garlic again. Darken the cloves with another layer (step 3 and step 5). Do not touch the outer skin for now.
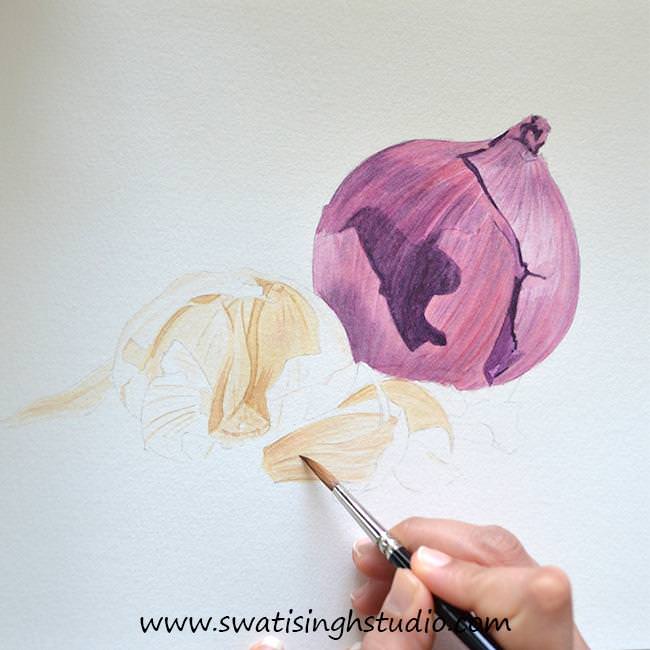
Important: Let the sheet dry completely before moving onto the next step.
Step 9: Add the darker details using burnt umber. And give a very light glaze of the same as shown below.
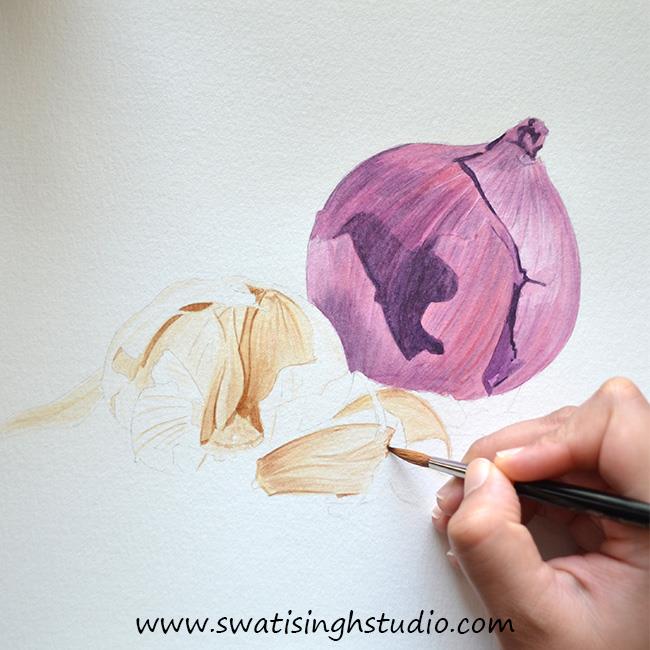
Step 10: If you carefully observe the cloves in the reference image you will find a very light pink tint on the cloves in some areas.
So go ahead and apply a diluted wash of cadmium red as shown below.
Important: Be very careful and make sure the red is diluted enough to appear pink. You may even try the shade on a rough paper before applying on the original painting.

Step11: Now mix some indigo blue to burnt umber and apply this color (diluted) on the shadows beneath the garlic as shown below.
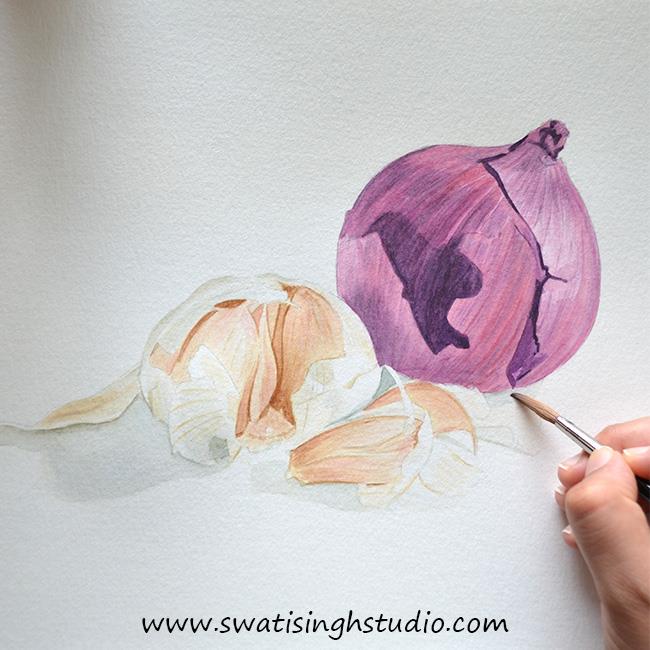
Tip: Be very gentle when applying the shadows. Wet the shadow areas with clear water first and then simply drop a little color in the wet sheet to give a softer look.
Step 12: If we carefully observe we will find that the onion is lacking a bit of a red color. Hence add a light glaze of cadmium red all over the onion.
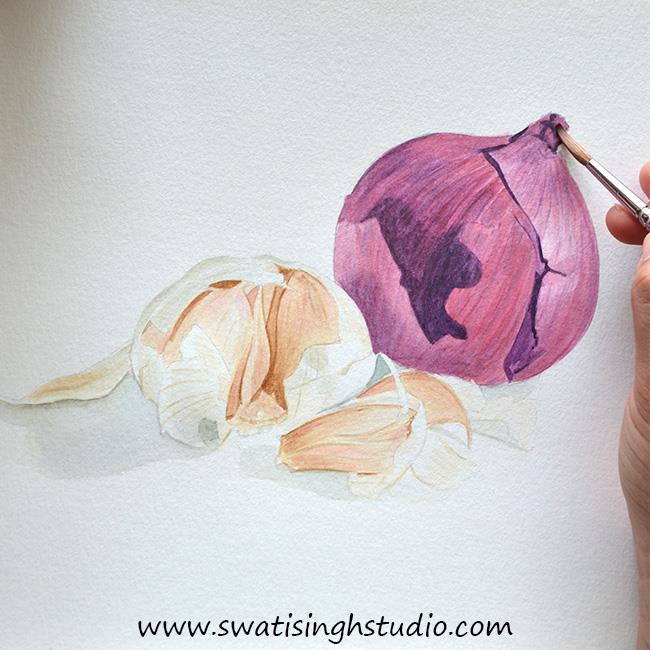
Step 13: The sketch is almost ready. Keep adding more layers as explained above to reach the desired saturation. Sign off with your beautiful signature.
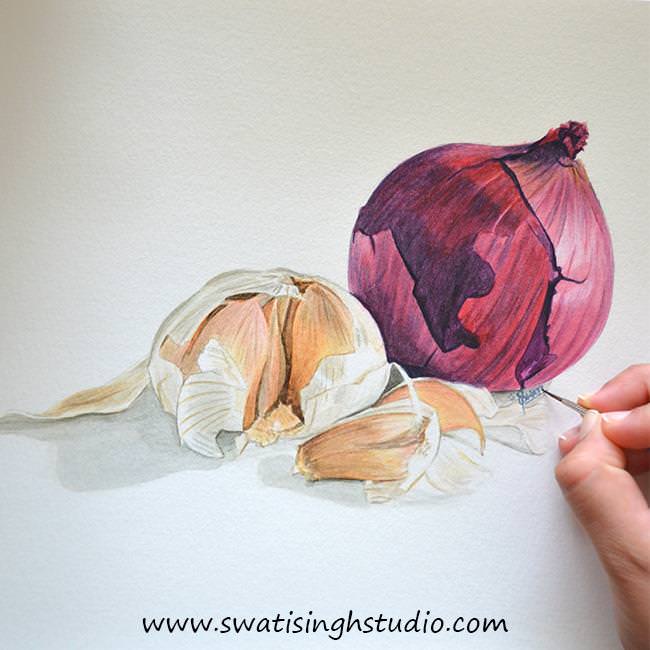
I hope you gained something from this week’s sketch. I loved painting these vegetables with delicate skins. Try these out at home and I am sure you will love painting them too! You may write your experience in the comment section below.
Please feel free to ask me any doubts or questions you might have regarding this tutorial. Do not forget to SUBSCRIBE to stay updated on all the future posts.
I will be back with another vegetable next week. Till then enjoy painting!
Swati