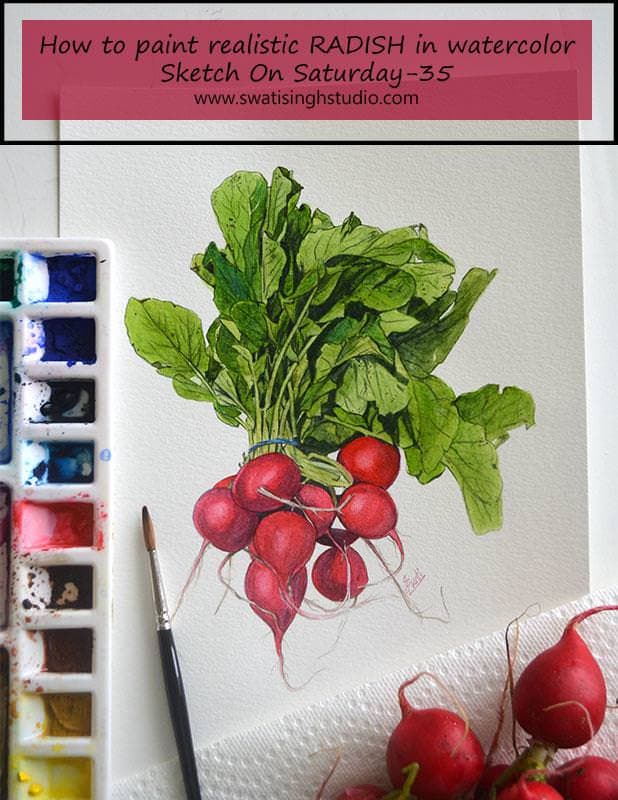
Hello, lovely artists. Hope you all are enjoying the autumn season. This week I have radish in watercolor for you all. The bright red color always attracts me whenever I see them in the vegetable aisle. I always wanted to paint them.
Greens leaves are equally important as they make the red pop more. Together they make a beautiful composition. I am including the rubber band to make them look put together.
So let us take a look at the photo I took.

The watercolors used are following
1. Sap green
2. Indigo blue
3. Permanent rose
4. Cadmium red
To know more about the series and the materials used kindly click HERE.
So without further delay let’s begin painting.
PART 1- LEAVES
Step 1. Apply clear water inside the leaves and drop in some sap green. Do this for all the leaves one by one.
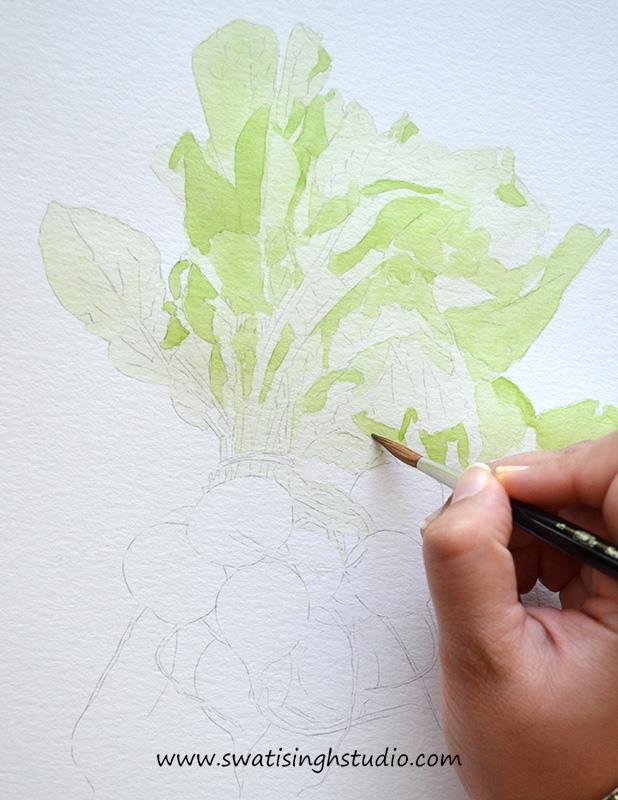
Step 2. Add another layer of sap green to block them out from each other as shown below.
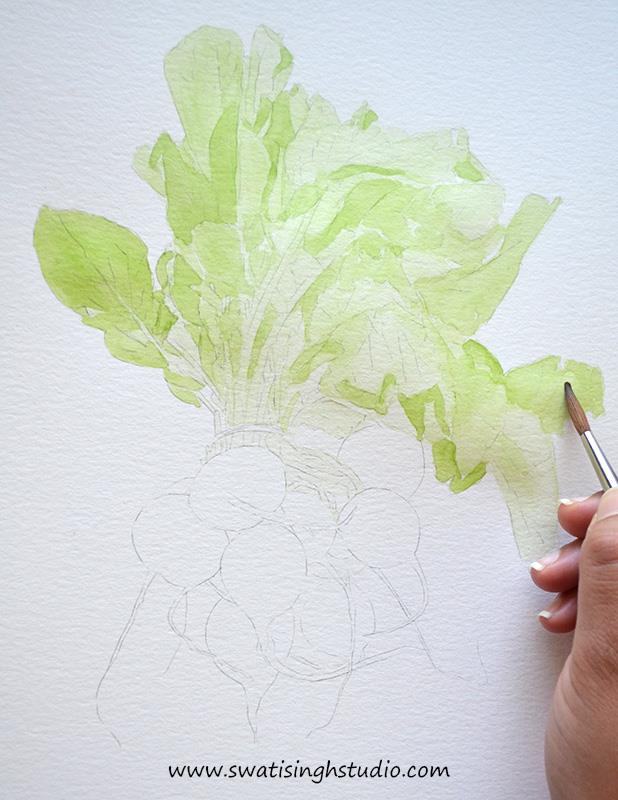
Step 3. Mix some indigo blue to sap green to make a darker shade of green. Apply this color on the areas where you see the darkest greens.
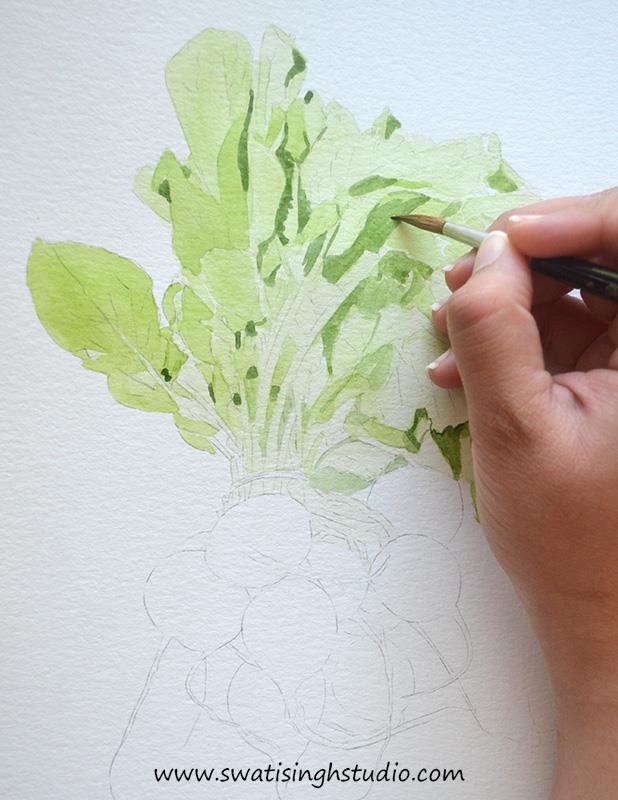
Step 4. Now add fine details using a number 1 brush as shown below.
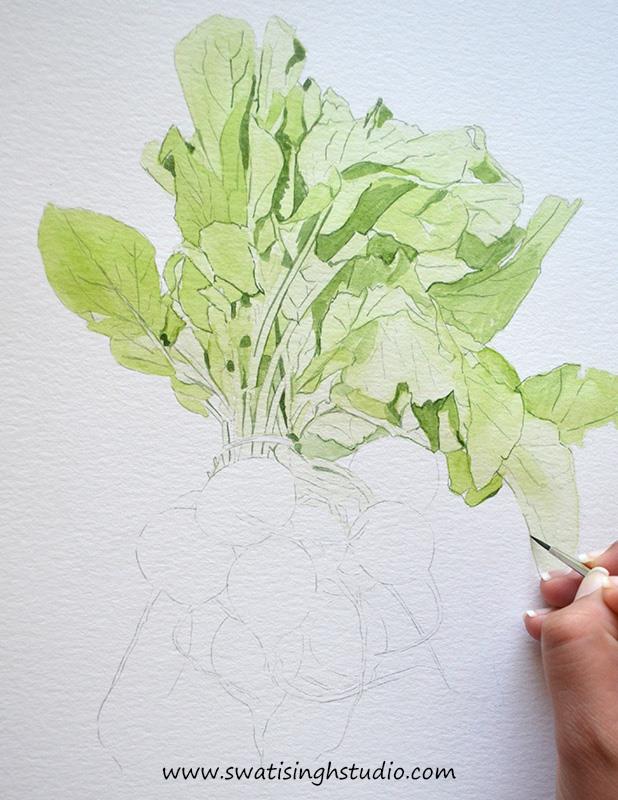
Step 5. Once the details get dried completely give the leaves another light wash of sap green.
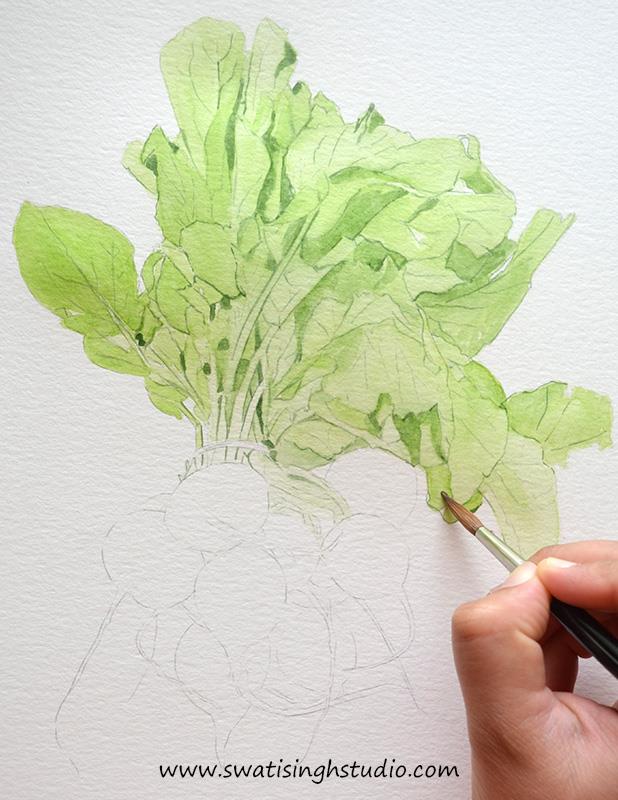
PART 2- RADISH
Step 1. Block out the radish with a very light wash of Permanent rose.
Be careful not to paint the fine roots overlapping the radish.
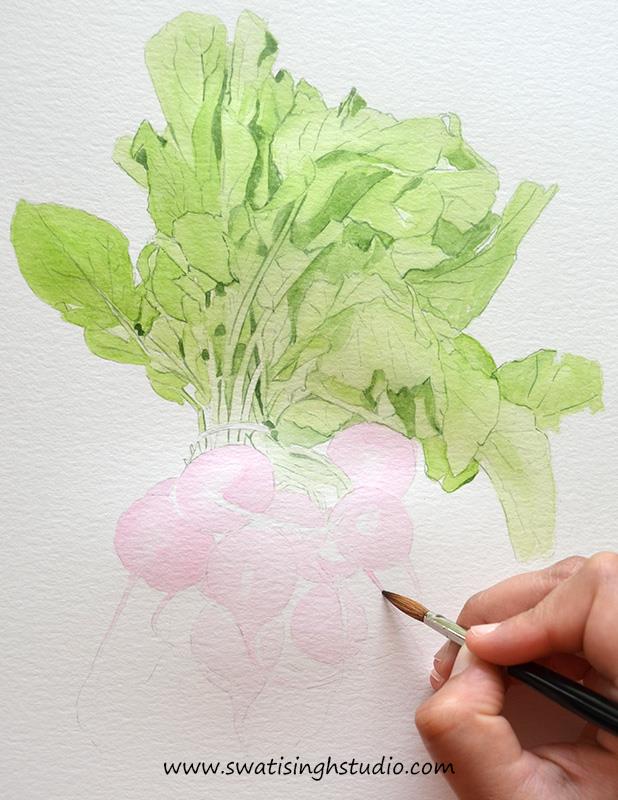
Step 2. Now repeat the above step with a slightly thicker consistency of Permanent rose.
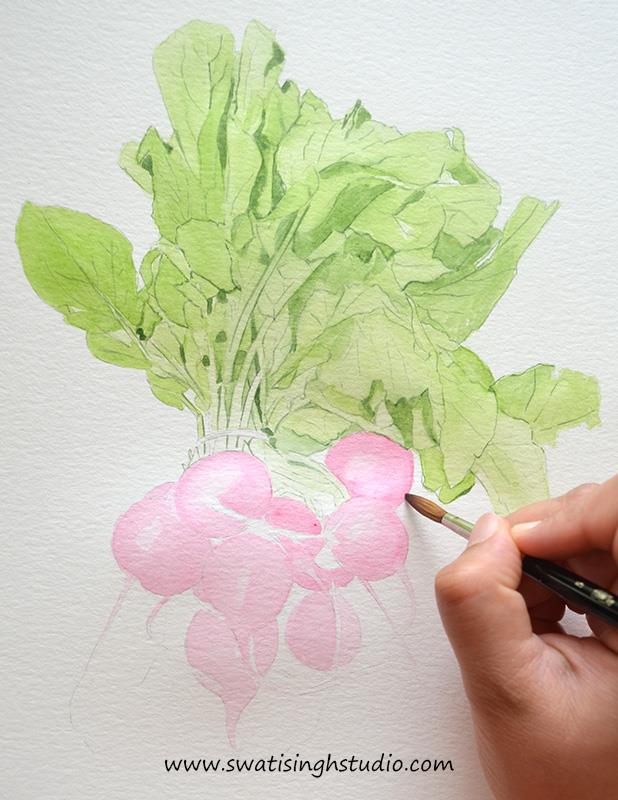
Try to follow the contour of the radish to make them look realistic. The direction of brush strokes matters.
Step 3. Now gently add a wash of cadmium red while it is still wet. This will help the colors blend in smoothly.
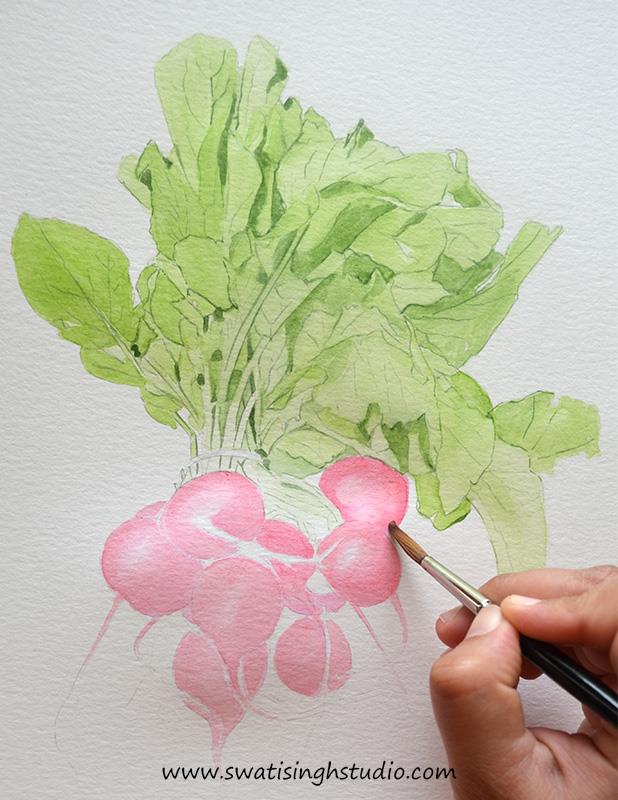
Step 4. Gently drop in just a tiny amount of indigo blue on the shadow areas. The wet colors will blend smoothly.
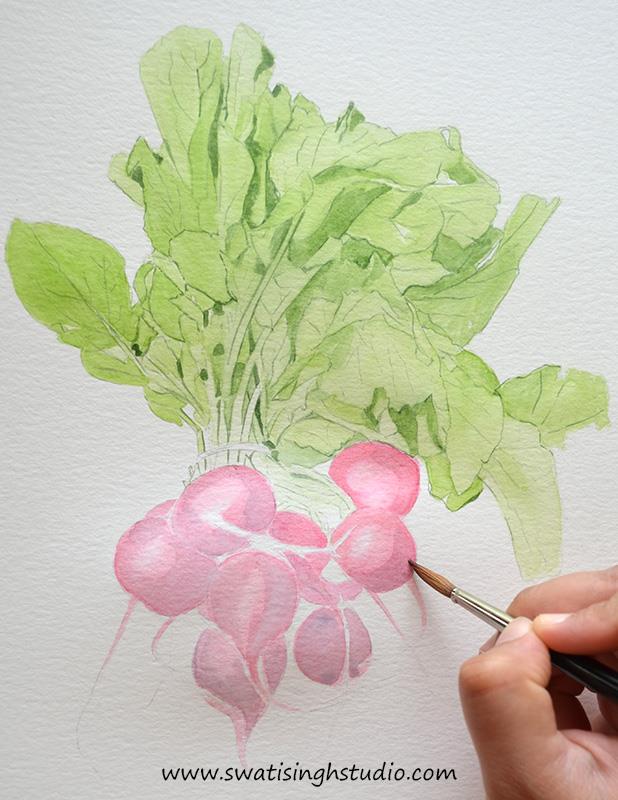
Step 5. Once the sheet is partially dried add another layer of cadmium red to make them look brighter.
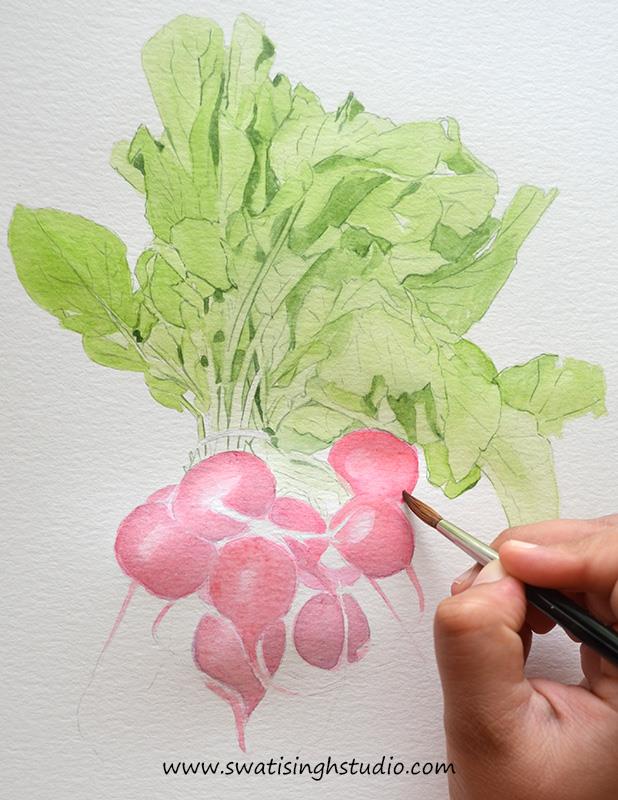
Step 6. For the fine roots simply give a very light wash of burnt umber as shown below.
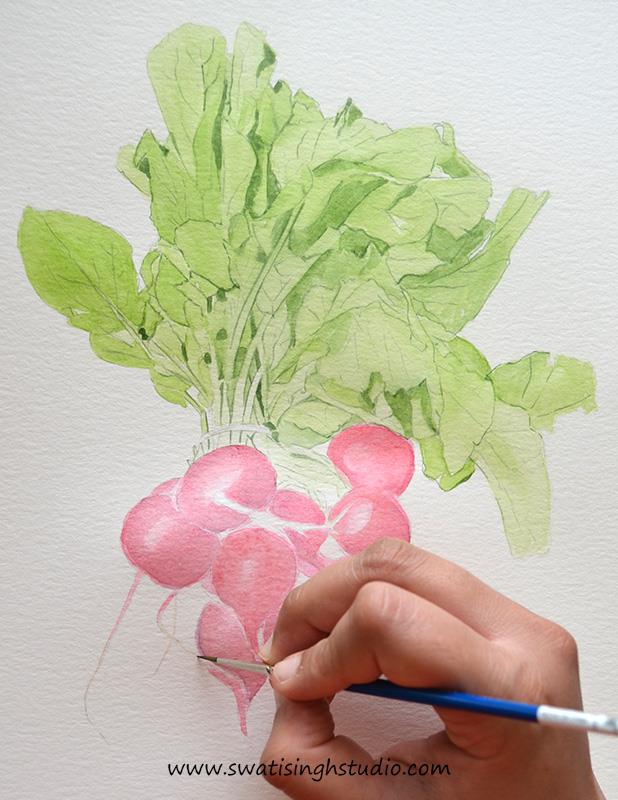
Step 7. Now the basic sketch of radish is complete. For a more realistic and saturated painting simply repeat the above steps and build up layers. Keep evaluating the values while you paint. Keep the breakup of the reference image in mind.
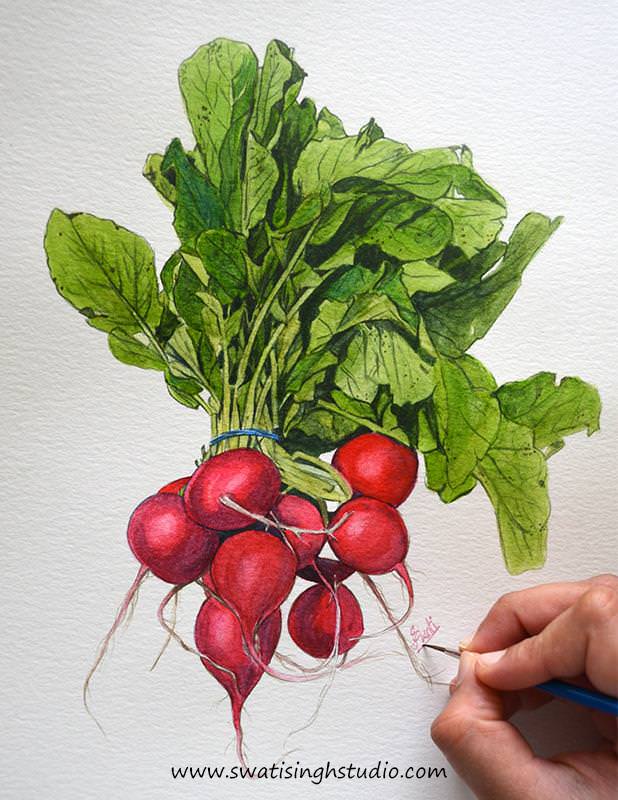
If you liked this tutorial try it at home and let me know how it turned out in the comment section below. You can also write to me on the various social media platforms.
If you have not already, kindly SUBSCRIBE to my blog to receive all the future posts direct in your inbox!
So have fun painting radish this weekend and I will come back with yet another sketch next Saturday.
Swati