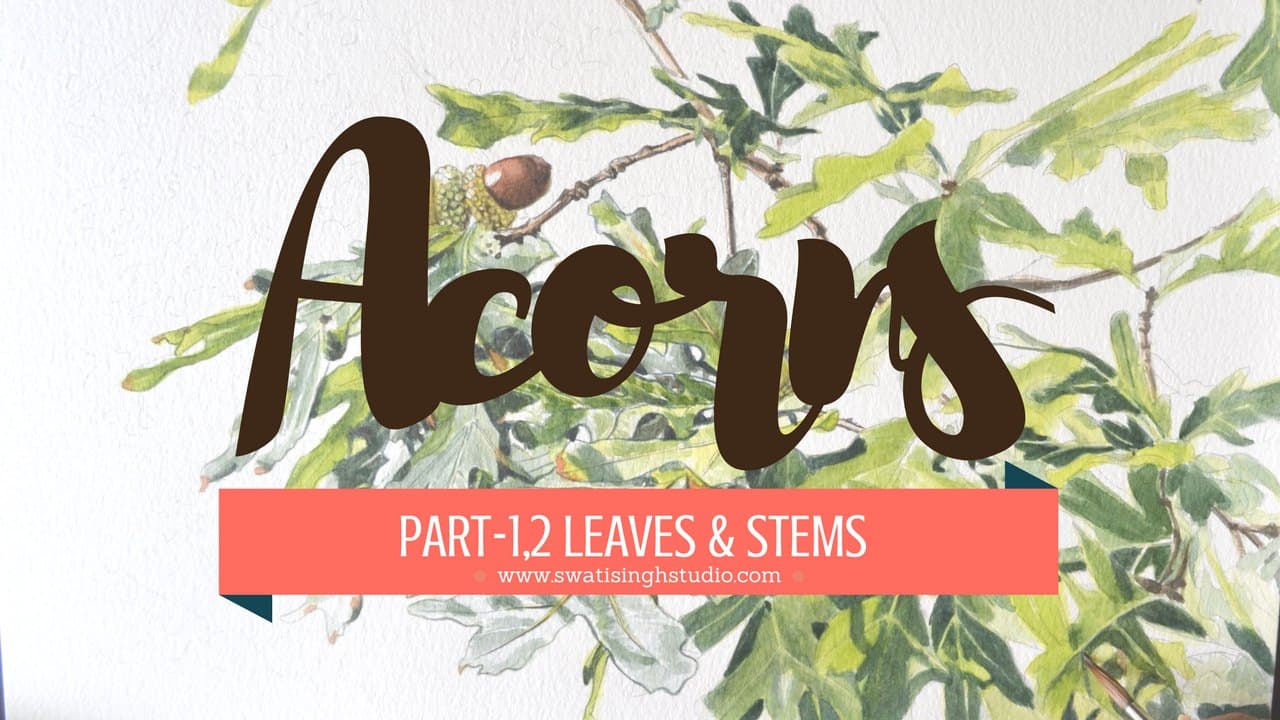
Welcome back, my lovely artists! The Fall season is here and the trees have started changing colors from green to yellows, oranges, and reds! It is so beautiful around here in Virginia. Today I am sharing a watercolor tutorial for white oak leaves and acorns.
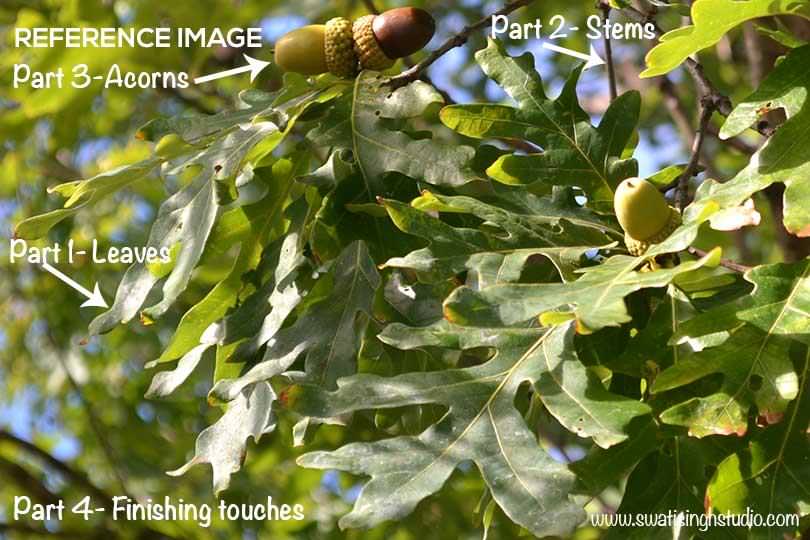
REFERENCE IMAGE
WATERCOLORS USED
1. Sap green
2. Indigo blue
3. Lemon yellow
4. Burnt sienna
5. Burnt umber
6. Cadmium yellow
7. Cadmium red
BRUSHES USED
#4 round brush
#1 round brush
COLOR STUDY
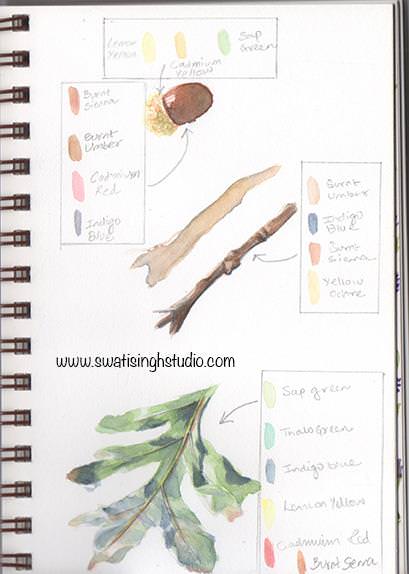
Note: I did not use yellow ochre in the stems.
I also did not need to use Thalo green in the leaves.
THE DRAWING

Since the composition is very busy this time I am providing you the drawing for this tutorial. You can use this drawing for practicing all the steps mentioned below!
THE METHOD
1. Mapping out the colors (lights followed by darks)
2. Building layers
3. Adding details and finishing touches
THE ORDER
I have divided the tutorial into 4 parts:
1. Oak leaves
2. Stems
3. Acorns
4. Finishing touches and adding details
Part 1- OAK LEAVES
When we observe oak leaves carefully we will find two types of green shades:
a) Bluish greens (shadow areas on the leaves)
b) Yellowish greens (areas lit by the sun)
Mapping out the greens ! (#4 brush)
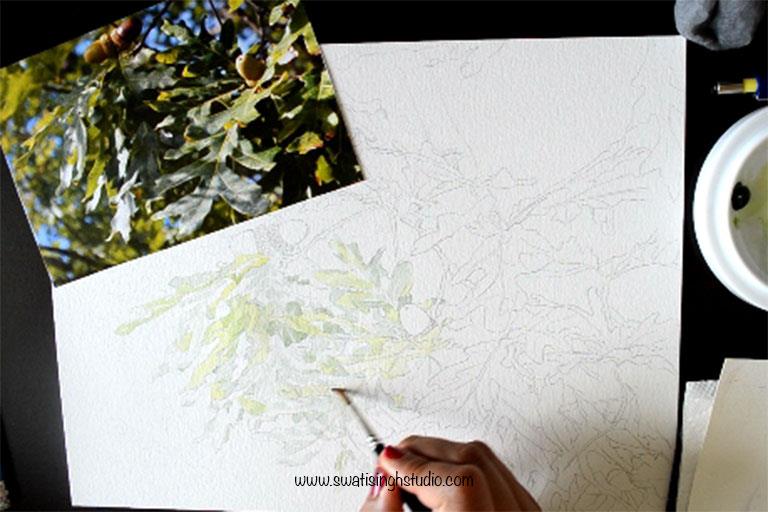
Step 1. Let’s begin by mapping out all the bluish green shadows on the leaves. For this mix some indigo blue and sap green together and apply a very pale mix on the shadow areas as shown below.
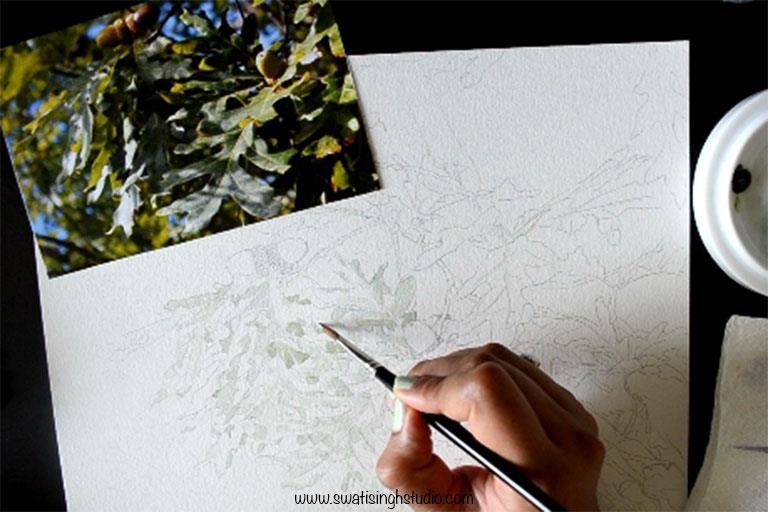
Step 2. Moving onto the yellow areas now. Mix just a little amount of sap green to lemon yellow. Apply a pale mix of these two on the bright sunlit areas as shown below.
Building layers ! (#4 brush)
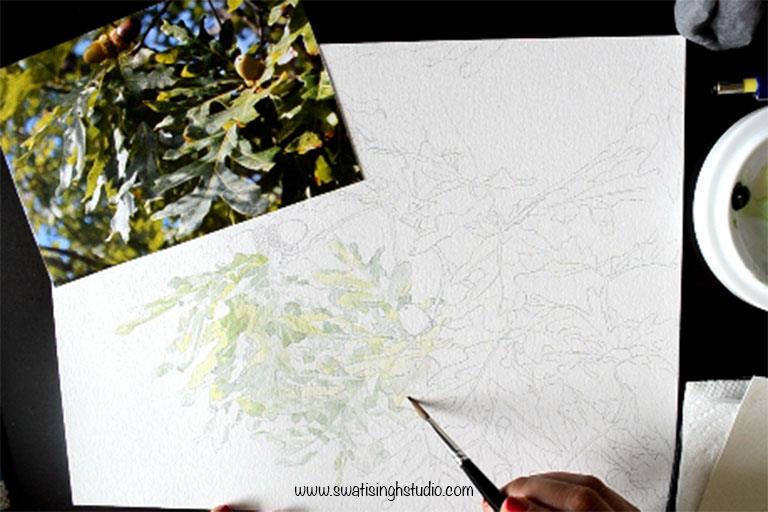
Step 3. Now with both the green shades in place, we can start building the layers of colors. Add some more indigo blue to sap green to form a slightly darker shade of green. Apply this color to the dark green areas.
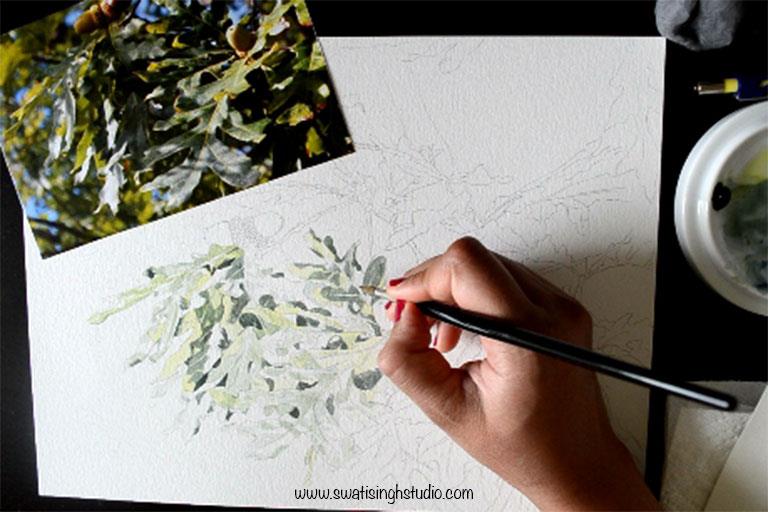
Step 4. Now it is time to mix a very dark shade of green by adding a good amount of indigo blue to sap green. Apply this color to the darkest shadows as shown below. I added a tiny amount of cadmium red too. This results in almost a blackish color!
Step 5. Brighten up the leaves by adding a layer of sap green as shown below. Make sure to leave any obvious highlights where the sun hits the leaves. These highlights are slightly bluish with no yellow component.
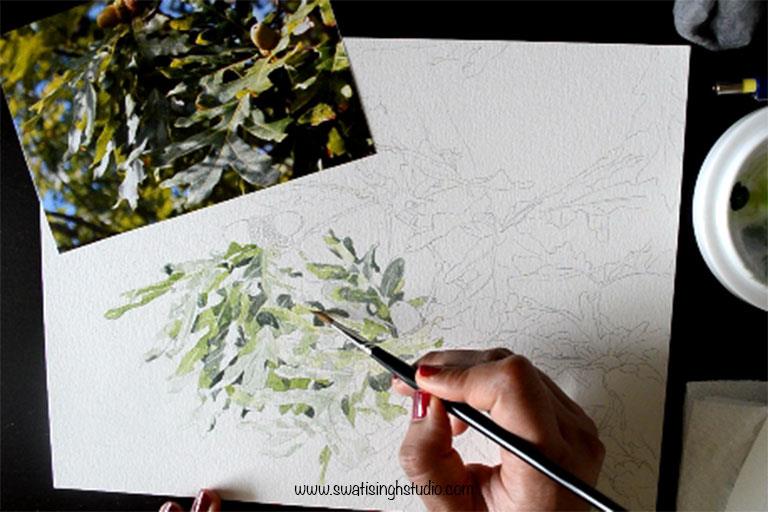
Important: Make sure to protect the central veins of the leaves from any green color. Keep them light.
Step 6. Repeat the above steps and build some more layers to get the right saturation of color.
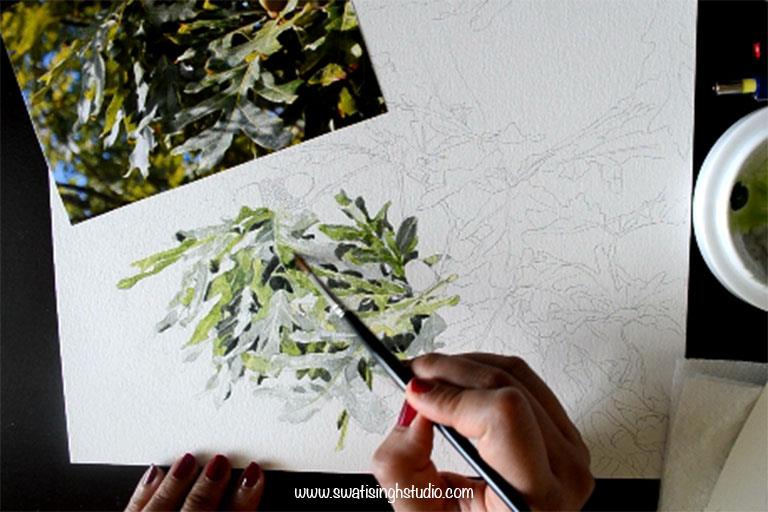
PART 2- STEMS (#1 brush)
Step 1. Apply a very pale layer of burnt sienna to the stems as shown below.
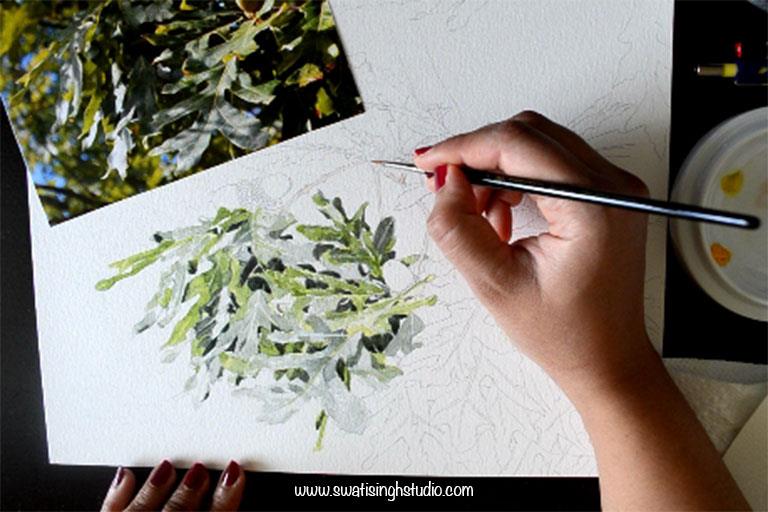
Step 2. Now apply burnt umber to the shadow areas on the stems to give them a form. Leave out all the bright areas you see where the sunlight hits the stems.
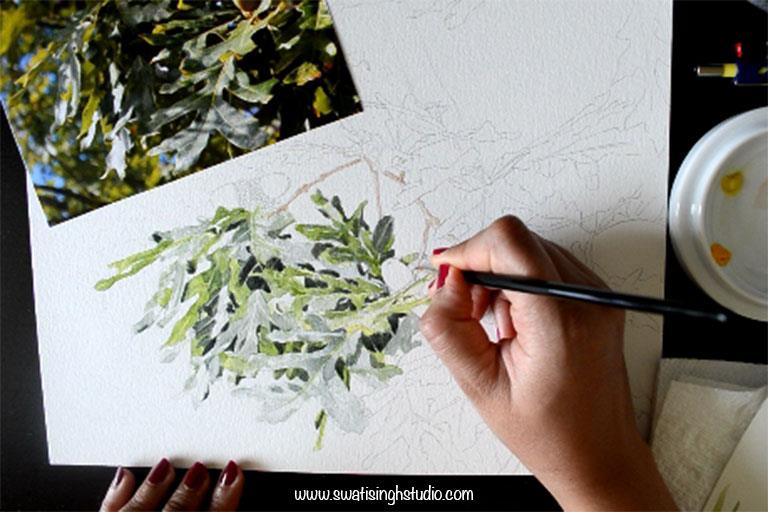
Step 3. Mix some indigo blue to burnt umber and apply this dark brown mix at the base of all the stems. Outline the stems gently to give definition. Also, add this dark brown to all the nodes.
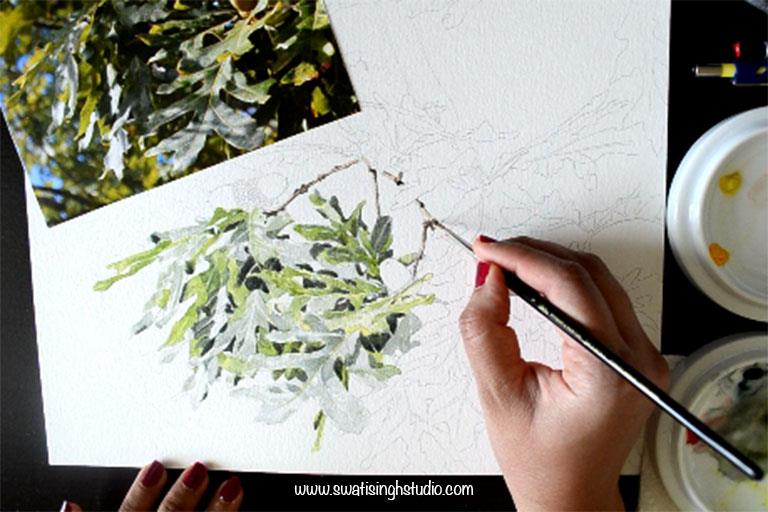
The leaves and stems are done for now. In the next part of the series, we will cover the acorns and the finishing touches. Give these leaves a try and do not forget to watch the Youtube video for a better understanding of the procedure. The video covers everything without skipping any steps.
If you are feeling a little intimidated with this composition then do not worry I have two previously painted tutorials for fall season listed below.
Pumpkin in watercolors (beginners)
Indian corn in watercolors (intermediate)
You might find the above tutorials helpful too.
So enjoy painting in watercolors this season and Subscribe to my channel to get an update on all the future tutorials.
Happy painting!
Swati