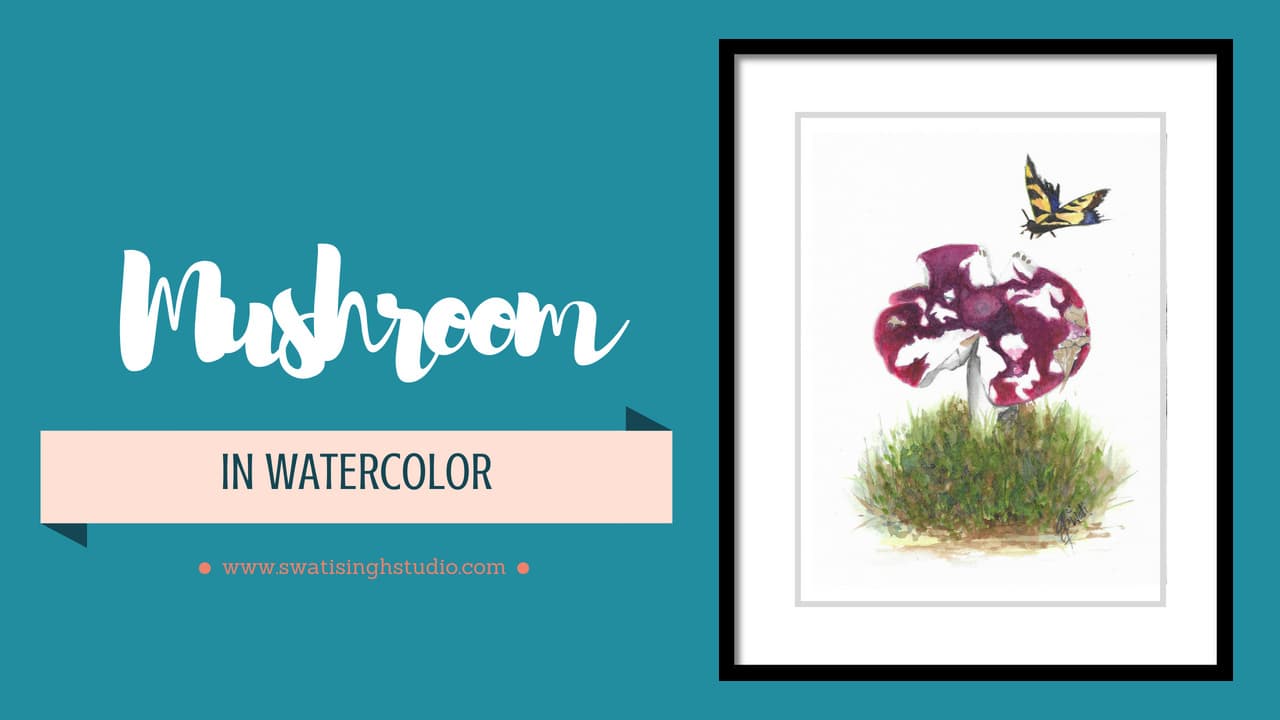
Hello, my lovely artists. With the start of Autumn season, I am back with the first tutorial this year. I know, such a long time, right! I apologize for keeping you waiting for so long.
Well, a lot of changes have happened in my life recently. Me and my husband have moved from the US to India this January. I took my time to settle down and got a job here as a design faculty! I am loving my new life but the days are hectic and the only time I have left for making art is during the weekends. I did some artworks for myself and now I made one especially for you all!
The topic for today is mushroom. I have a special liking for mushrooms as I find them fascinating. I captured a lot of mushrooms during the last autumn season in Riverbend Park in Herndon. One of them was this Russula mushroom.
Because of a delicate structure, they are prone to breakage and if you ask me the broken heads make them look even more adorable.
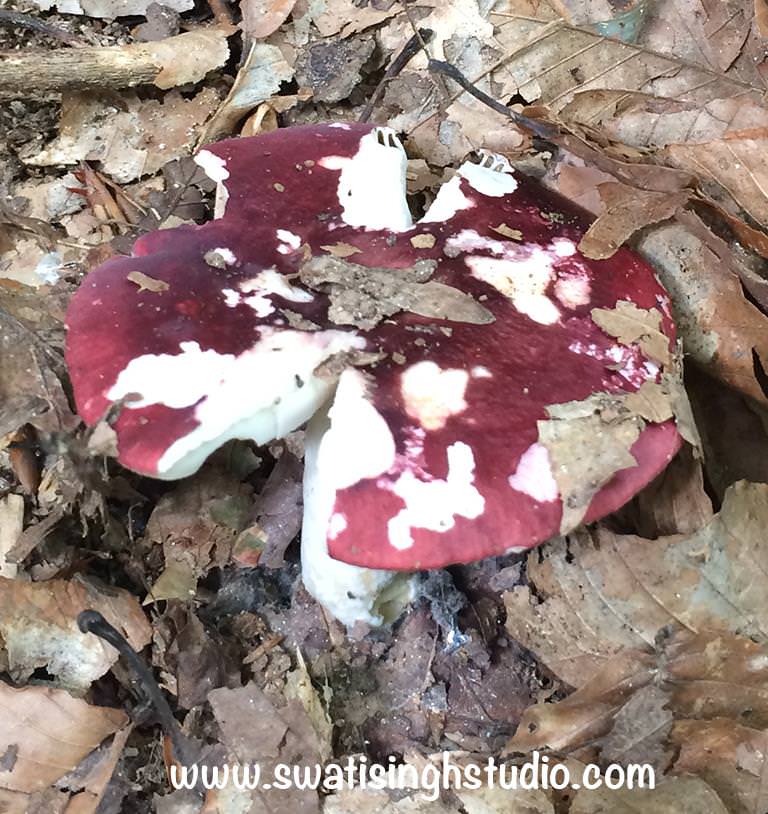

The watercolours used in the tutorial are the following
1. Cadmium red
2. Indigo blue
3. Permanent rose
4. Burnt umber
5. Burnt sienna
6. Sap green
7. Lemon yellow
The brushes are
#3 round brush
#1 round brush
THE PROCESS: I will be going back and forth between two layers of colours
Cadmium red and Purplish red (Indigo blue+ Permanent Rose)
PART 1-
Step 1: Start by adding a very pale layer of cadmium red using a #1 round brush.
Go around the white areas carefully as we want to protect the white of the paper.
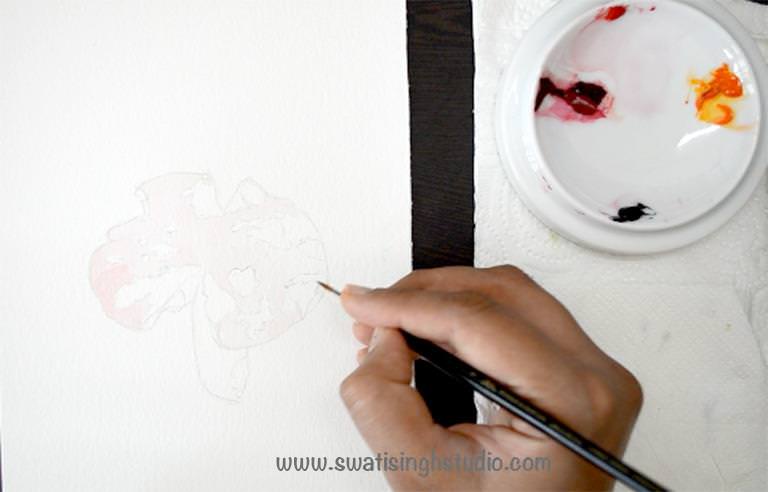
Step 2: Repeat the above step with another layer of cadmium red as shown below.
Keep the brush perpendicular to the sheet so that you can use the tip of the brush to create marks around the edges.
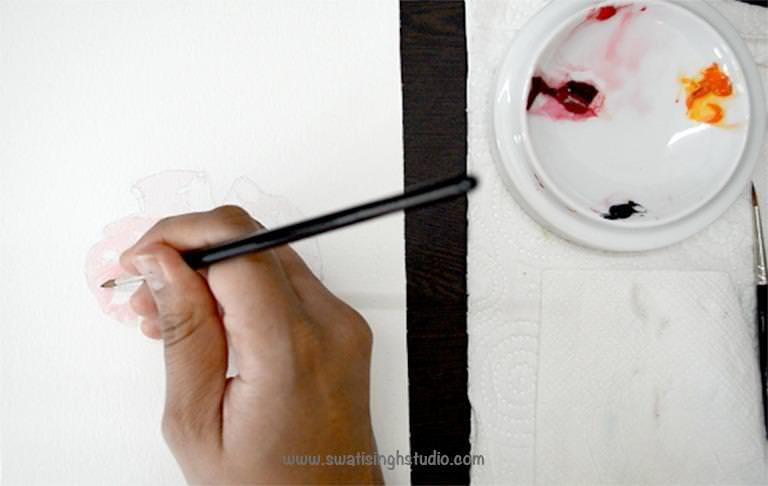
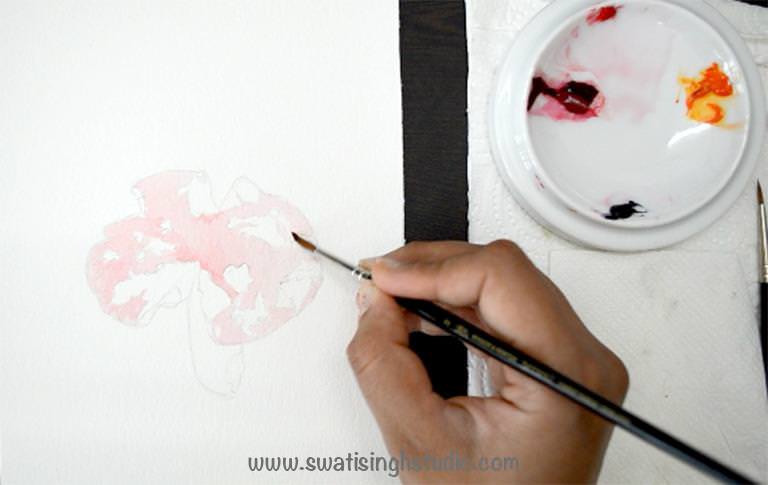
Step 3: Mix indigo blue and permanent rose together to create a purplish red colour.
Apply this colour to the dark areas of the cap.
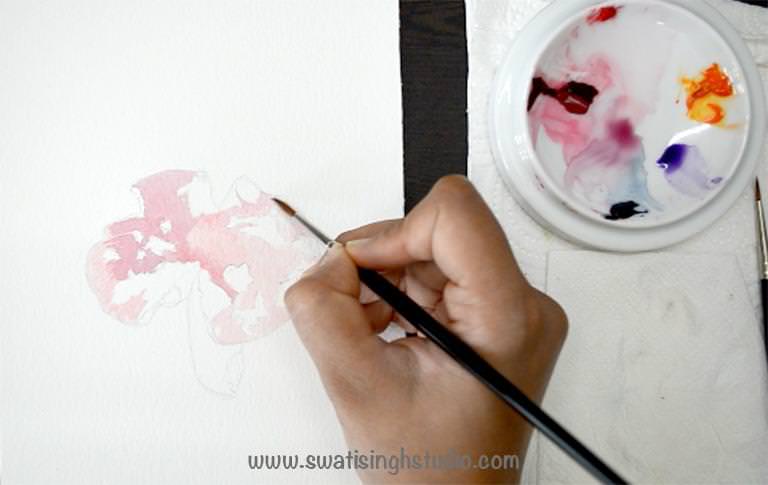
Step 4: Clean hard edges with a clean damp brush.
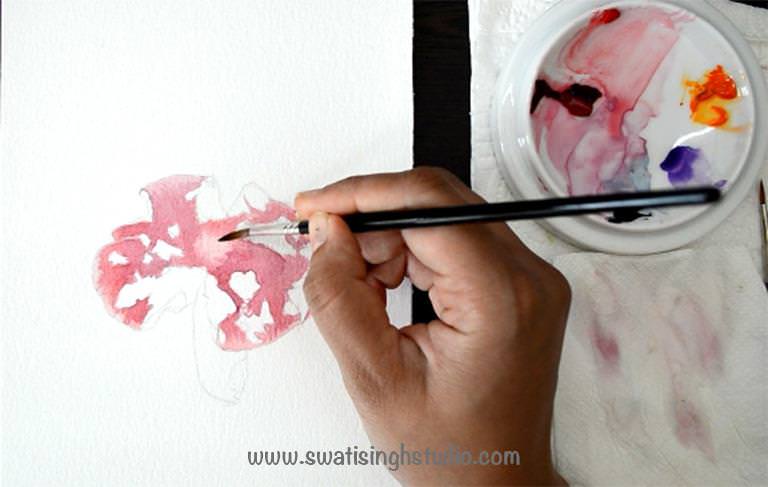
Step 5: Gently add a layer of cadmium red to brighten the mushroom.
To create a roundness around the edges keep the colour light outside and dark inside.
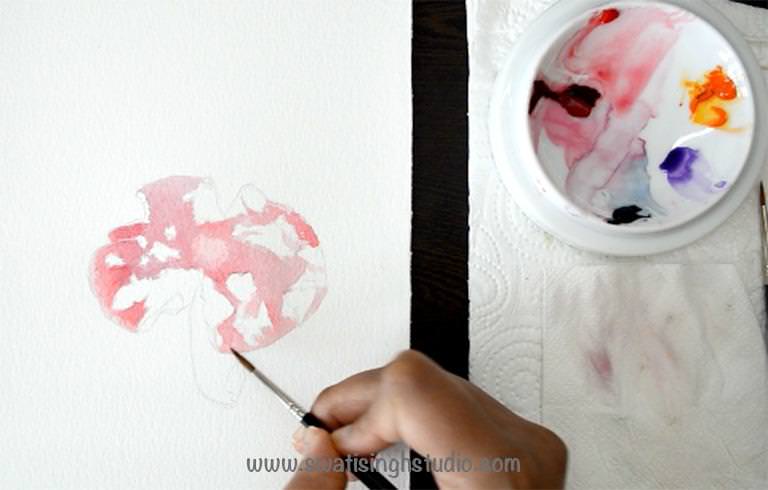
Step 6: Moving to the layer of purplish red again.
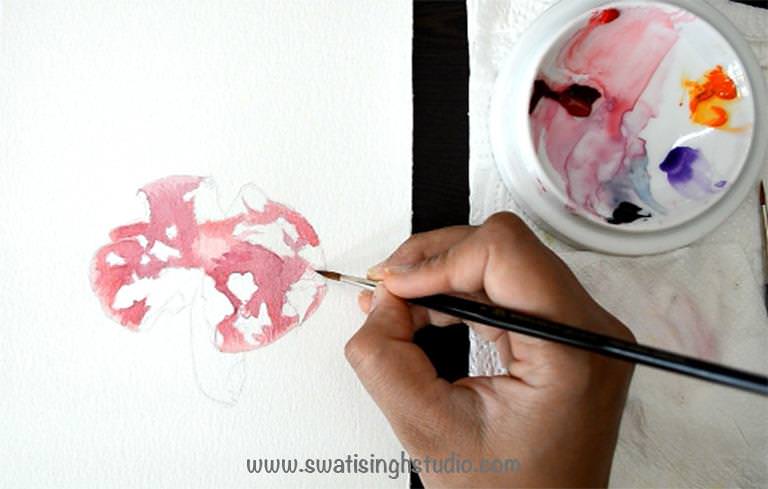
Step 7: Soften hard edges with a clean damp brush.
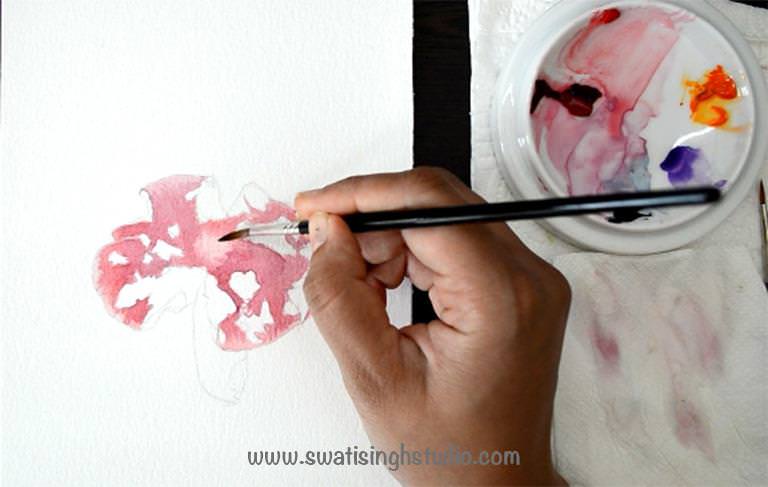
Step 8: Here comes a layer of cadmium red!
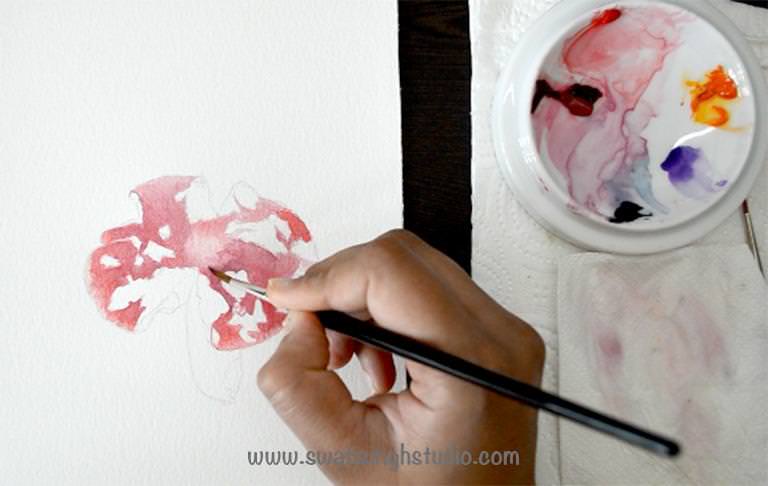
Step 9: Wet the middle area of the mushroom with clear water and then proceed by applying the dark purplish red colour or else hard edges will form.
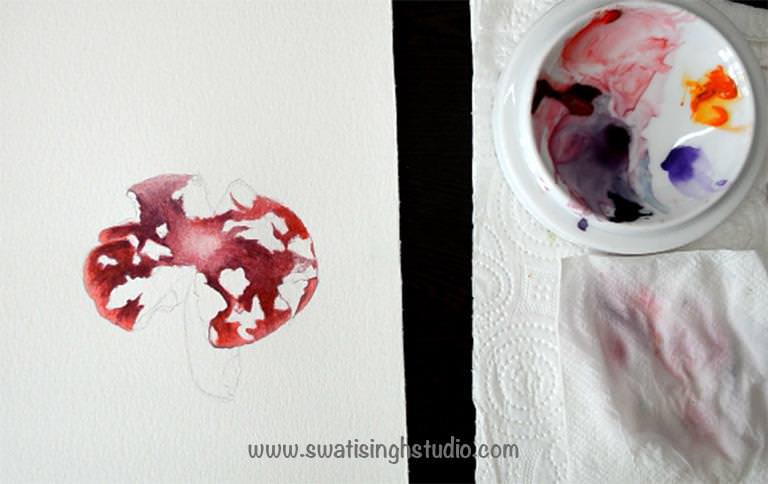
PART 2- STEM
Step 1: Apply a very dilute layer of indigo blue. I Indigo blue is a very dark colour hence add enough water to dilute it.

Step 2: Repeat with another layer of indigo blue to the dark inside areas of the stem as shown below.
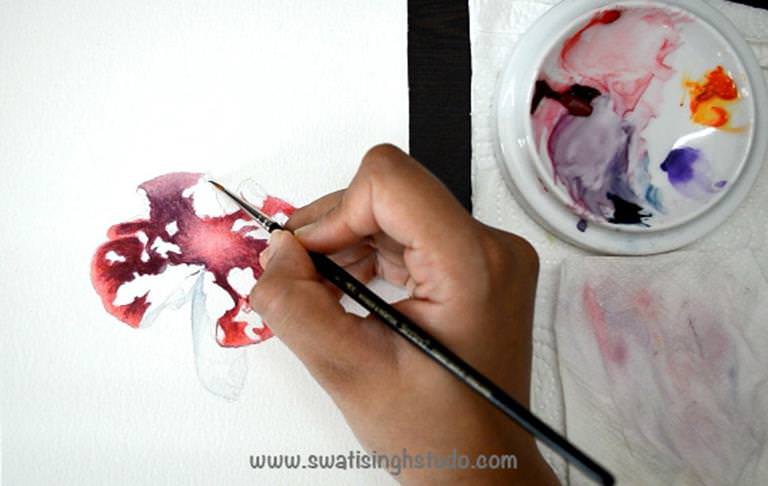
Step 3: Mix some burnt umber and indigo blue. Add to the shadow areas.
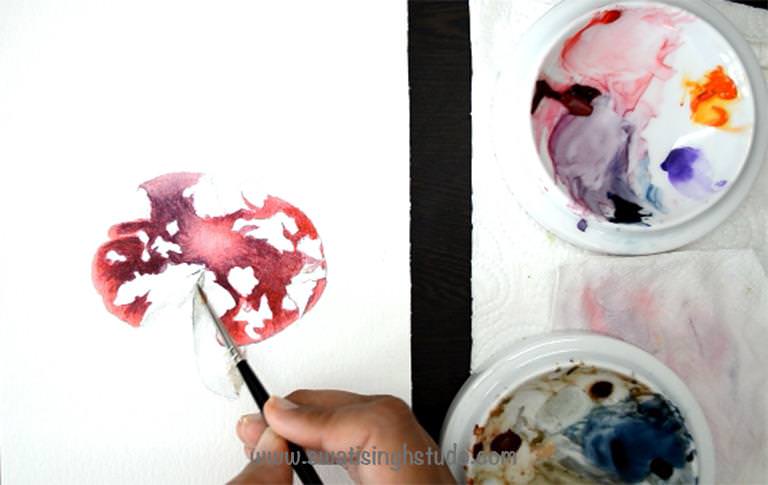
Step 4: Add fine details with a fine #1 brush in burnt sienna.
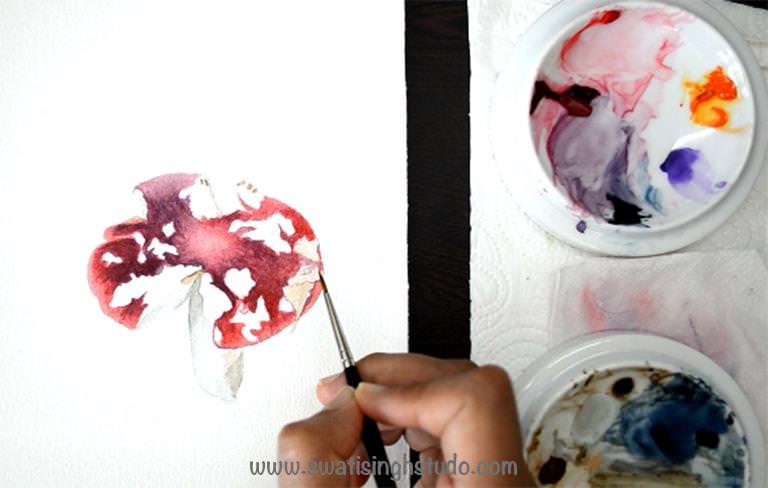
Step 5: Repeat another layer of indigo blue.
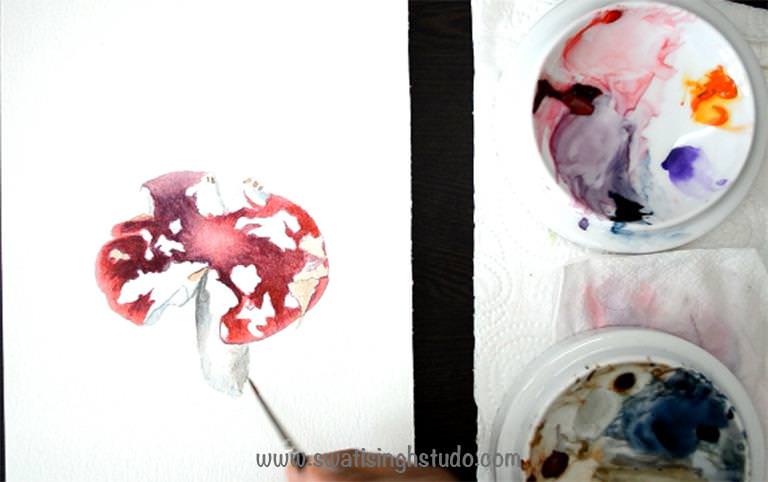
Step 6: Add final details with burnt umber.
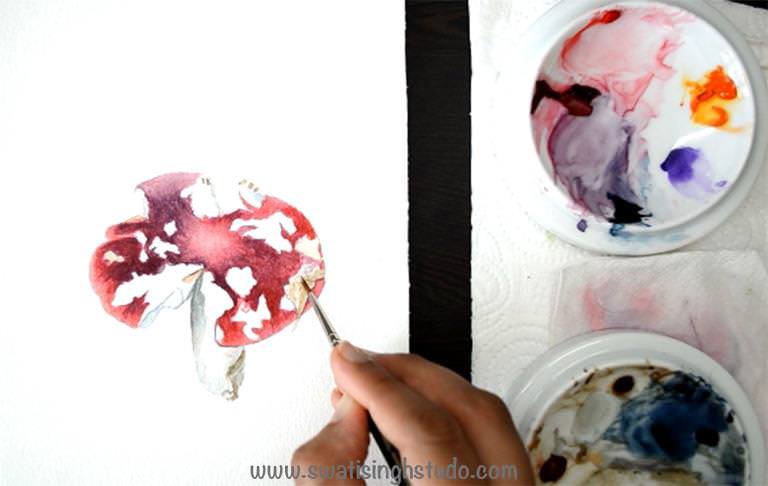
PART 3- GRASS
Rendering of the grass will be done very quickly using wet in wet technique.
Step 1: We will be needing sap green in this step. Create grass blades by moving the brush in upward strokes, keeping the brush perpendicular to the sheet. This will help in creating fine blades with the tip of the brush.
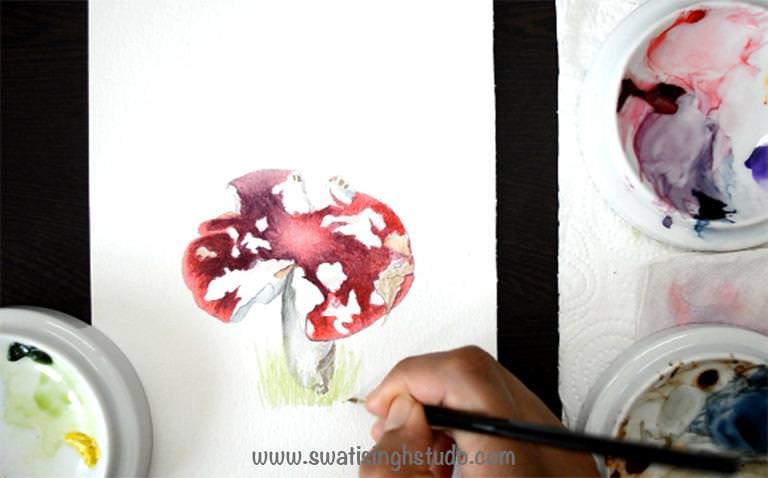
Step 2: Add diluted sap green at the base of the grass.
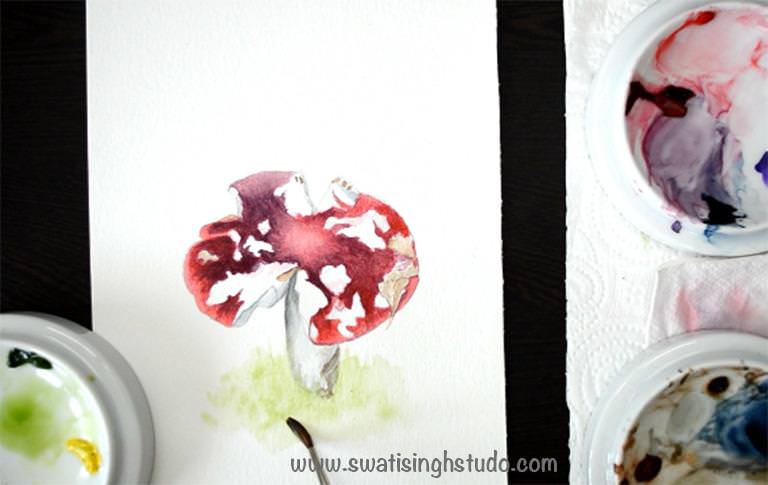
Step 3: While the sheet is still wet drop in some burnt sienna here and there.
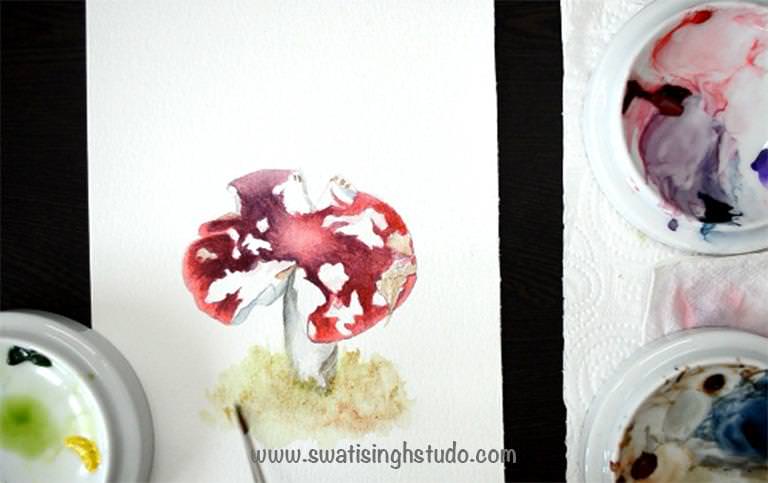
Step 4: Now drop some burnt umber in.
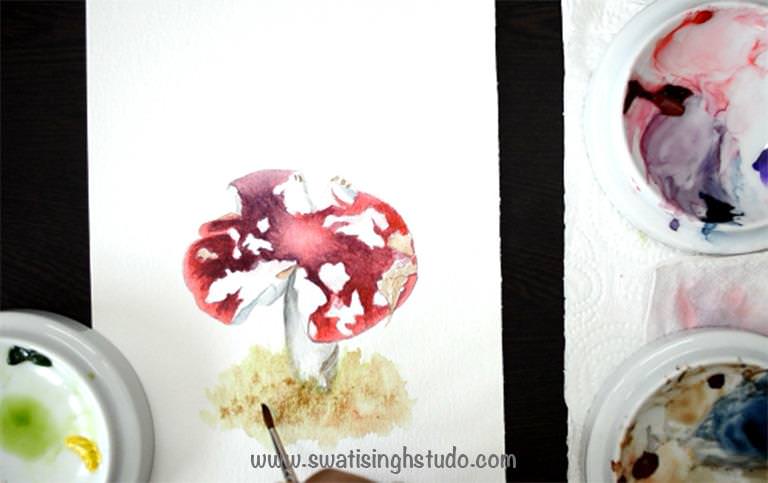
Step 5: Add some sap green now.
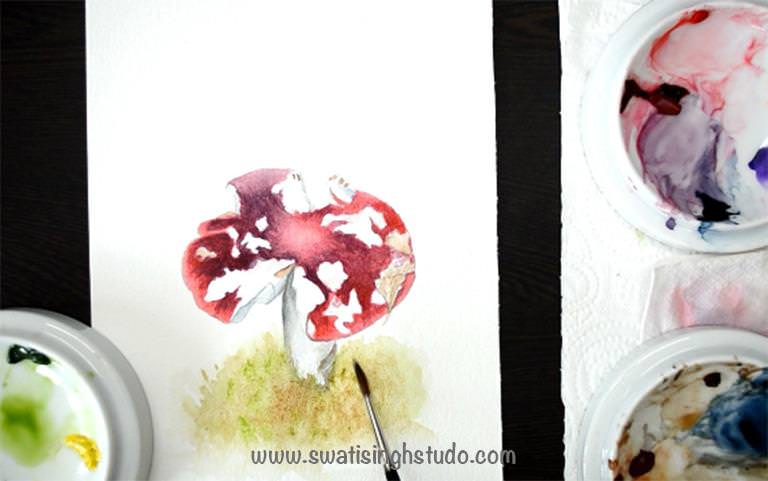
Final Touches: mixed some indigo blue to sap green to create a dark green shade and added to the grass.
After a few more layers and some final touches, this is what the mushroom looks like!
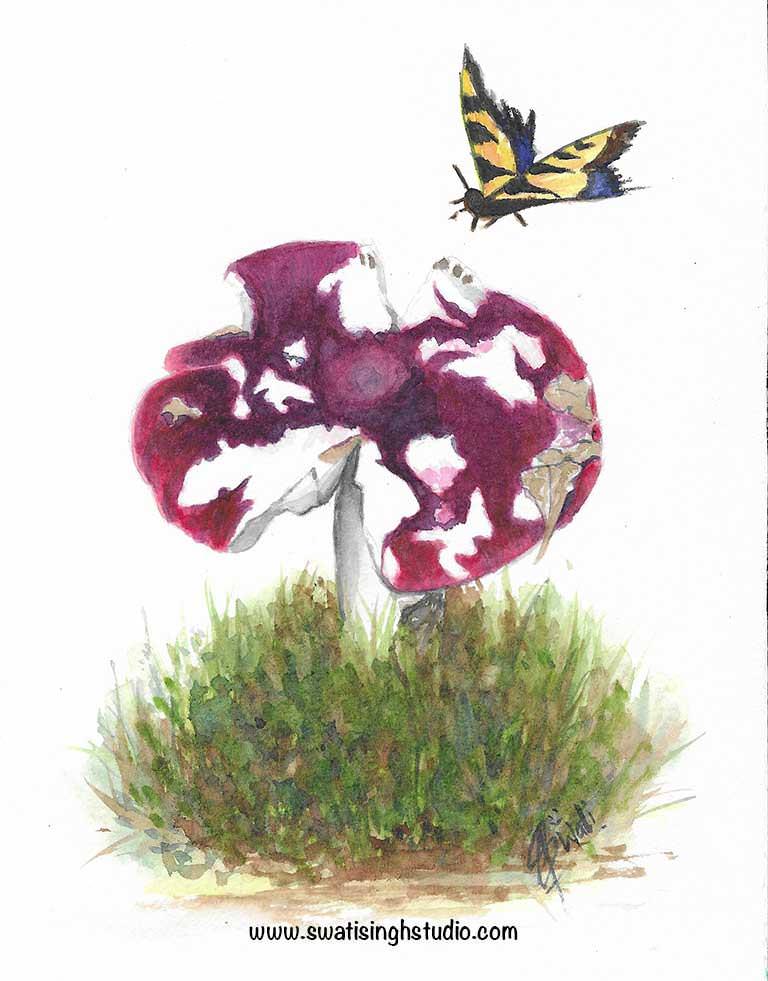
I enjoyed painting this mushroom a lot. I also added a little butterfly in the end and it surely creates a magical fairytale scene!
Do paint this and share your artwork with me via email. I would love to see them.
Do not forget to subscribe to my YouTube Channel and if you haven’t already, SUBSCRIBE to my blog to stay updated on all the future posts!
I will be back with another tutorial, till then happy painting!
Swati