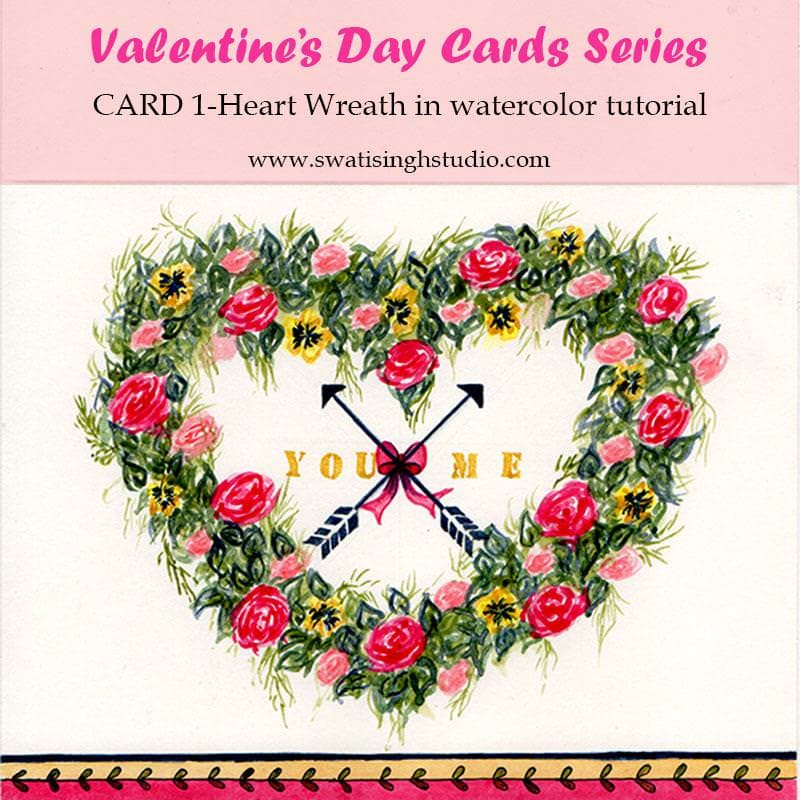
About 1 billion Valentine’s Day cards are exchanged each year. This makes it the second largest seasonal card-sending time of the year.
Hello, lovely people. How are you all doing? I am so excited to start this series today!
Valentine’s Day will be here in no time, the stores around are already up with decorations!
I will be posting four tutorials in the series. The card we are painting today has a heart wreath with a message in it.
Today I will be sharing not just the painting process but also the designing process with you all. I will share how I designed the composition.
Designing this wreath was like designing a necklace to me (Yes now the jewelry designer in me is talking! )
To know the required material list for this series you may refer to THIS POST!
PART 1- DESIGNING IN ROUGH
Step 1. First I did some rough work on a sketching pad.
I knew I wanted a heart wreath with a message inside.
Hence, I sketched a simple heart with an HB pencil.
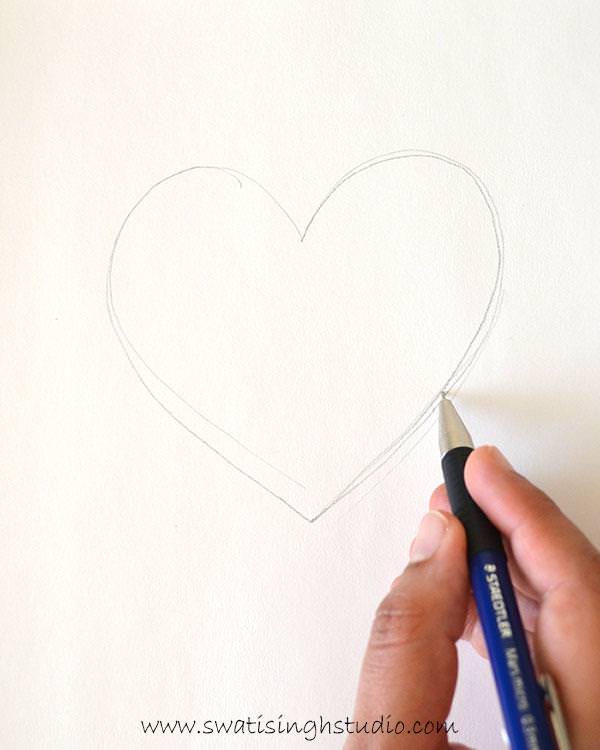
When designing, I asked myself a couple of questions such as:
Q. How chunky the heart should be according to the size of the card?
A. I wanted a chunky wreath to fill up some good amount of space on my card and at the same time to leave enough room for a small message inside.
Q. What color scheme am I planning to go with?
A. I wanted a multicolored wreath with pops of hot pink roses in between.
Step 2. I started by adding flowers on the wreath, keeping them somewhat equidistant from each other.
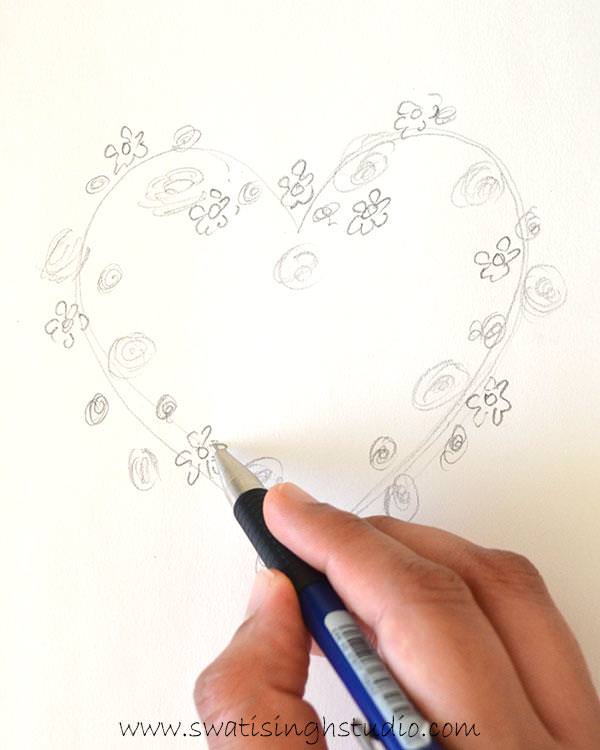
Step 3. Then filled up the rest of the wreath with leaves.
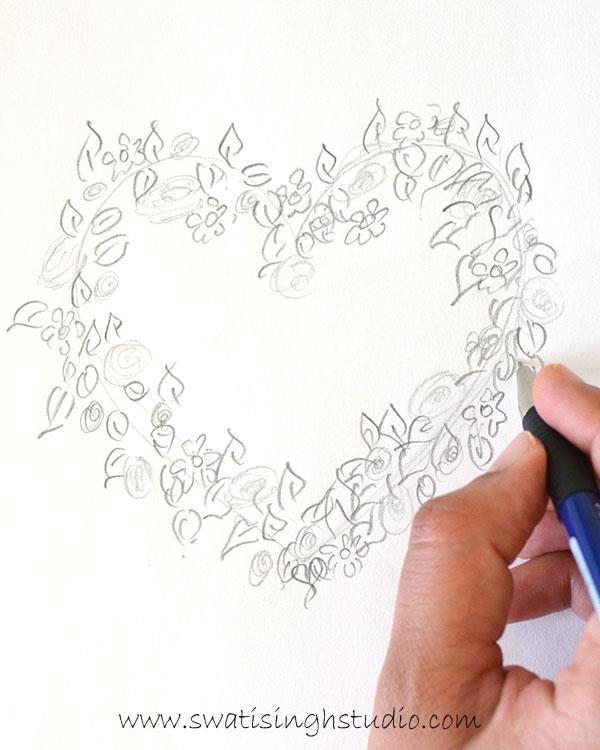
Tip: Step back and look for balance. Add leaves wherever necessary!
Step 4. Then I went ahead and quickly added some colors to my wreath using colored pencils.
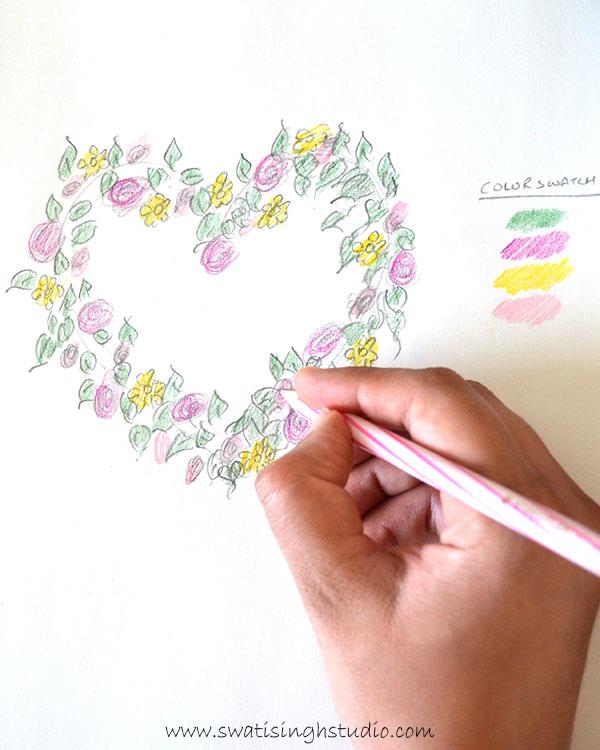
Note: The watercolors are going to be much saturated than these pencils. This is just to get an idea of the final look. You may also paint in watercolors for better accuracy!
The rough work is complete. Let’s move to the card now!
PART 2- THE ACTUAL CARD
I recommend a fine brush for this card. I used a no. 1 round brush here.
The colors used are:
1. Permanent rose (for roses)
2. Lemon yellow (for pansies)
3. Ultramarine Blue (for pansies)
4. Yellow ochre (for pansies)
5. Cadmium red (for light pink roses)
6. Sap green (for leaves)
7. Indigo blue (for leaves)
Step 1. I did not draw everything on the card. I referred to my rough sketch and painted directly over the heart.
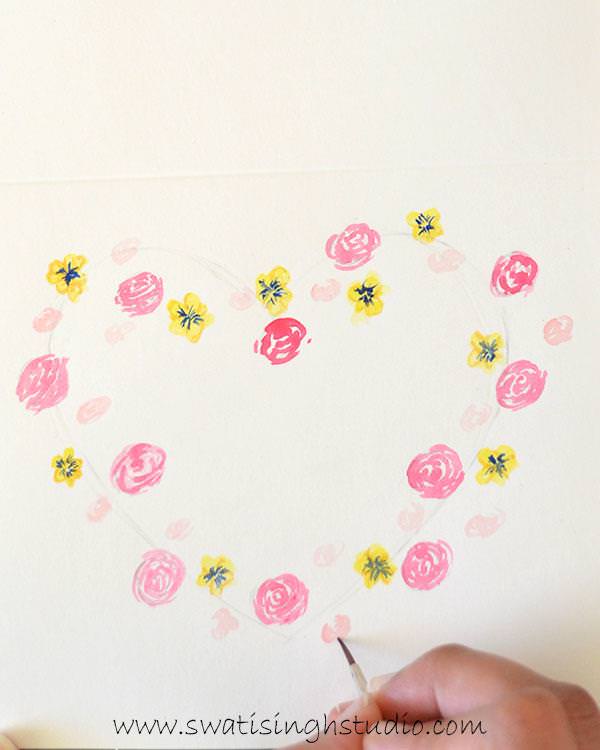
Step 2. This is what it looks like after the first layer of colors.
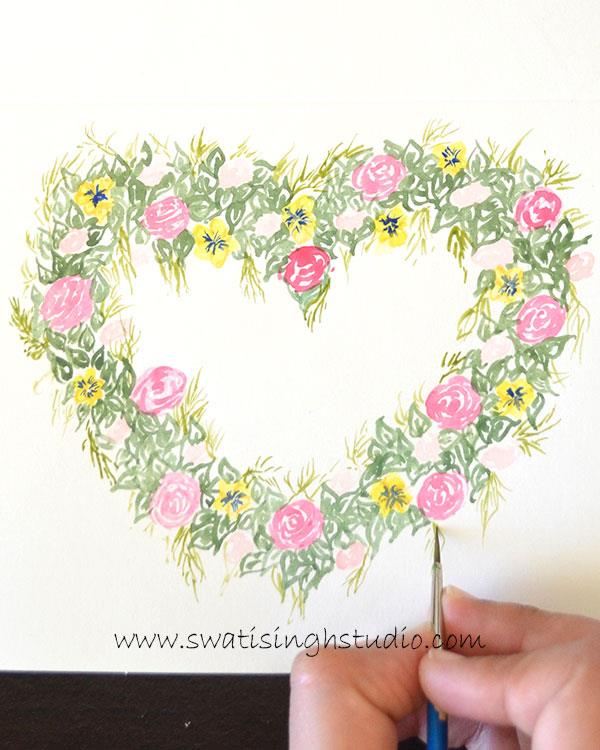
As with my rough sketch, I started by painting the flowers first and then filling up the rest with leaves.
Step 3.With another layer of colors, the wreath was sufficiently saturated.
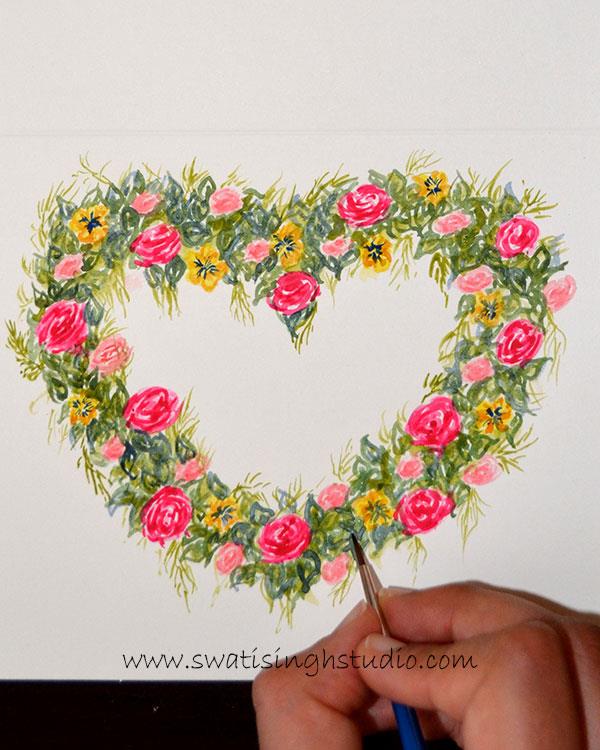
Step 4. Then I added a message using some alphabet stamps and ink.
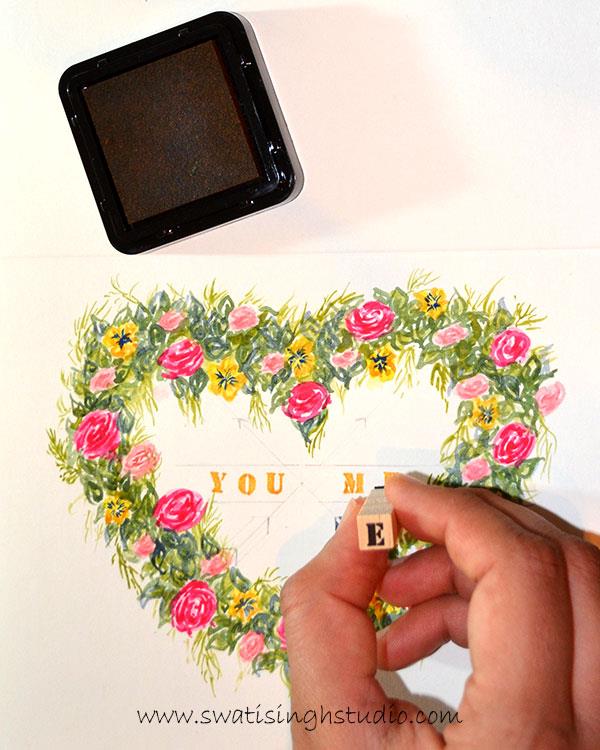
Tip: You may go ahead and paint a message of your choice in watercolors itself. I was just in the mood to use my new stamps :D
Step 5. I painted the arrows in watercolor.
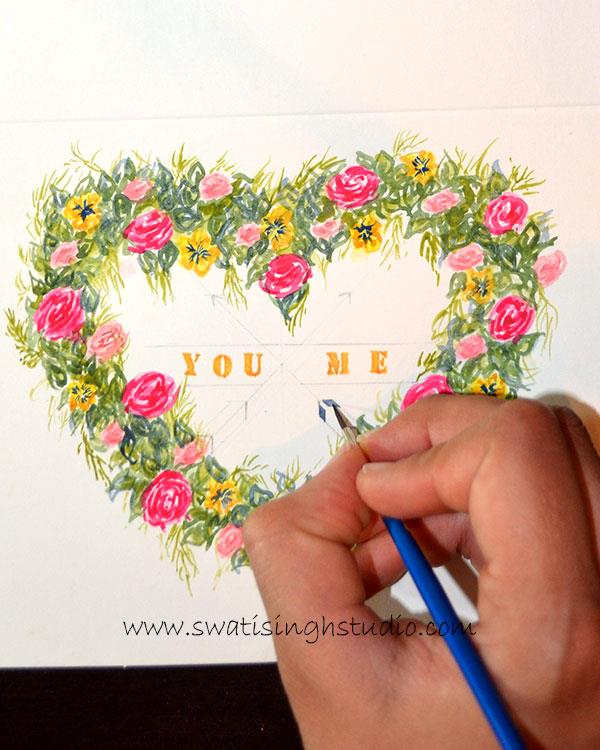
Tip: Erase any pencil marks once the colors are completely dry to prevent smudging!
Step 6. And here I am with the final look!
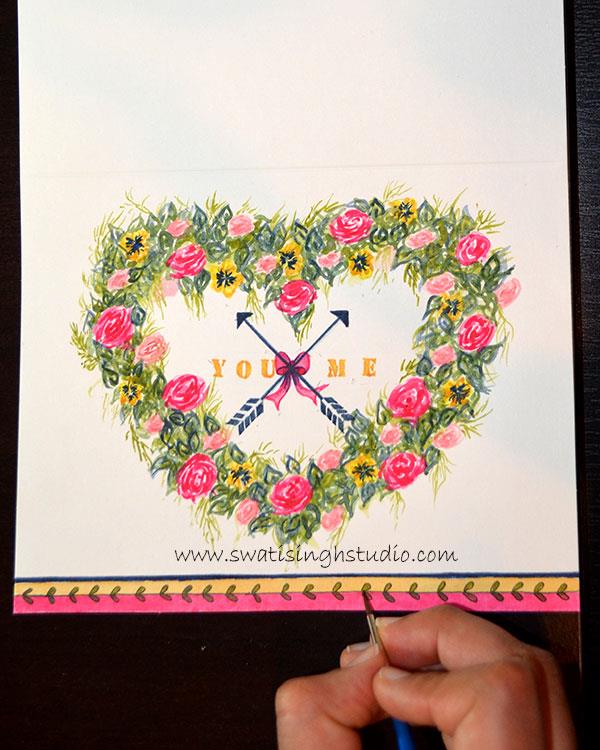
I hope you liked this card tutorial. Do paint it this weekend and let me know the results in the comment section below. You may also share your cards on my FACEBOOK Page! I will be more than happy to look at your work.
Have fun with the cards and do not forget to SUBSCRIBE to my blog!
I will be back with another tutorial next weekend! Till then
Happy Painting!
Swati