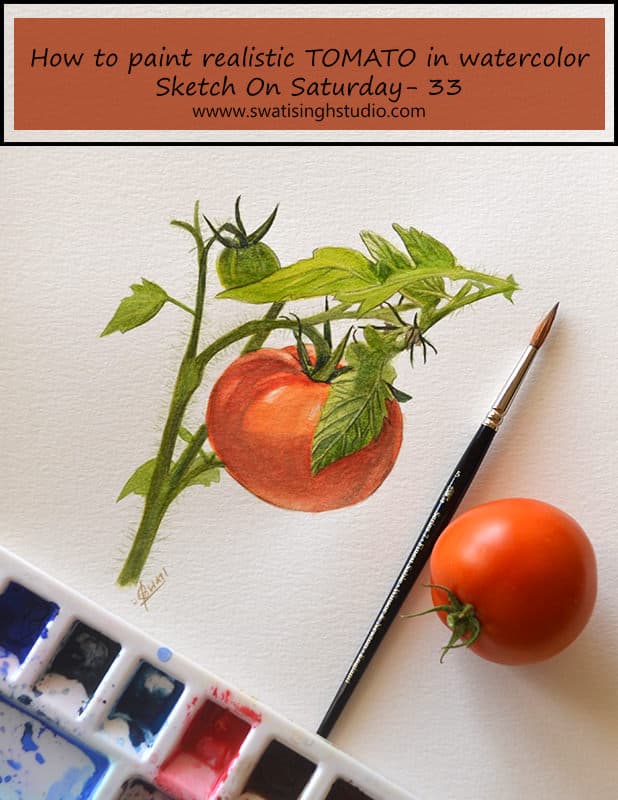
Welcome back, everyone. Time for another sketch in the series. And today it is a special one for me.
This spring me and my husband planted some tomato seeds in our kitchen garden! And we were blessed with some really healthy plants. They are still producing amazingly tasty tomatoes. Touch wood!
Below is a photograph of the very first tomato from our garden! Yes, that’s true. Don’t you love that green leaf curling on top of the tomato? Just adds a beautiful contrast of colors. The tomato has an orange tint to it due to the sun.

Although tomato is biologically a fruit I moreover consider it appropriate for the Vegetable series. So let’s get started!
The watercolors used are:
1. Lemon yellow
2. Cadmium red
3. Indigo blue
4. Sap green/ Olive green (any one will do)
To know about the series and other materials required please click HERE.
The painting is a two part process. We will do tomato and the leaves separately to keep it clean.
PART 1- TOMATO
Step 1 . Apply clear water on the tomato area. Be careful not to include the overlapping leaf.
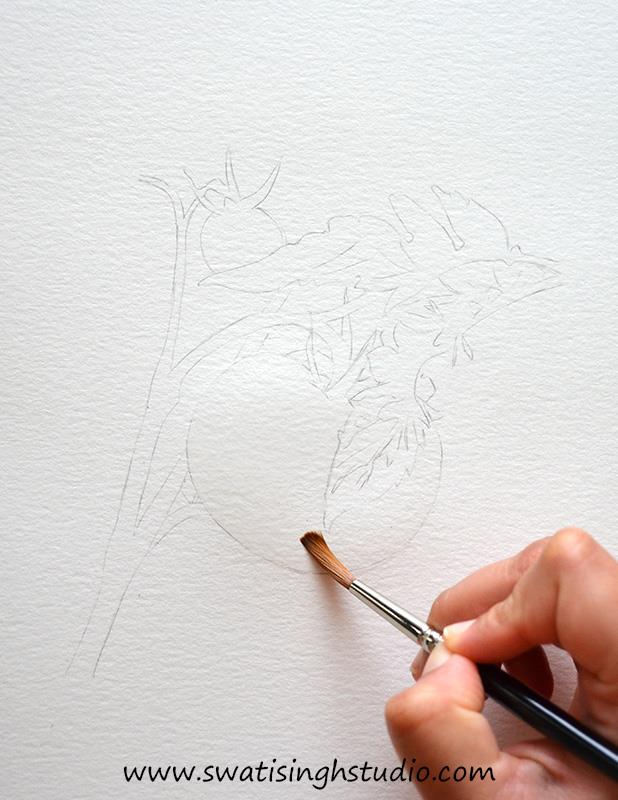
Step 2 . Follow the contour and apply lemon yellow in the downward direction.
Try to preserve the highlights i.e. the shiny, white areas on the skin for now.
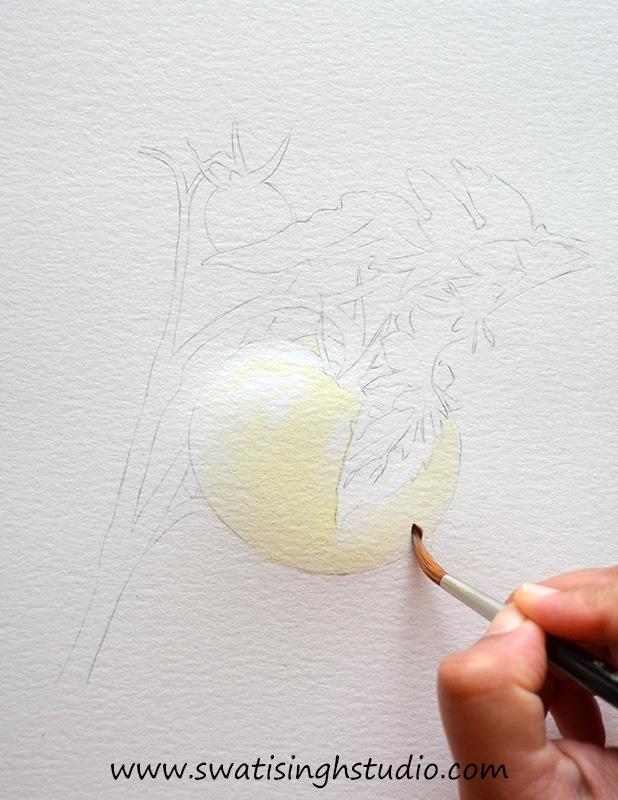
Step 3 . Apply a little amount of cadmium red while the sheet is still wet. This will result in a smooth finish.
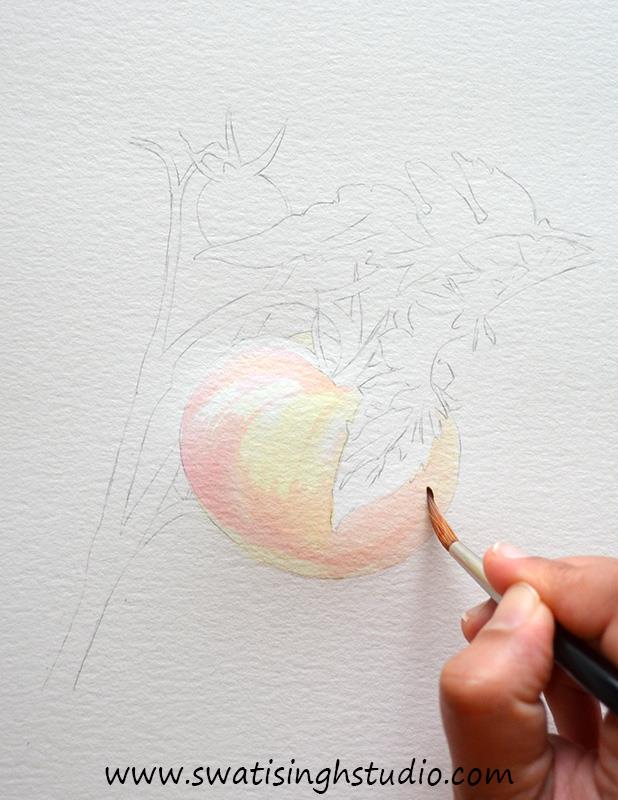
Step 4 . Add another layer of yellow to brighten it up. We are basically mixing colors directly on the paper.
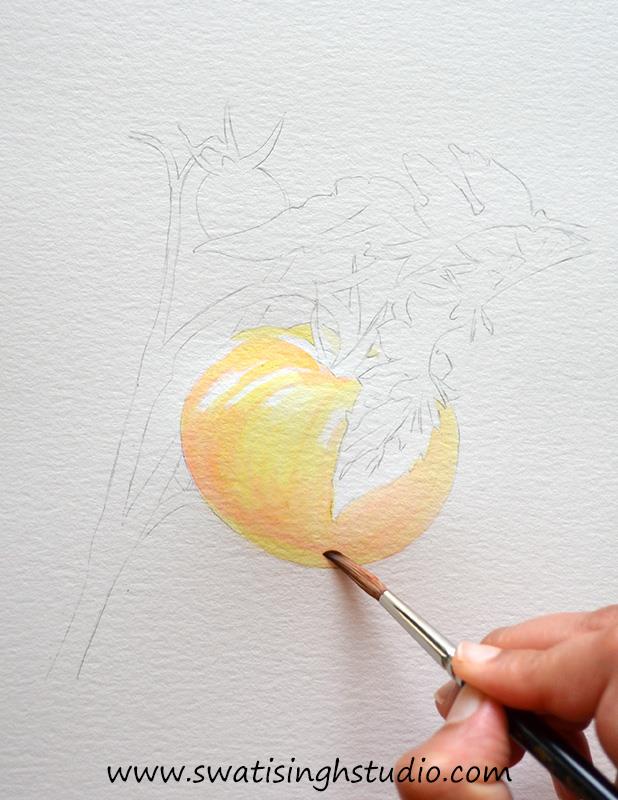
Step 5 . Prepare a mix of cadmium red and lemon yellow to get an orange color as shown below.
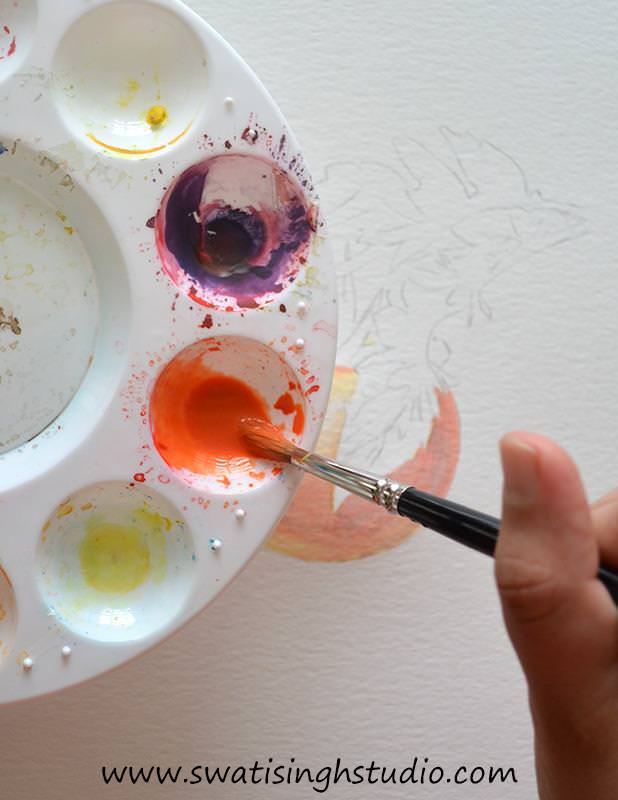
Follow the contour and apply gently leaving the highlight areas.
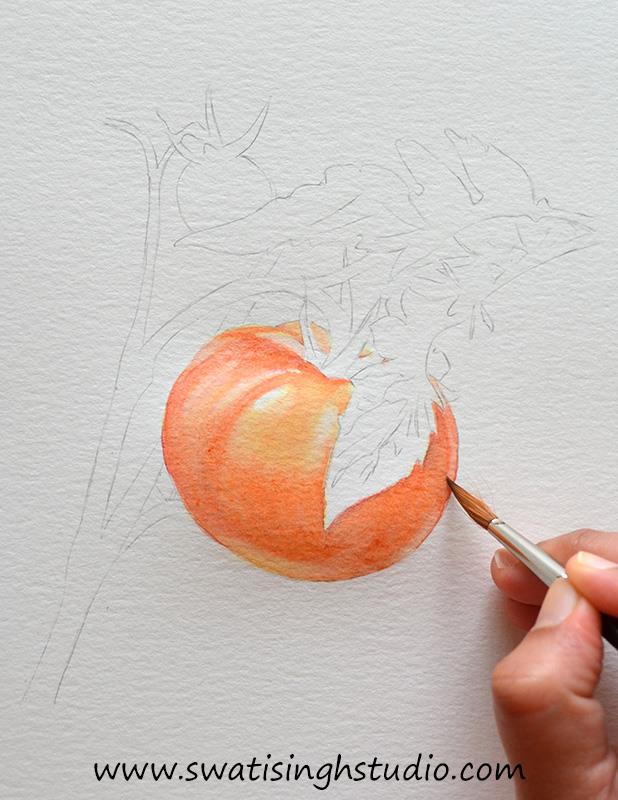
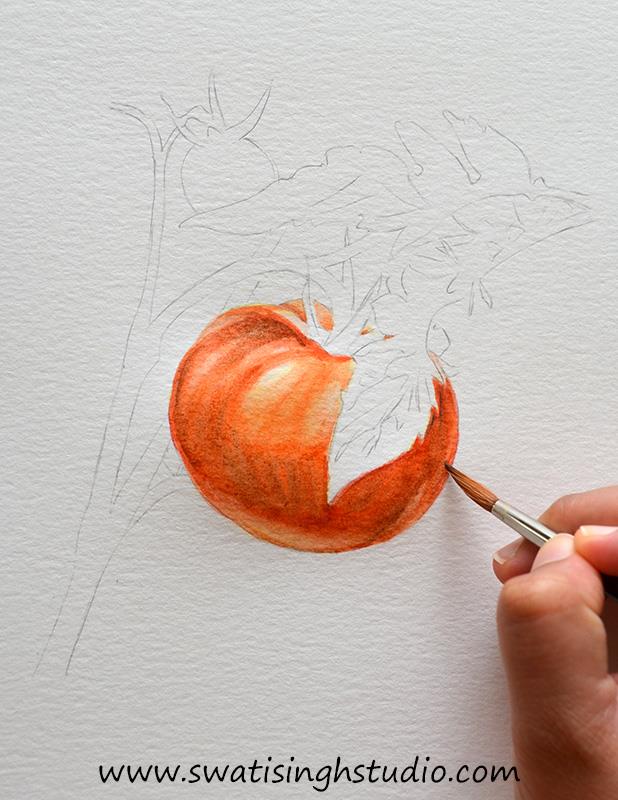
Step 6 . Add in a little amount of indigo blue on the shadow areas beneath the tomato as shown below.
Just lightly drop in the color while the sheet is still wet.
PART 2- LEAVES AND STEMS
It is recommended to change the water in your container so that the leaves do not get stained with the red color.
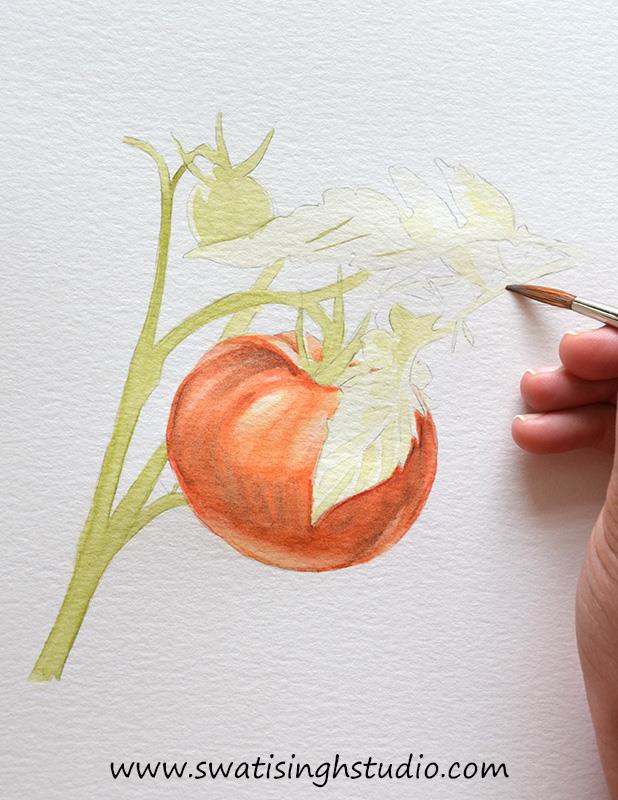
Step 1 . Apply a light wash of lemon yellow to the leaves as shown below.

Step 2 . Now add sap green or olive green (whichever you have) for the mid- tones.
Step 3 . Mix some indigo blue to olive green for a darker shade of green.
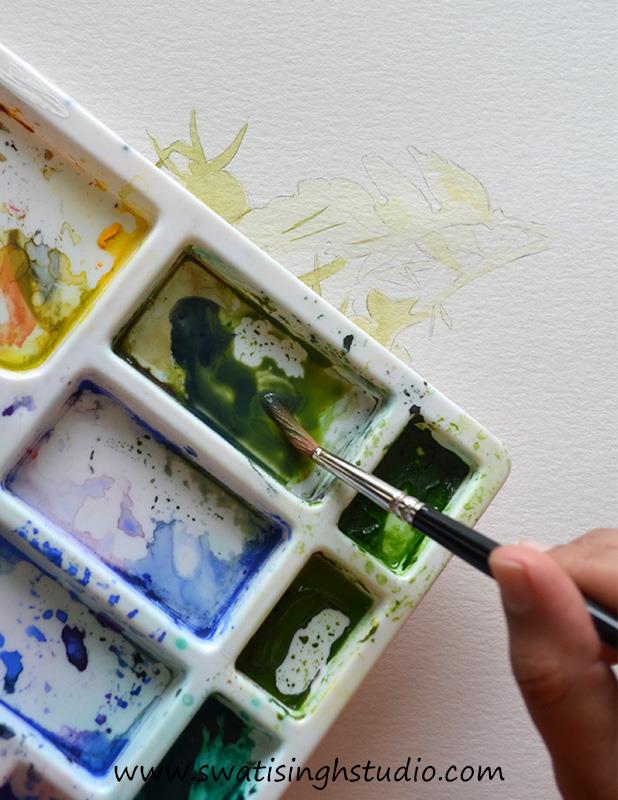
Apply this color on the darkest area of the leaves and stems as shown below.

Step 4 . Once the details get dried completely add a light wash of olive green to get everything together.
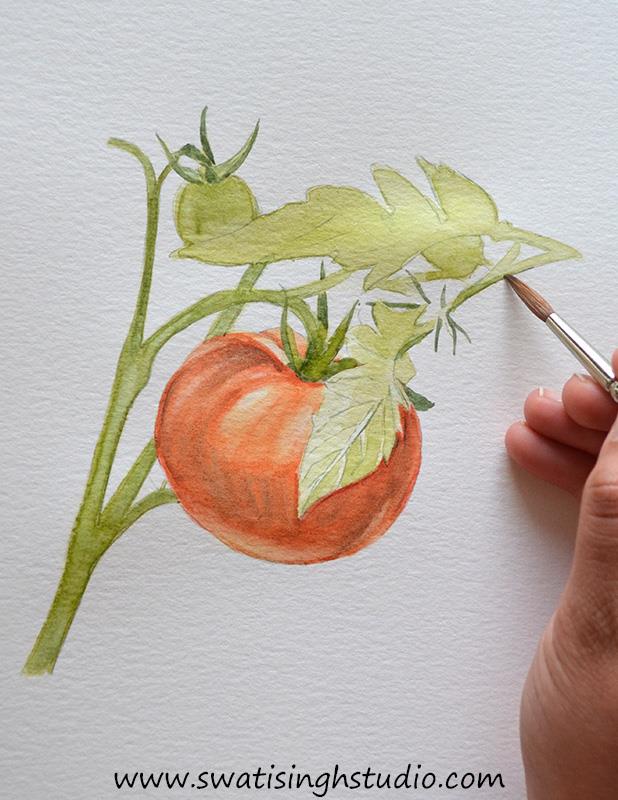
Step 5 . Simply repeat the above steps in Part 1 and 2 until you get the desired saturation.
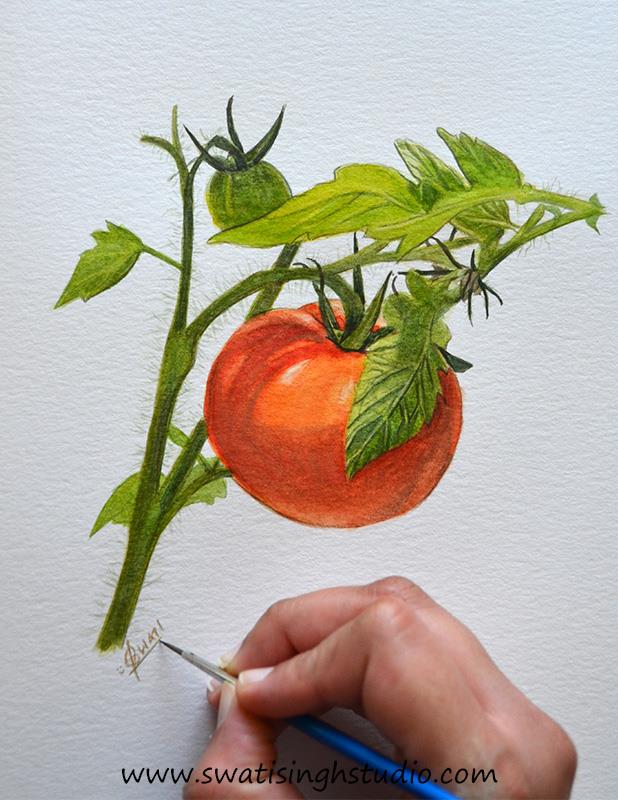
Note: I went ahead and added a few fine details such as veins in the leaves and fine hairs coming out of the stems using a no 1 brush.
I also added a few more leaves on the left side of the stem to give it a more balanced look.
I hope you enjoyed this week’s tutorial. Do write your comments below and let me know how it turned out for you! To stay updated do not forget to SUBSCRIBE to my blog.
I will get back with another sketch next Saturday. Till then enjoy painting.
Swati