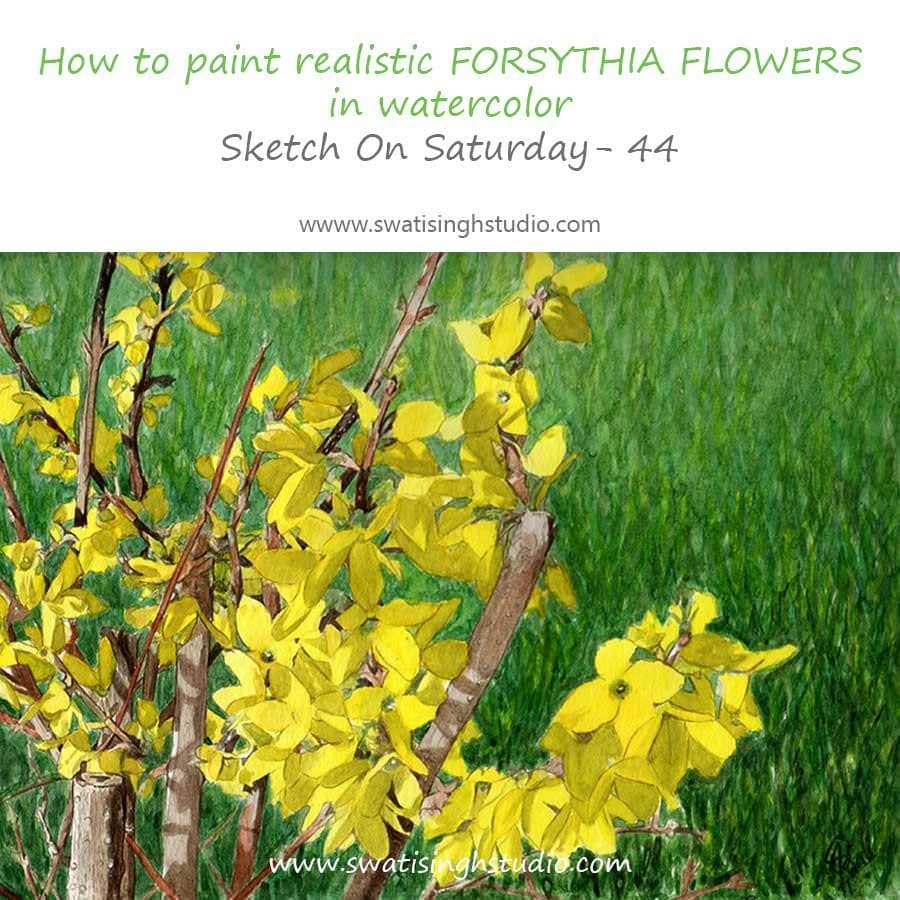
Did you know?
Forsythia is named in honor of William Forsyth, one of the founders of the Royal Horticultural Society.
Welcome back you all. Today we will be painting Forsythia flowers in watercolors. Forsythia is one of my favorite bush during the spring season. The bright yellow bush stands out in contrast to the bright green leaves. Just looking at it changes my mood and makes me feel happy.
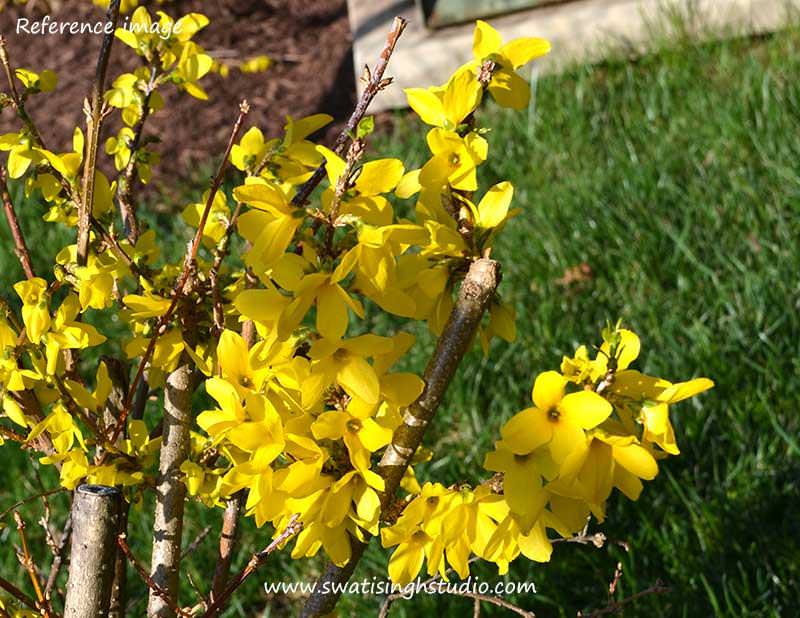
Below is a picture I took last week. The plant is still small, but the interesting maze of stems and flowers caught my attention. I feel it will make a very interesting composition.
If you are new to this spring series, you are most welcome to join in. I will recommend you got through this POST before starting so that you get an overall idea of the materials required.
The watercolors I used in this painting are
1. Yellow ochre
2. Sap green
3. Indigo blue
4. Lemon yellow
5. Burnt sienna
6. Burnt umber
So let’s get started with painting.
I started with a detailed drawing of the plant in HB.
This painting is full of minute details, whether it be the stems or the flowers themselves. It might look a bit overwhelming at first glance but following a systematic approach will make painting these beautiful flowers very easy.
This painting requires an extensive use of fine brushes such as no.0 or 1. Hence, get your fine brushes out of the drawers and get them to work!
I have used a number 1 brush (for details) and a number 5 brush (for larger areas) in this painting.
PART 1-FLOWERS
Step 1. Prepare a mix of yellow ochre with a hint of sap green and indigo blue for a slightly duller yellow.
Use this color to paint the shadow areas on the petals of the flowers. Since the flowers are very small, I am using a thin brush here (no.1).
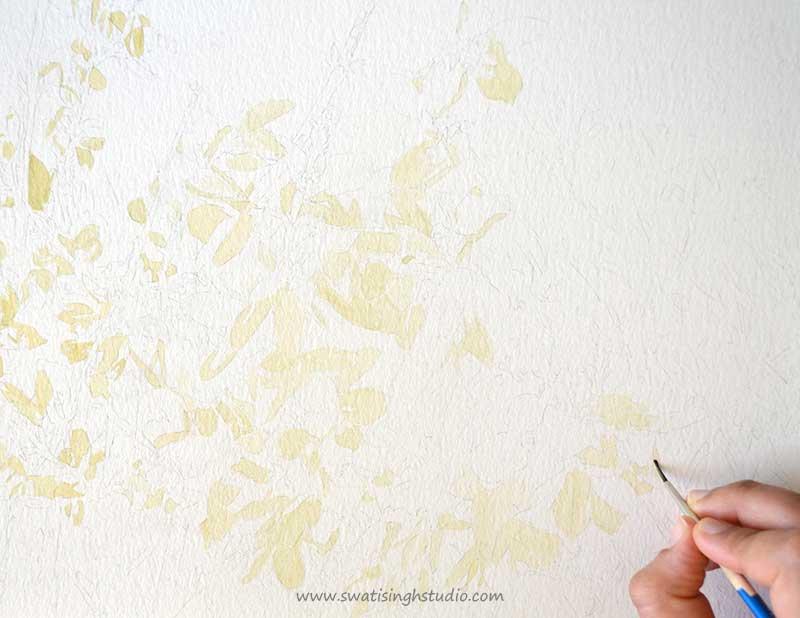
Step 2. Now give a thin glaze of lemon yellow all over the petals as shown below. The shadow areas we painted in the previous step will show through the thin layer of lemon yellow. I am using a no. 5 round brush for glazing.
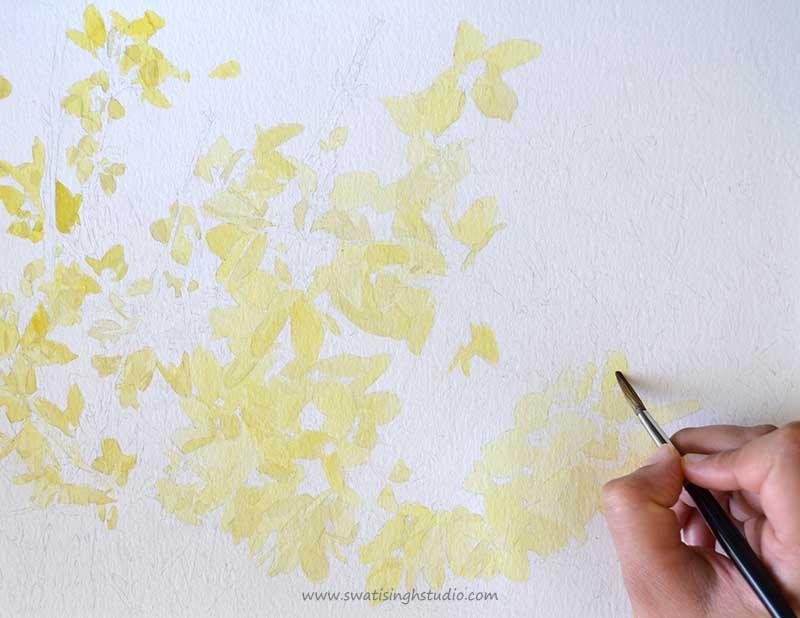
Step 3. Once the lemon yellow dries, repeat step 1 to further darken the shadows.
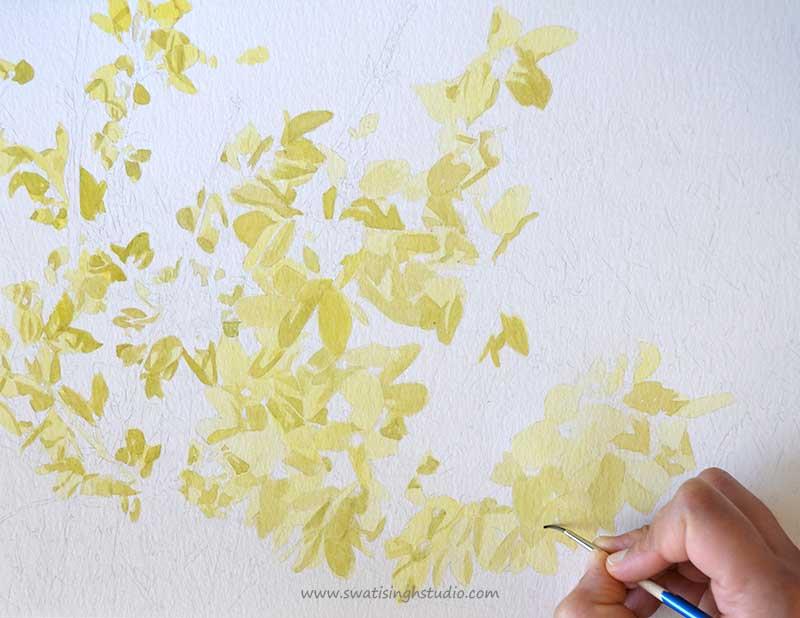
Step 4. Add another layer of lemon yellow.
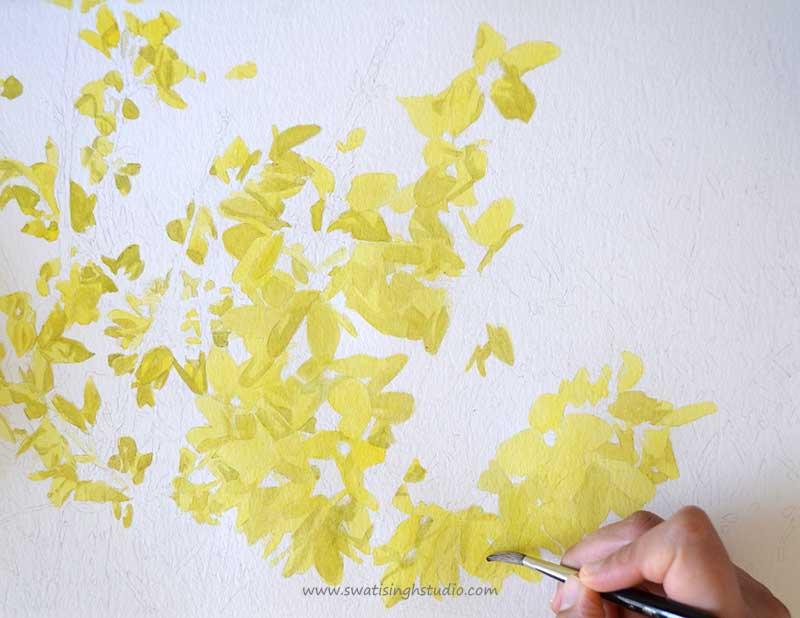
Step 5. Add a touch of sap green to the green areas where the flower attaches to the stem. Also, add a few touches of green to the center of the flower as shown below.
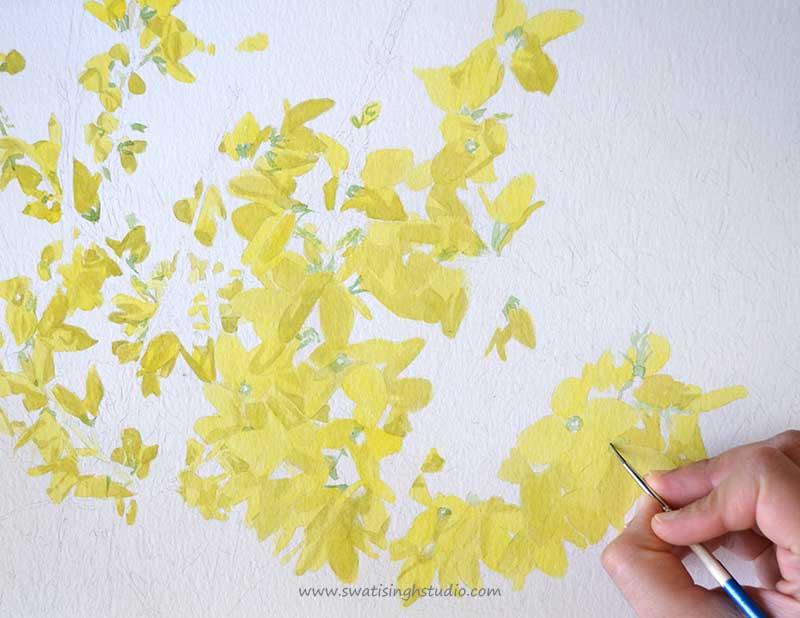
PART 2- STEMS
Step 1. Some parts of the stems are more reddish than others. Hence, add a touch of burnt sienna to those reddish stems as shown below. Keep your calm and study the stems closely. You will find all kinds of fine details that make them beautiful. I am using a number 1 brush here.
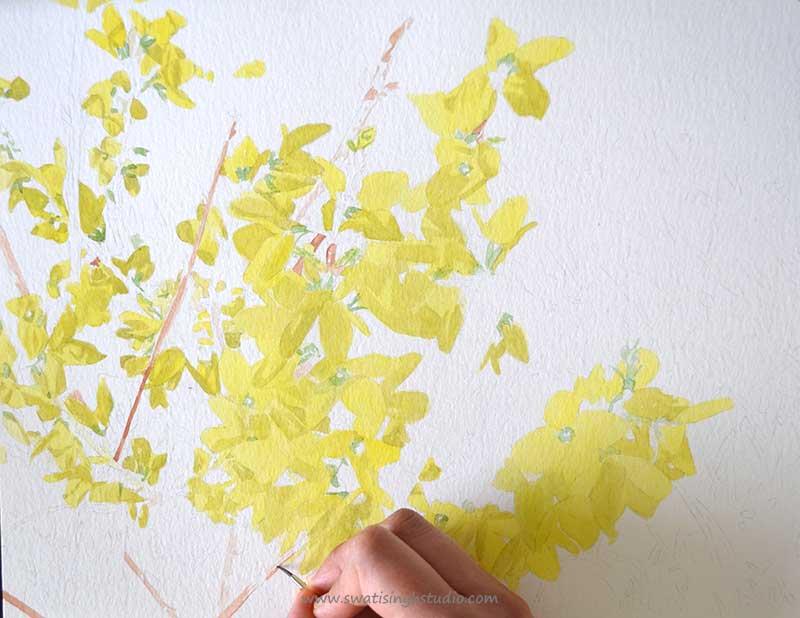
Step 2. Now add burnt umber to all the darker parts of the stems as shown below.
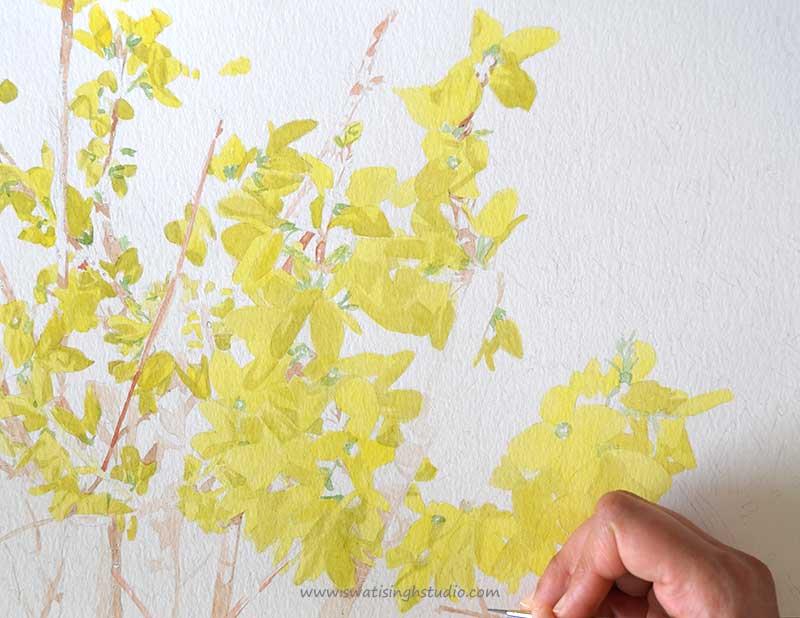
Step 3. Some of the stems are more greenish rather than reddish. Prepare a mix of yellow ochre and a slight hint of sap green for a greenish brown color. Add it to the stems as shown below. Go ahead and make some marks with your number 1 brush on the stems. It will give stems some rough texture.
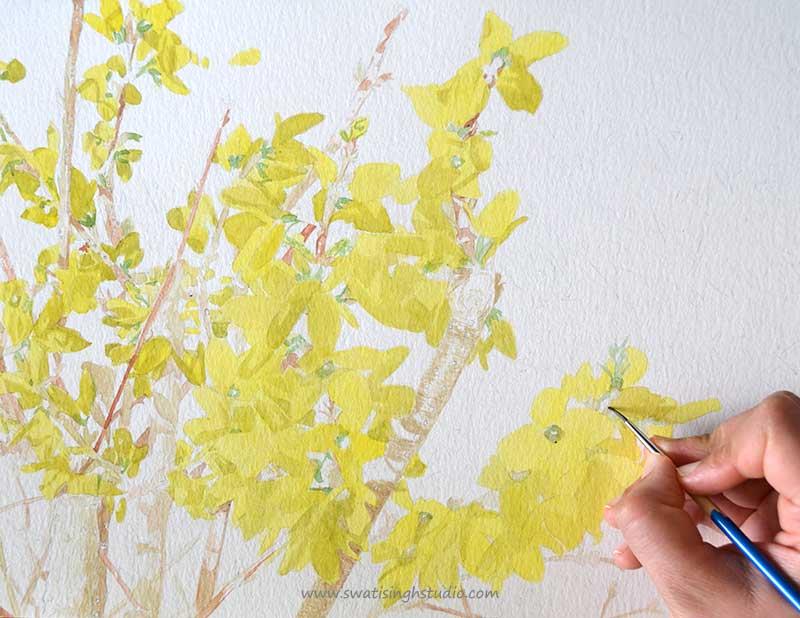
Step 4. Let’s prepare a mix for the darkest shadows falling on the stems. Mix some burnt umber and indigo blue in somewhat equal amounts to get a dark brown shade.
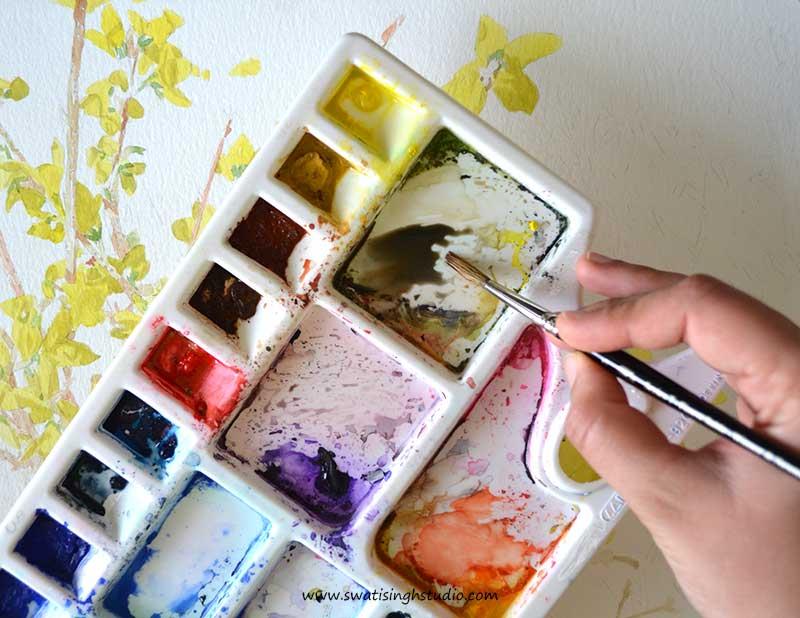
Now apply this color to the shadows using a number 1 brush as shown below.
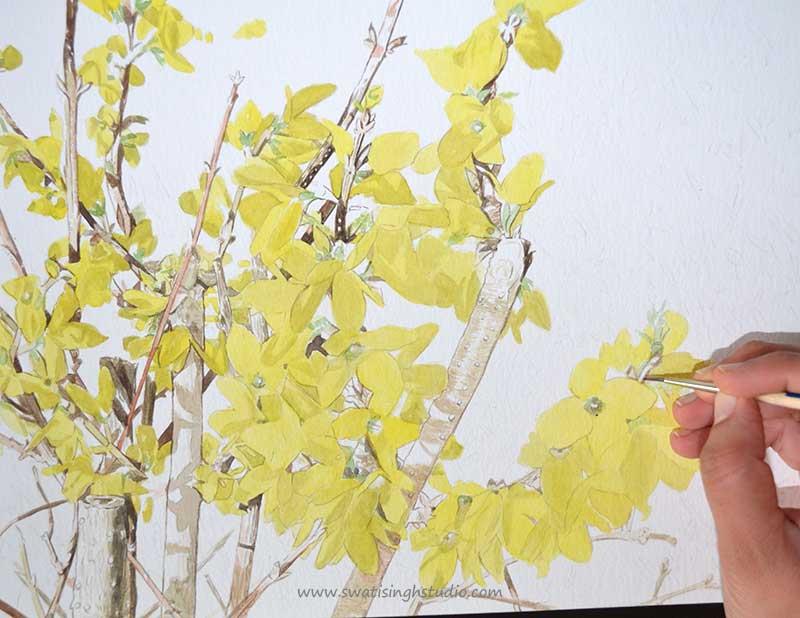
Step 5. Evaluate all tones once again and give another touch of burnt sienna and burnt umber wherever needed.
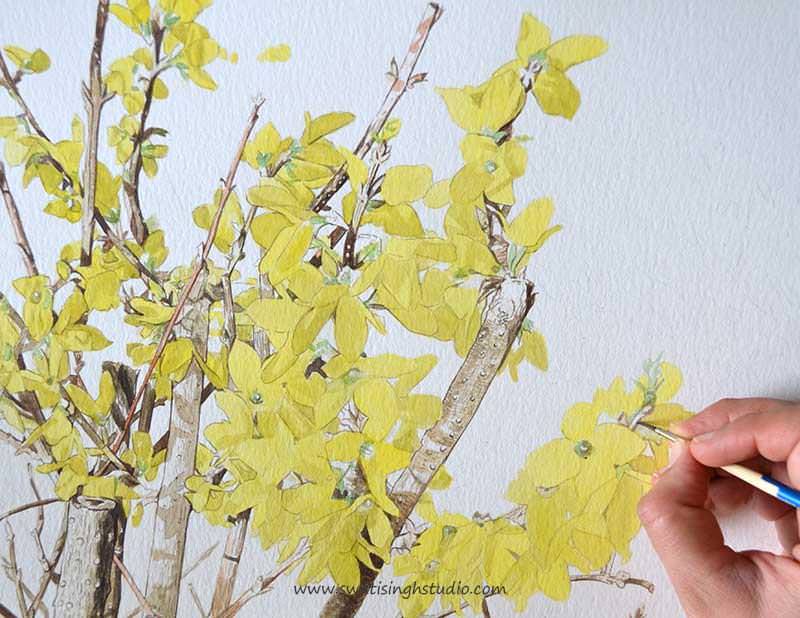
Last step- Similarly, evaluate all the flowers and give another layer or two of yellow.
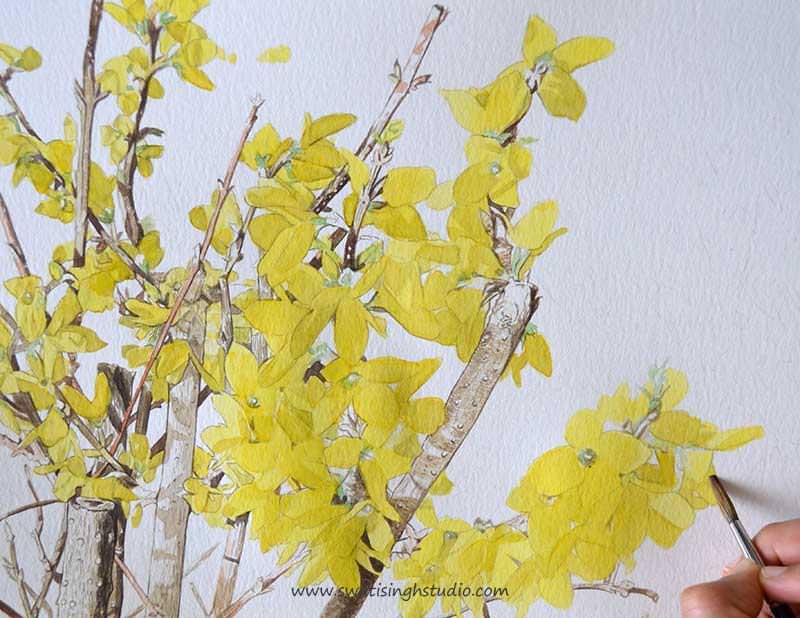
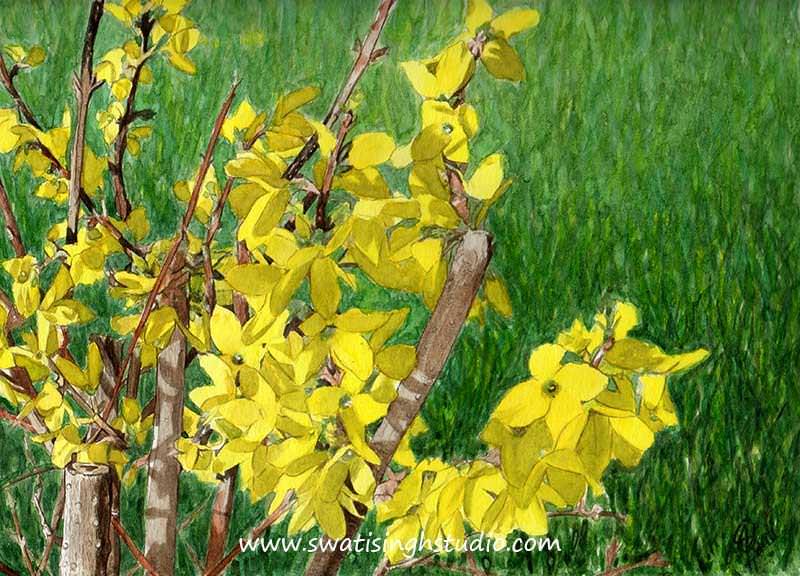
I gave a green background to complete the composition. The bright green grass makes the flowers pop up even more. The forsythia flowers are ready.
All the paintings covered in the Spring series so far were 9x12 inches. It seems we are quite comfortable working with this size now and can think to go a bit bigger. So the upcoming paintings in the series will be in a size 11X15 inches format. Bigger format means more time and details. Hence, I will be posting tutorials every alternate Saturday!
If you enjoyed this tutorial you may SUBSCRIBE to my blog for future posts. Enjoy painting these delicate flowers this weekend and share your experience with me. You are also free to share your paintings on my FACEBOOK page!
So here I am signing off with the promise of yet another spring tutorial on April 16th.
Till then enjoy painting!
Swati