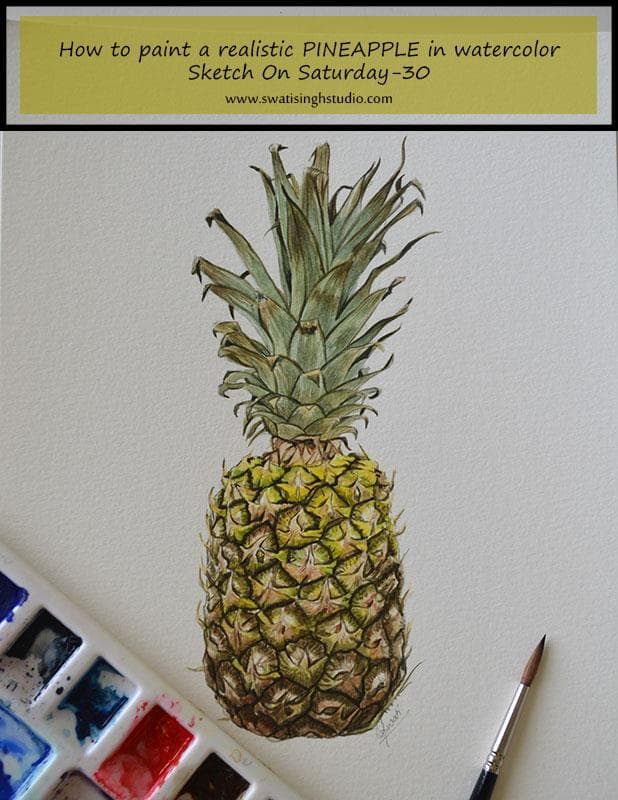
Hello, everyone! Welcome back to this series of “Fruits” in watercolor. If you have been with me throughout, you must be aware that today this series is coming to an end. So here I have the last sketch in the series- Pineapple.
Ever since I started this series I was sure it will be concluded with pineapple. The beauty wins it above all.
Below is the pineapple model I used.
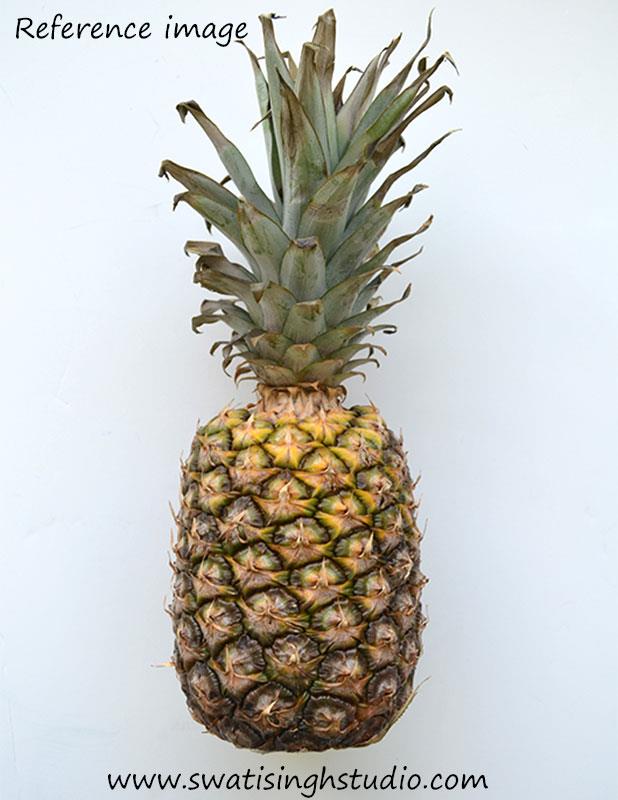
The drawing is done using a 2B pencil. I will recommend using a 2B because we are going to add a lot of layers and we do not want our outline to fade quickly.
The watercolors used are as follows:
1. Sap green
2. Indigo blue
3. Burnt umber
4. Lemon yellow
5. Olive green (optional, even sap green will do just fine)
6. Burnt sienna
7. Yellow ochre
Being the last in the series this fruit has the most intricate details to work with. Hence, we are going to be using brushes no.0 and 3 a lot. So let’s get our fine brushes to some serious work now!
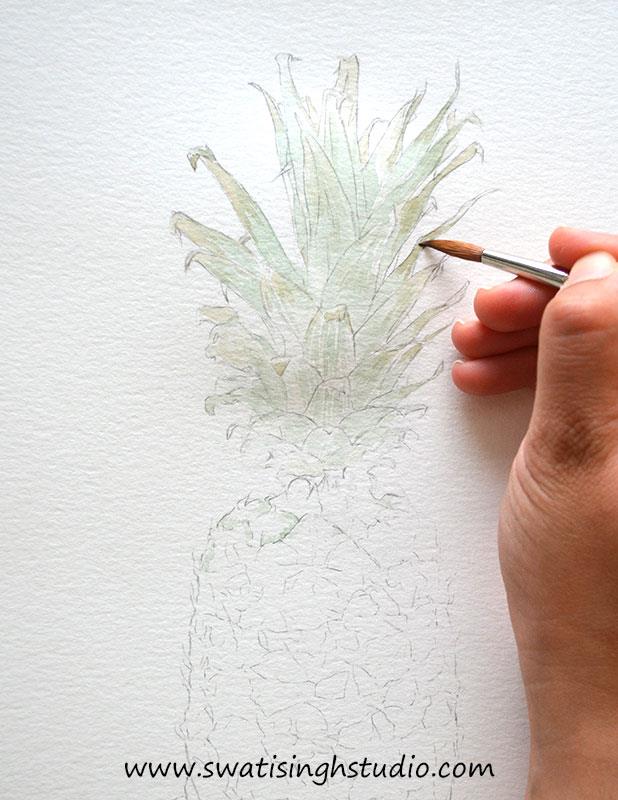
Step 1 : Starting with leaves at the top. Give your leaves a wash of clear water.
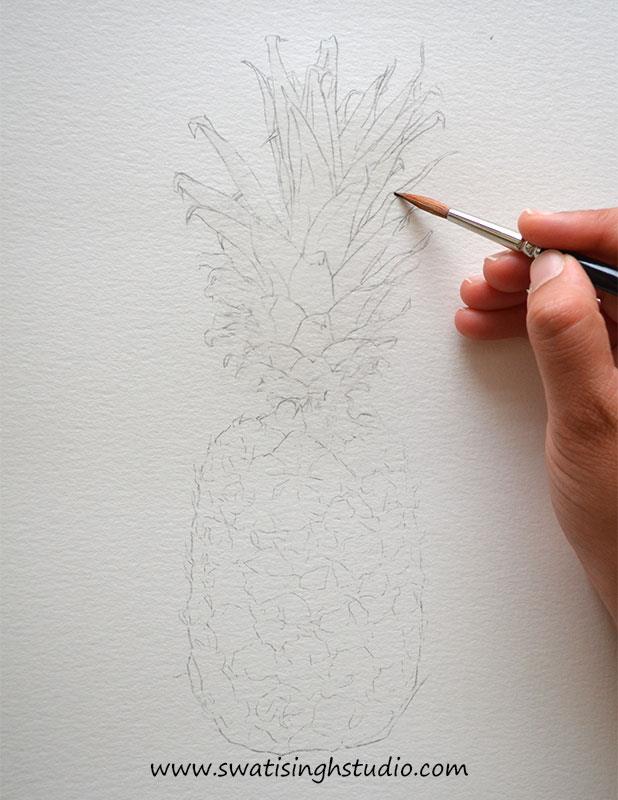
Step 2 : Mix some indigo blue to sap green. And very lightly fill in the leaves using a no. 3 brush.
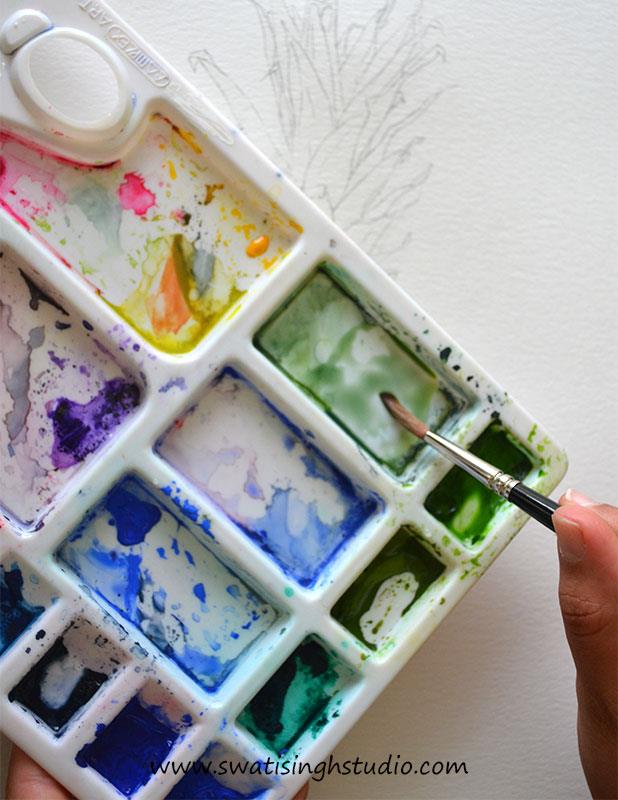
Step 3 : As you can see the tips of the leaves are a bit brown. Hence mix some burnt umber to sap green and apply at the ends.
Step 4 : Moving down, apply a light wash of lemon yellow by closely observing the reference image. Only a few areas of the upper half are yellow in this image.
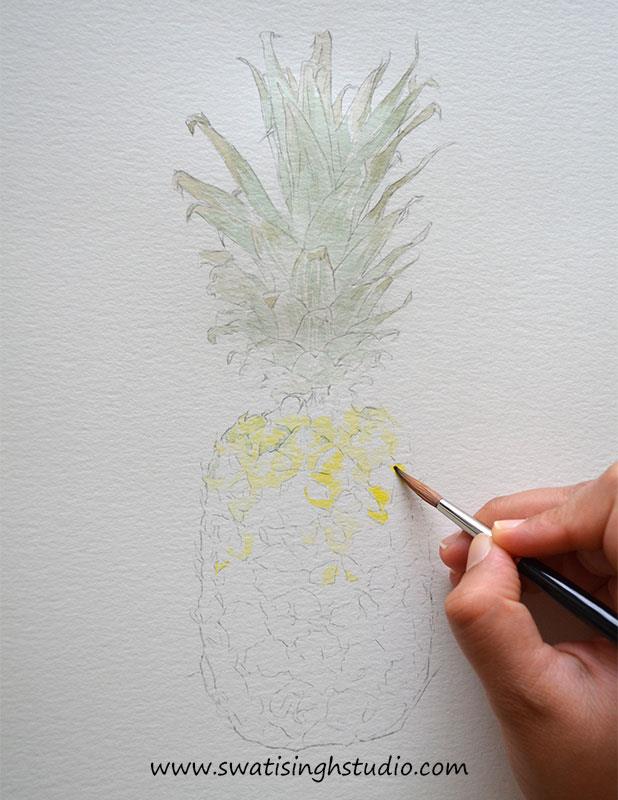
Important: Do not touch the highlights.
Step 5 : Prepare a muddy color by mixing burnt umber, sap green and indigo blue as shown below.
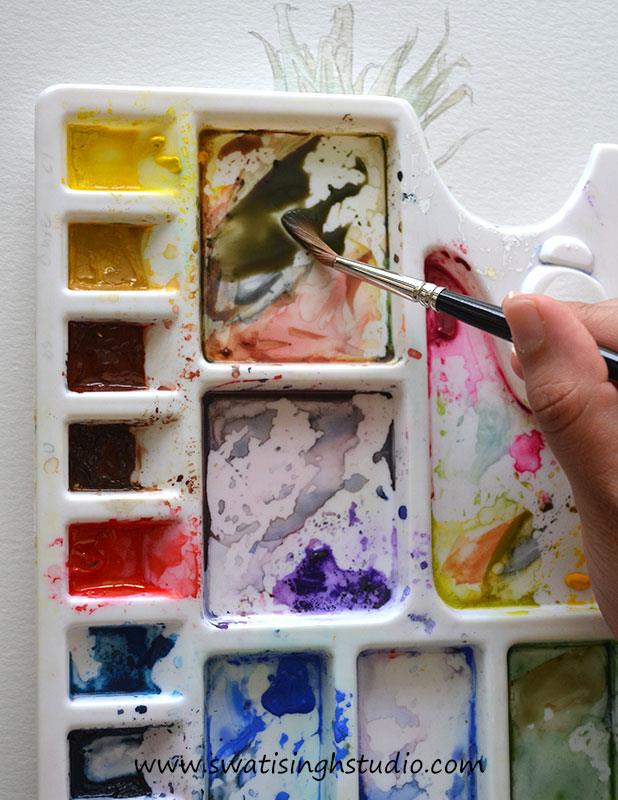
Now apply this color using a no. 3 brush to the dark outline of the individual segments.
It will be easier to fill in this once the outlines are in place.
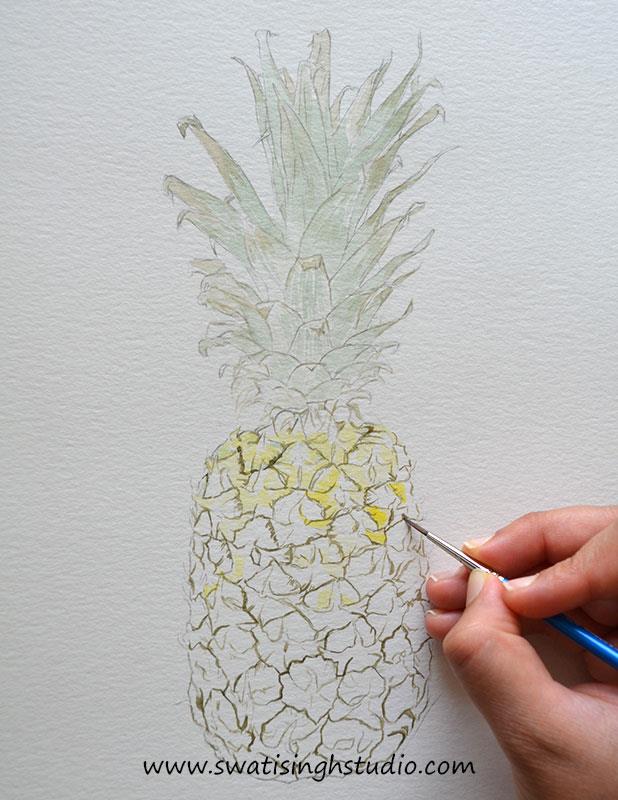
Note: This is the most tiring yet the most rewarding step in the process. Hence be patient and stay with me!
Step 6 : Now with the outline in place start adding olive green to the borders as shown below.
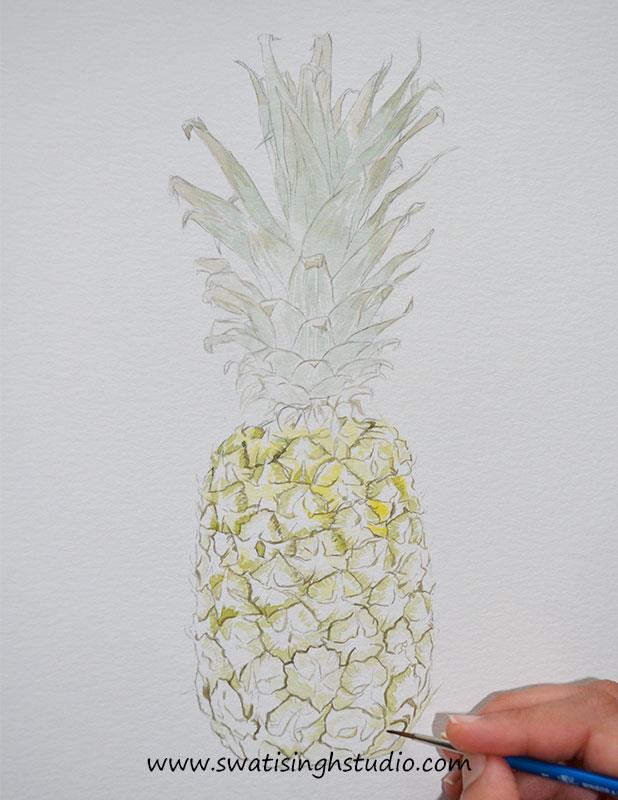
Step 7 : Now very lightly apply burnt umber, burnt sienna or touches of yellow ochre as you observe the reference image.
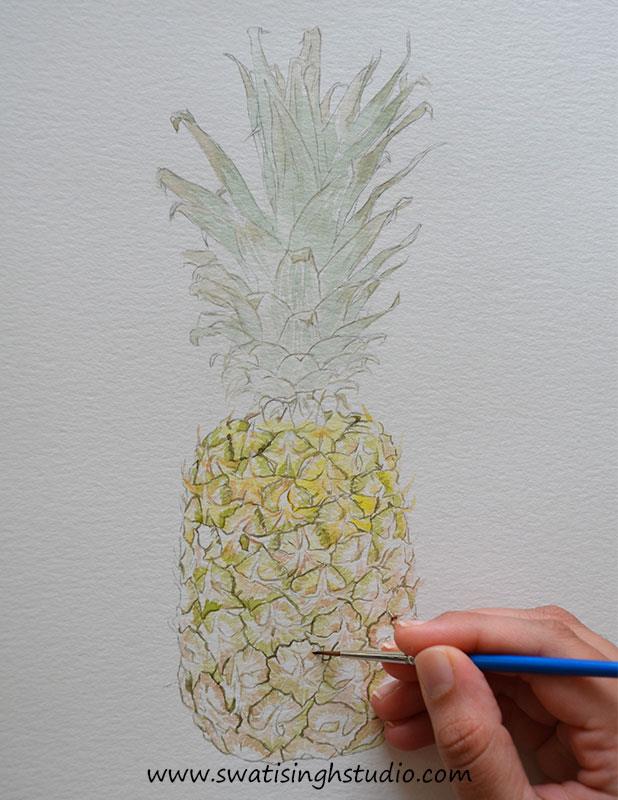
Step8 : Add another layer of step 6 . Deepen the color and pay close attention to the details.
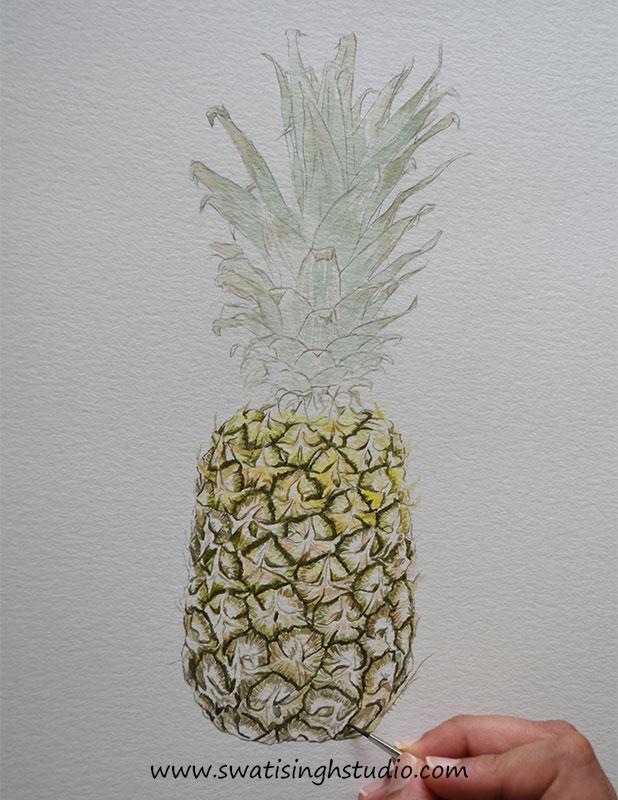
Step 9 : Moving on to the leaves again. Prepare a mix of sap green and indigo blue. To get the right texture on the leaves, paint very fine lines using a no. 0 brush lengthwise.
Tip: Change the water in your container if it has turned muddy.
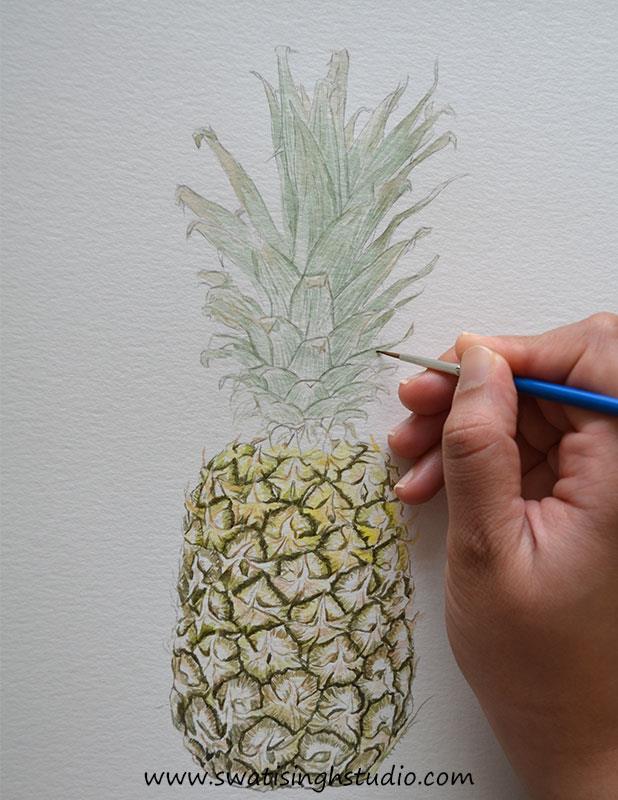
Step 10 : Redo the brown tips using a mix of burnt umber and sap green as shown below.
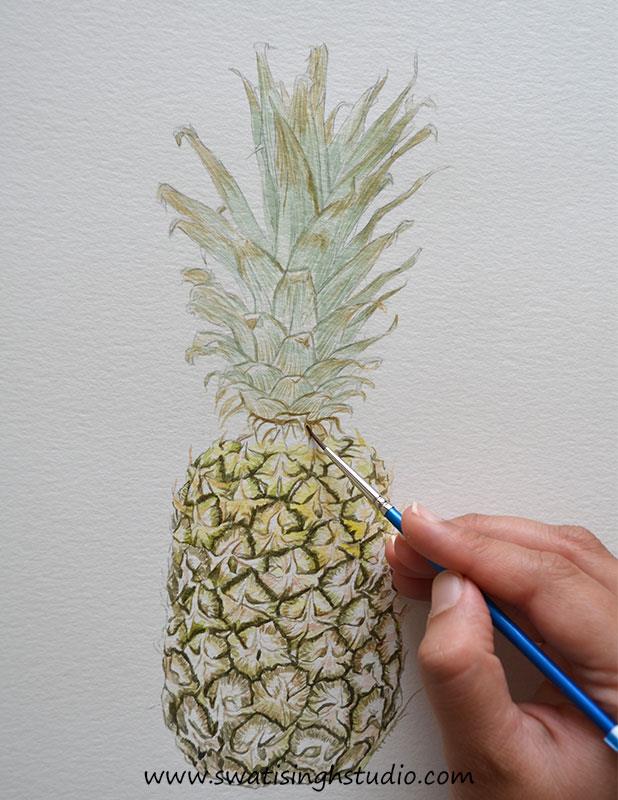
Step 11 : Once the details are all dry, give the leaves a very light wash of the same green we prepared in step 9 .
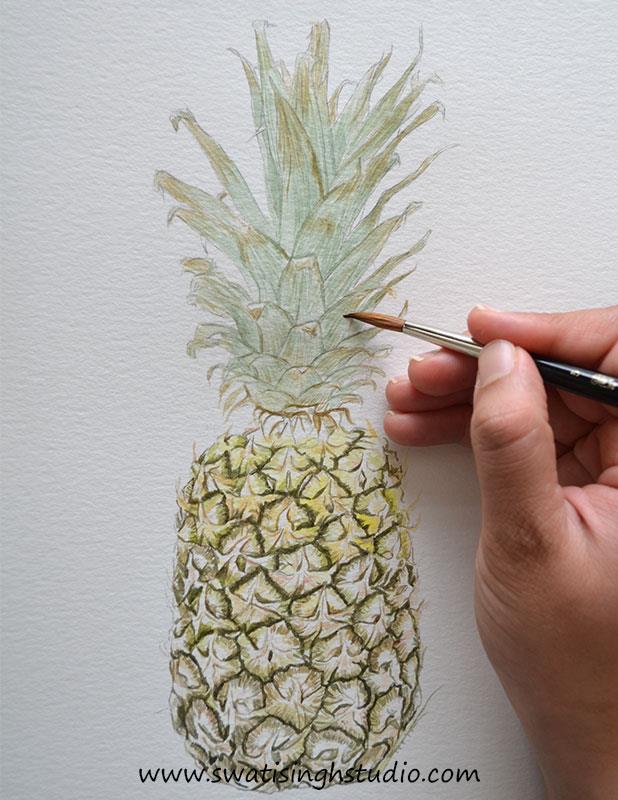
Step 12 : Moving onto the lower half. Apply another coat of lemon yellow to the selected areas. Pay close attention to the details in the reference image. The upper half is brighter than the lower half. Hence, the lower half does not require a lot of lemon yellow.

Important: Let it dry completely before proceeding to the next step.
Step 13 : Add a layer of sap green as shown below.
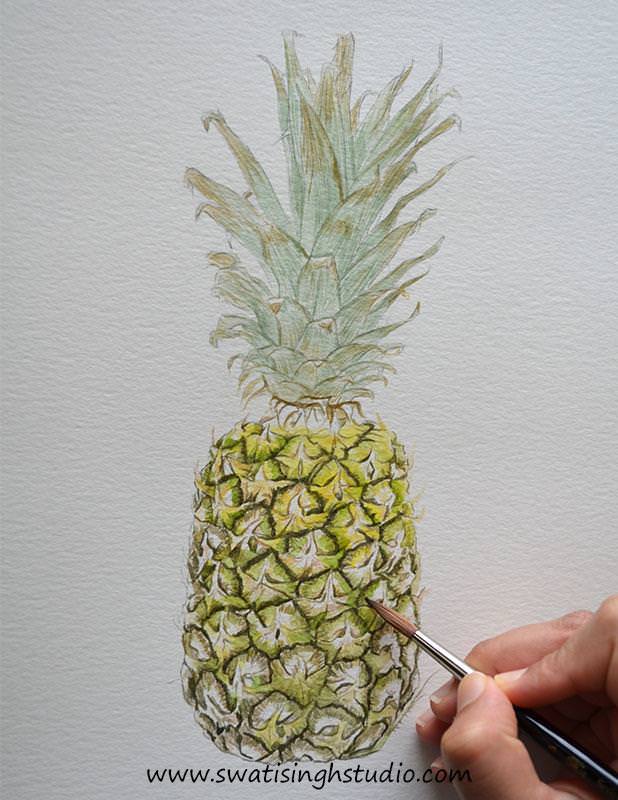
Important: Let it dry completely before proceeding to the next step.
Step 14 : Similarly add a layer of browns as we did in step 7 .
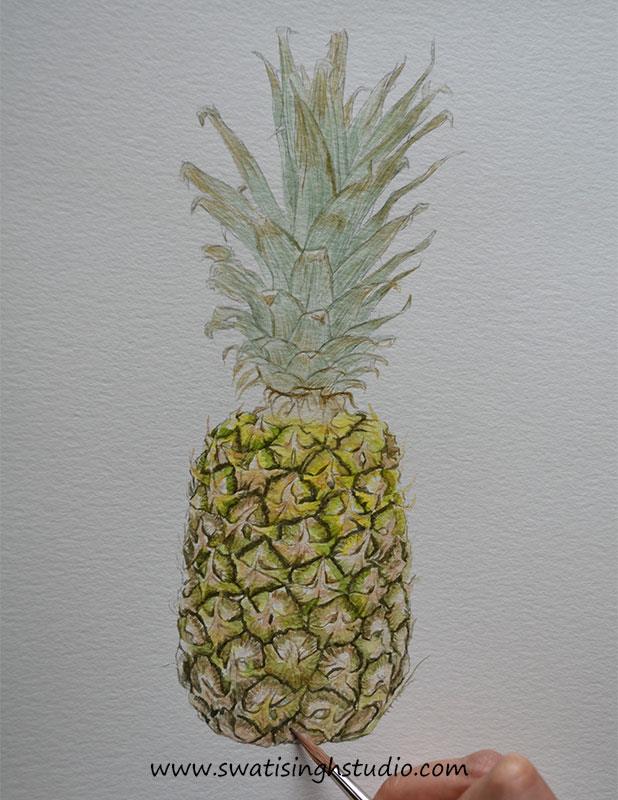
Step 15 : As you can see the pineapple sketch is ready. All that it requires is a final assessment of all the tonal values. You may add a few more layers to further saturate the colors and finally add a few fine details to finish it off.

And viola we are done!
I hope you enjoyed this watercolor series and I hope it encouraged you to paint this colorful and vibrant world of fruits in this equally beautiful medium.
If you have painted any fruits from the series you are free to share your experience in the comment section below. I will be more than happy to read you feedbacks.
Thank you for staying with me so far and making this journey even more beautiful! I promise to come with another series in watercolor again.
If you liked these tutorials kindly “ SUBSCRIBE” to my blog to stay updated on all the future posts.
Happy painting!
Swati