Hello, everyone!
Welcome to part 2 of the Daisy series. Today we are painting the yellow centers of the daisy flowers. We will focus on achieving two things:
a. To make them look 3D and
b. To get the right texture.
THE COMPOSITION
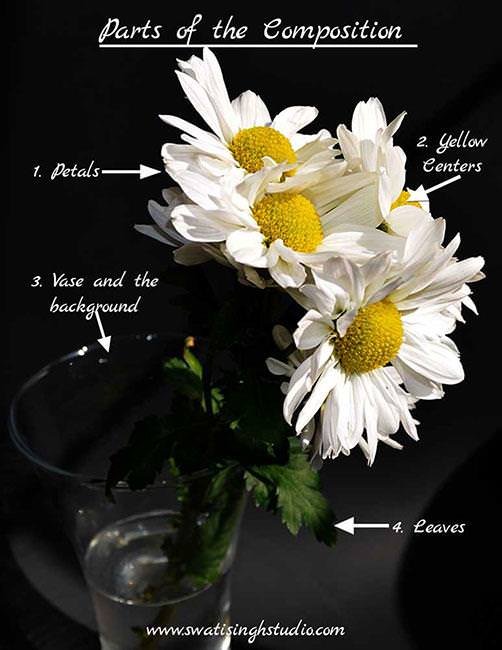
The WATERCOLORS used are the following
1. Lemon yellow
2. Cadmium yellow
3. Burnt Sienna
4. Cadmium red
5. Burnt Umber
6. Sap green
COLOR MIXING CHART
Below you can see the color mixing chart for the same.
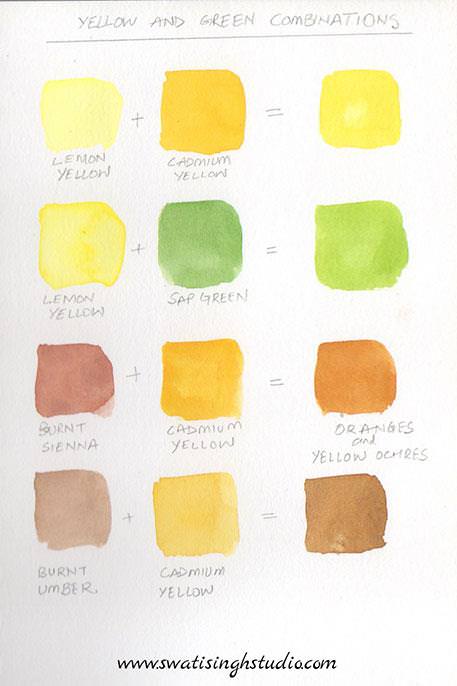
Note: Mixing cadmium yellow and burnt sienna together results in beautiful yellow ochre shades. Hence, you may also use yellow ochre in place of these two colors.
BRUSHES USED
1. A #4 round brush (You may use an old brush in today’s subject. My brush is a little frayed and it is a perfect candidate for the texture we are trying to achieve here)
2. A #1 or #2 round brush for fine details.
LET’S BEGIN
Note: If you are painting Part 2 in continuation with Part 1- WHITE PETALS then I would like you to start with a bowl of clean water and discard the old one. This will make sure that your yellows stay bright without the contamination of any blue color from the previous session.
Step 1: Start by applying a layer of lemon yellow as shown below.
You can do this in either of the two ways shown below.
a. Wet on dry
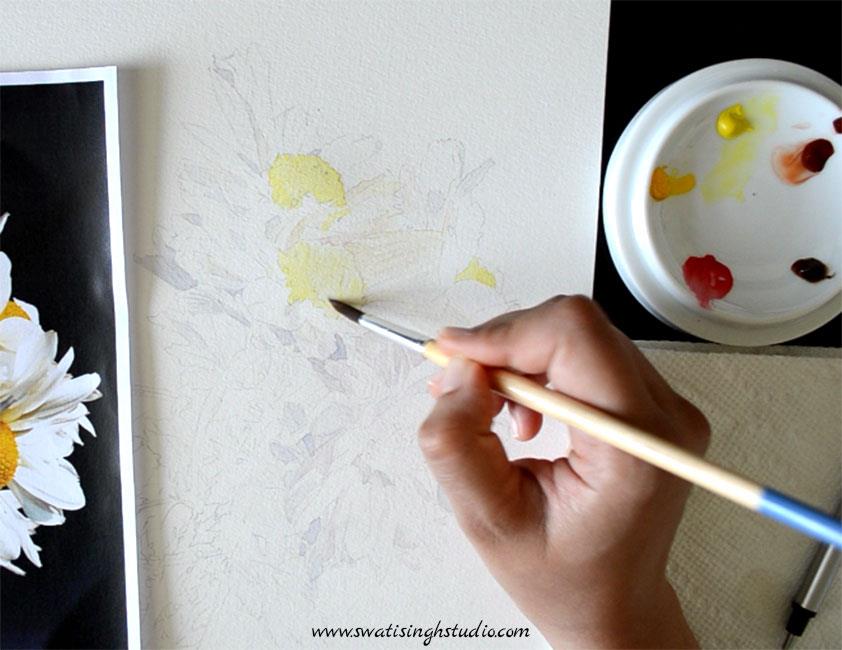
b. Wet on wet
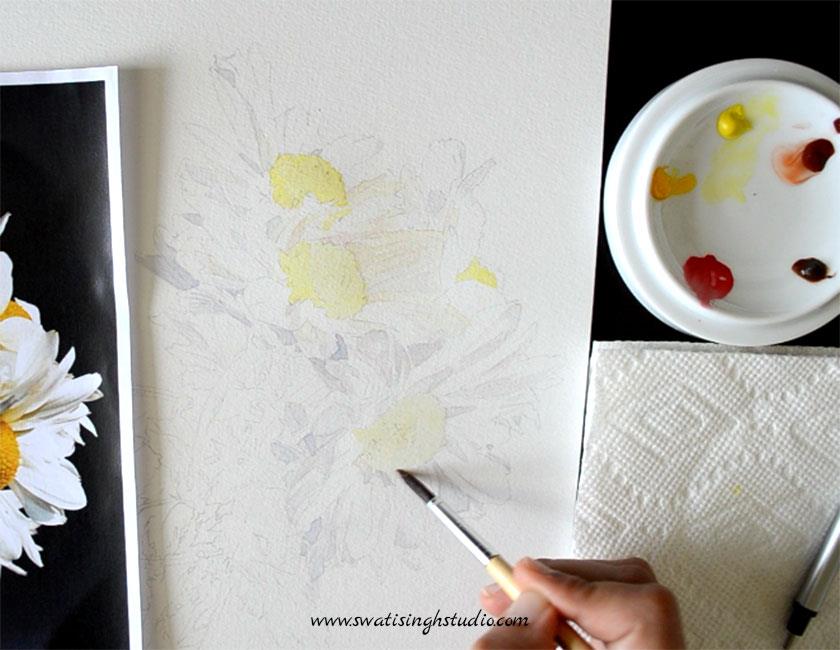
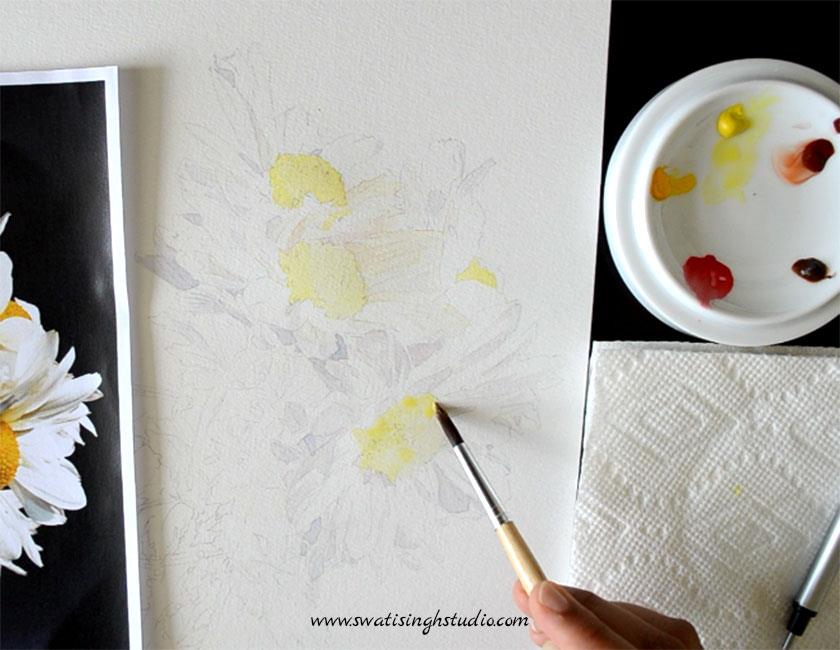
Step 2. Now mix some burnt sienna and cadmium yellow together. This will result in a beautiful yellow ochre shade. You may even use yellow ochre straight from a tube if you have one!
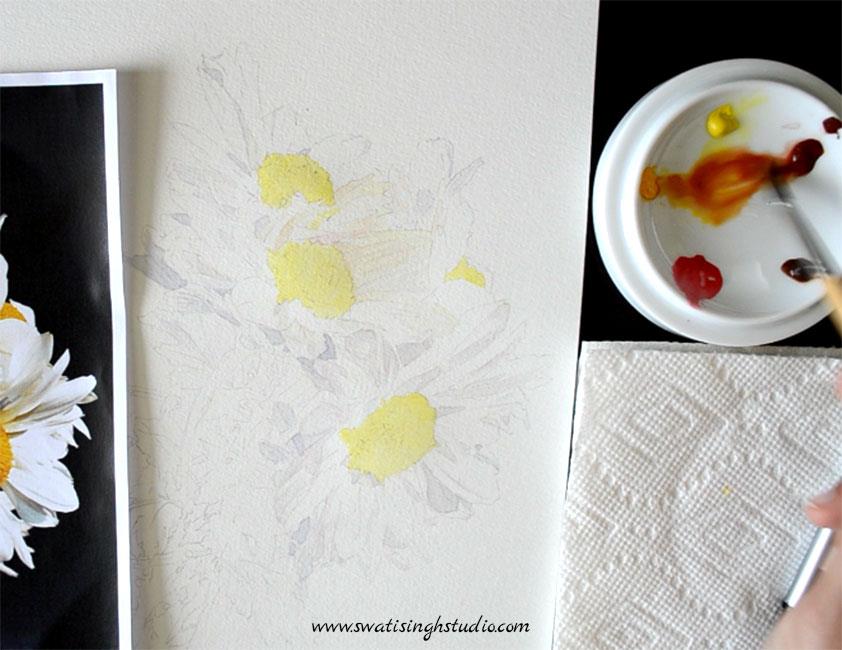
Note: It is a better idea to test your shade in rough before applying to the fair drawing.
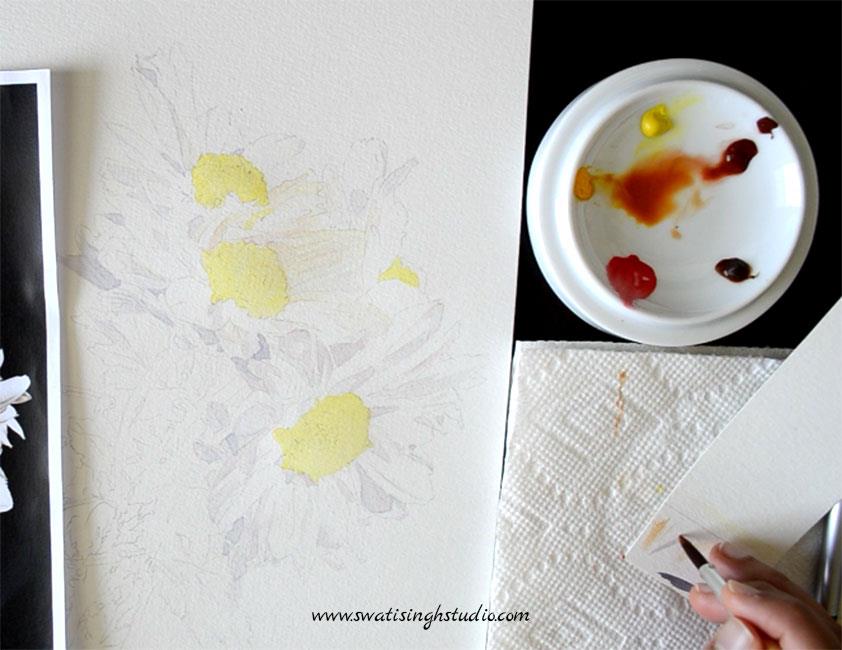
Now comes the fun part. Start applying this color at the base of the yellow center where it meets the petals. Simply dab the tip of your brush to make tiny round marks as shown below.
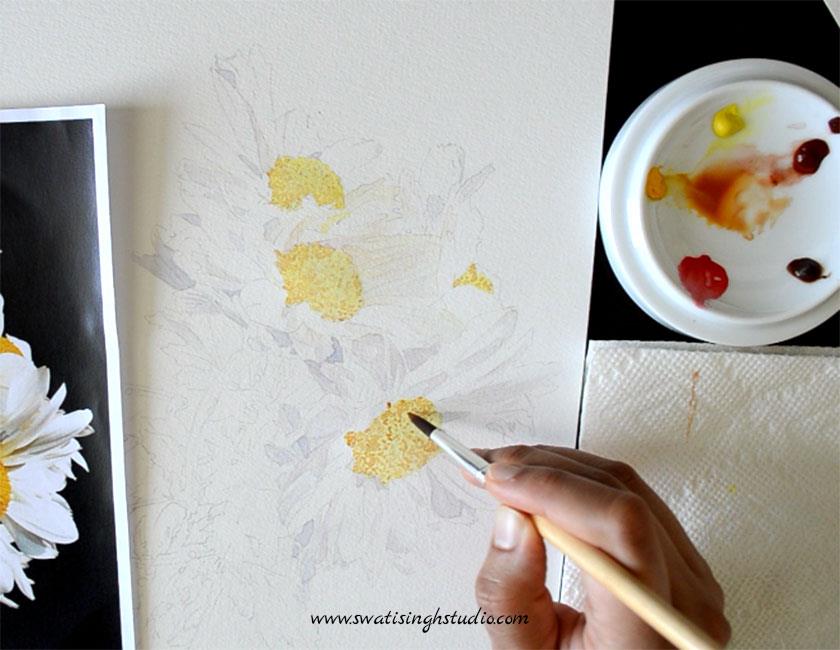
Tip: Try to keep the individual marks separate from each other and reduce the number of marks as you go away from the base.
Tip: Take your time and enjoy the process of creating this texture! It is almost meditative to me.
Step 3. Once the previous layer has dried completely, add a touch of sap green. Keep the color diluted for that subtle touch (we want our centers to still look yellow, not green!).
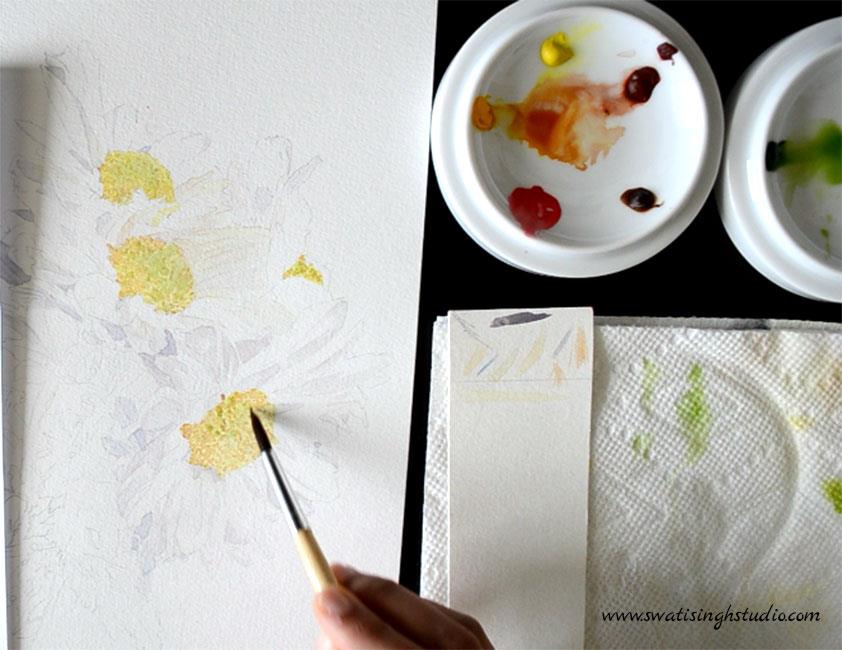
Note: Let the layer dry completely before proceeding to the next step.
Step 4. With a fine brush (#1/#2) apply burnt umber to the darkest areas i.e. at the base of the centers as shown below.
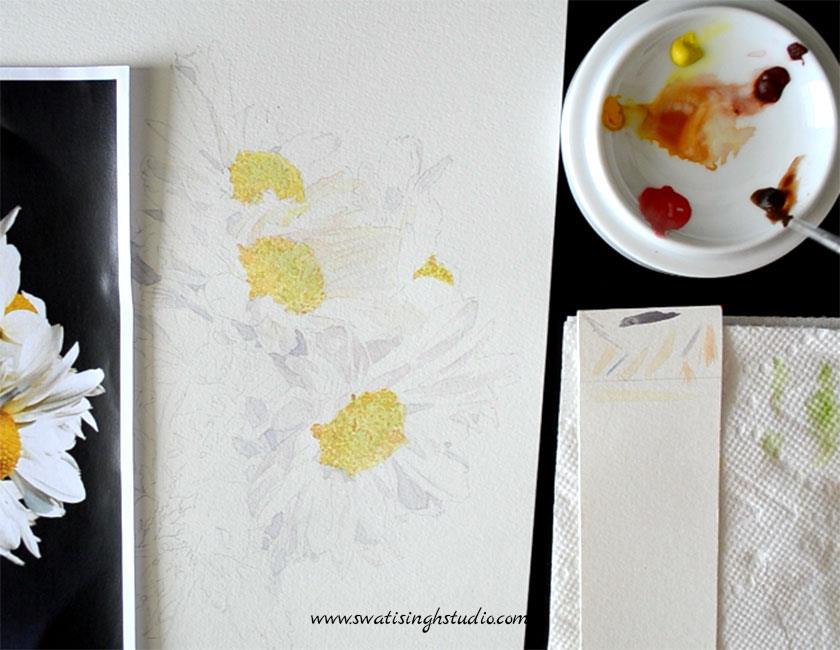
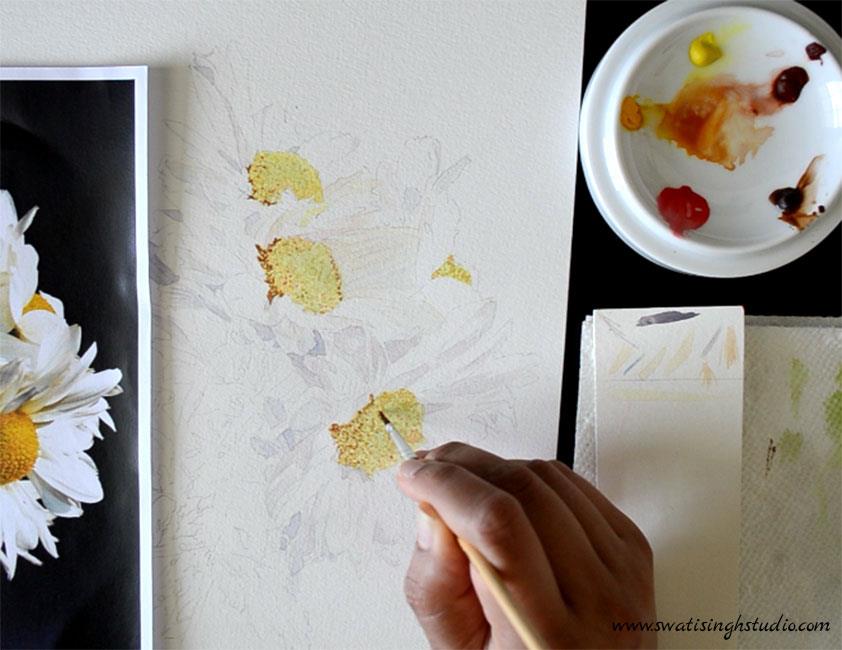
Step 5. To give a 3D look we need to create roundness on the discs by adding different shades in different places.
Add just a tiny amount of cadmium red to cadmium yellow to get a bright orange shade.
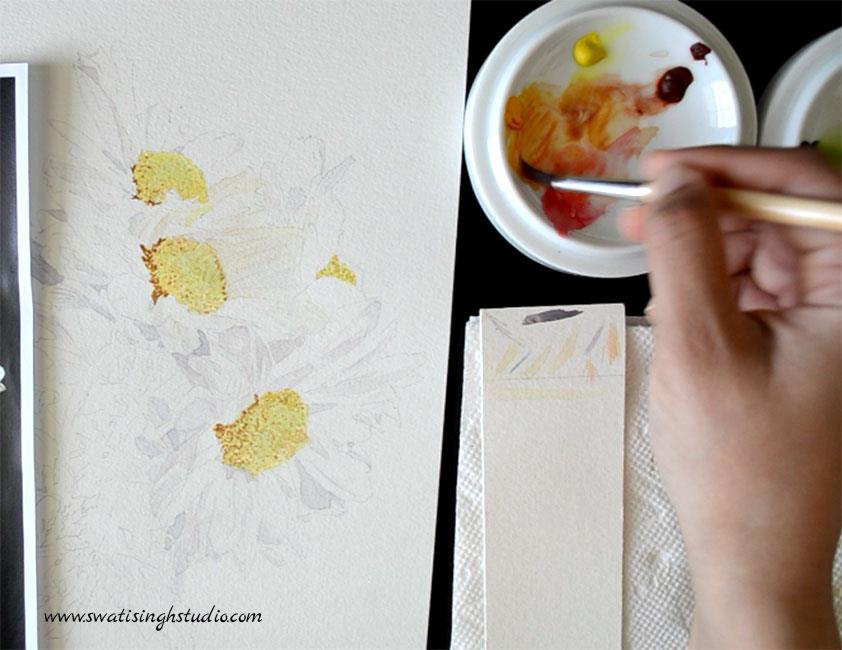
Apply this color near the base of the centers to suggest depth. Make marks similar to the previous step.
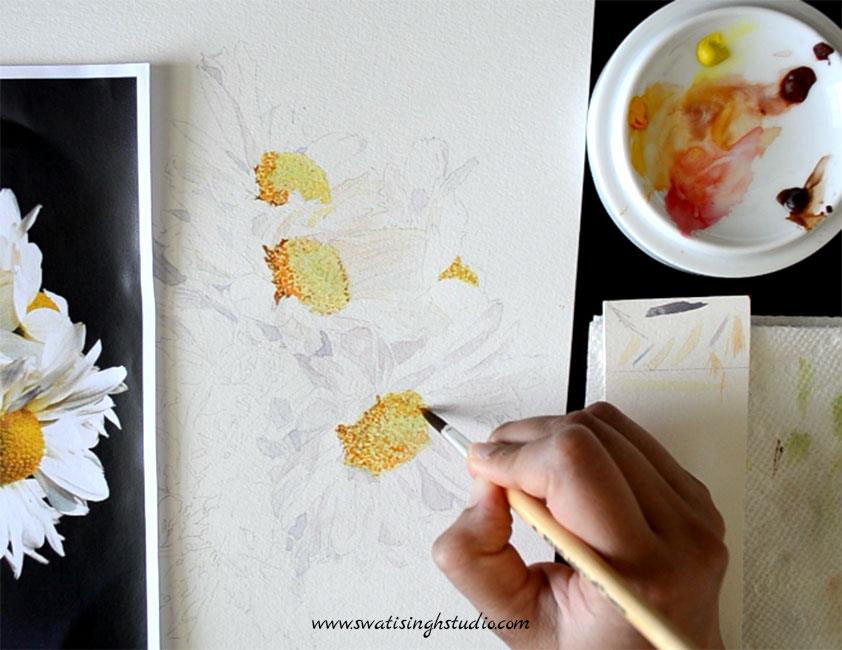
Step 6. Once all the marks are completely dry add a layer of lemon yellow all over the discs.
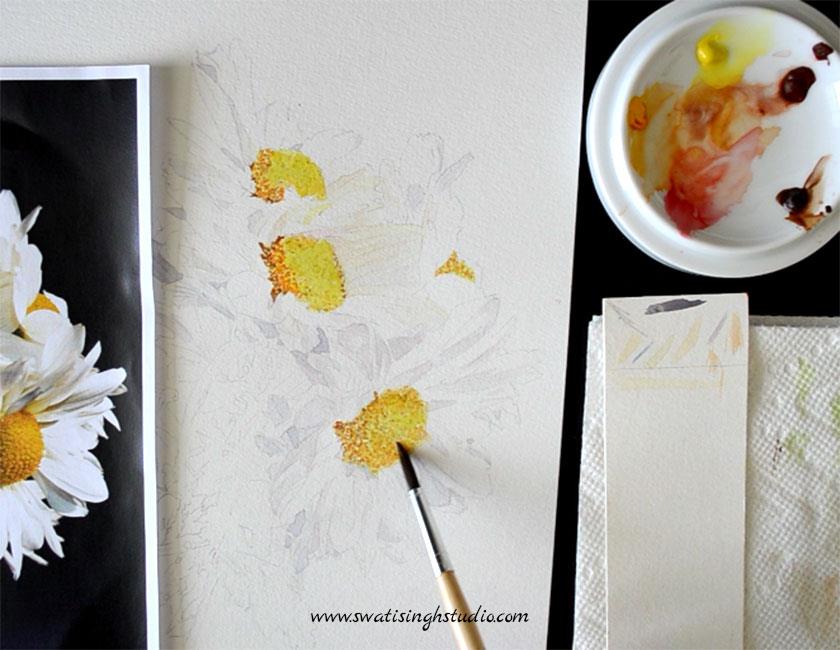
Step 7. Once the sheet is dry repeat Step2.
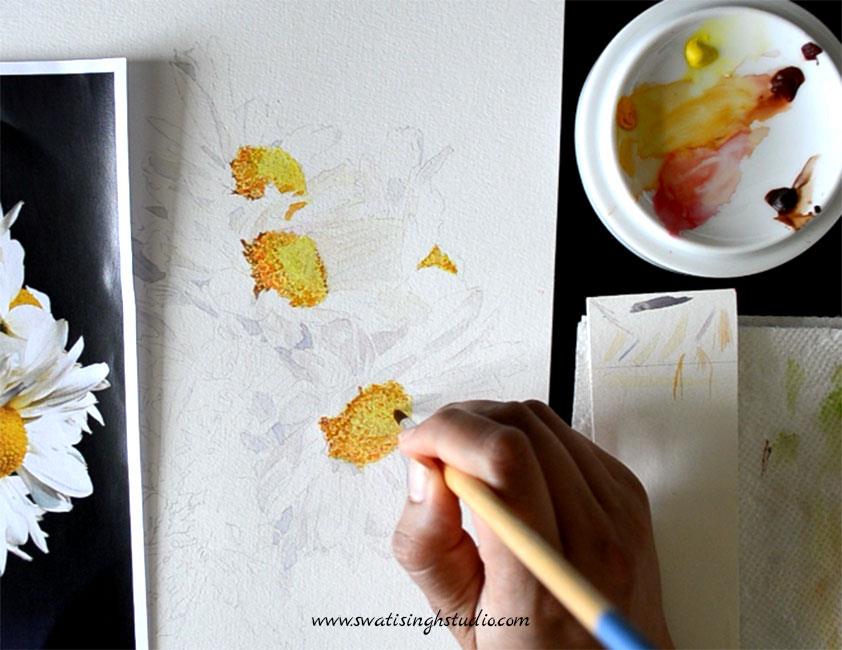
Step 8. Once the sheet is dry repeat Step 4.
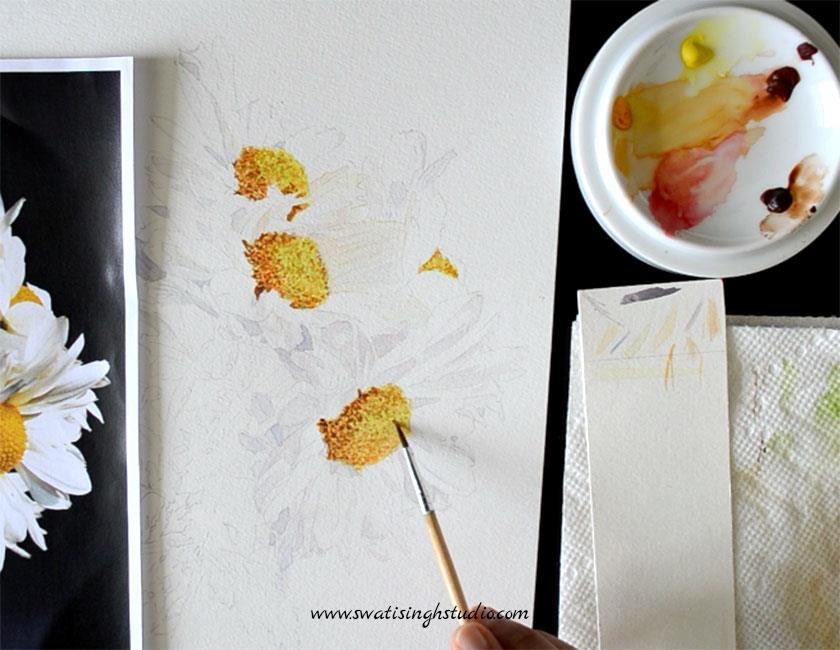
And we are done! We will revisit the discs once the overall composition is complete. This will help us judge the tonal values better against all the elements.
I hope you are enjoying the series so far! Feel free to leave your comments below. Also, do not forget to SUBSCRIBE to my blog and YOUTUBE channel for future updates.
I will be back with Part 3 of the Daisy series- The background and the vase in the next tutorial.
Till then happy painting!
Swati