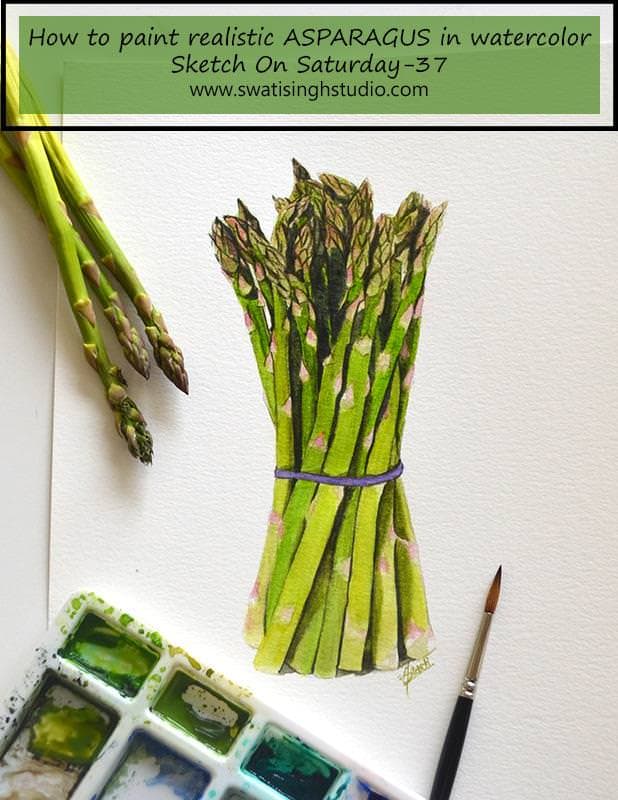
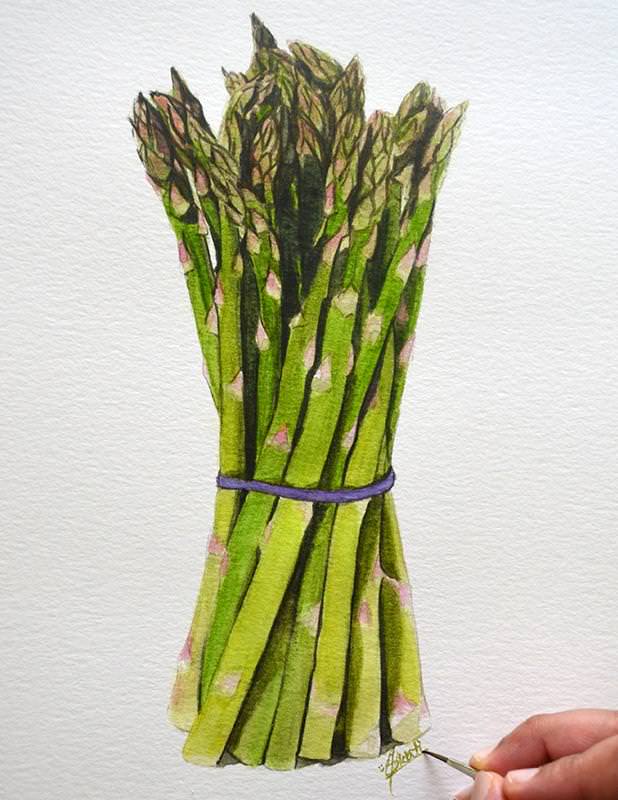
Hello, lovely artists! Hope you all are doing great. I am back with yet another tutorial in the Vegetable series - Asparagus.
Did you know it takes three years for an asparagus to fully grow from a seed!
The watercolors you will require for this sketch are
1. Lemon yellow
2. Sap green
3. Indigo Blue
4. Burnt umber
If you are new here, you are welcome to explore the previous sketches which you can find in the index section on your left!
To know about other materials required you may refer to this INTRODUCTORY post.
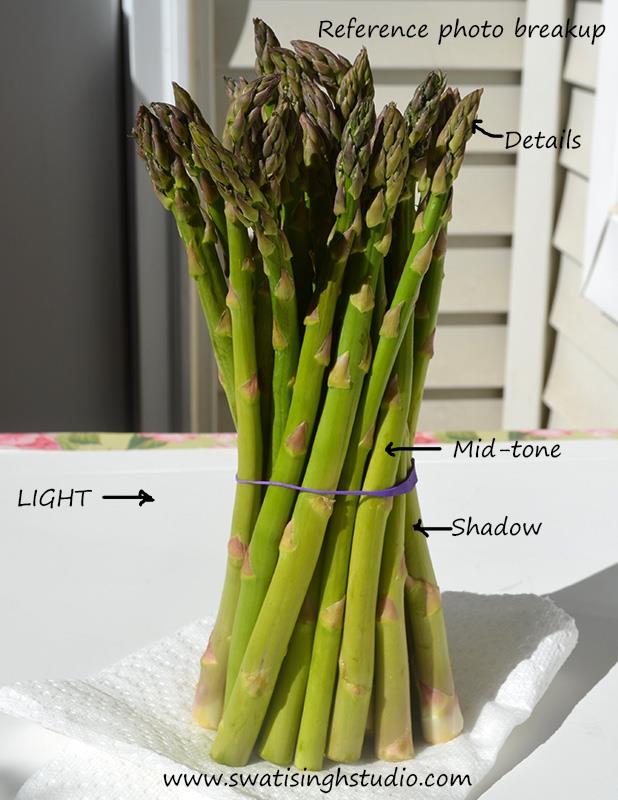
Below is the reference photo I took.
So let’s begin painting!
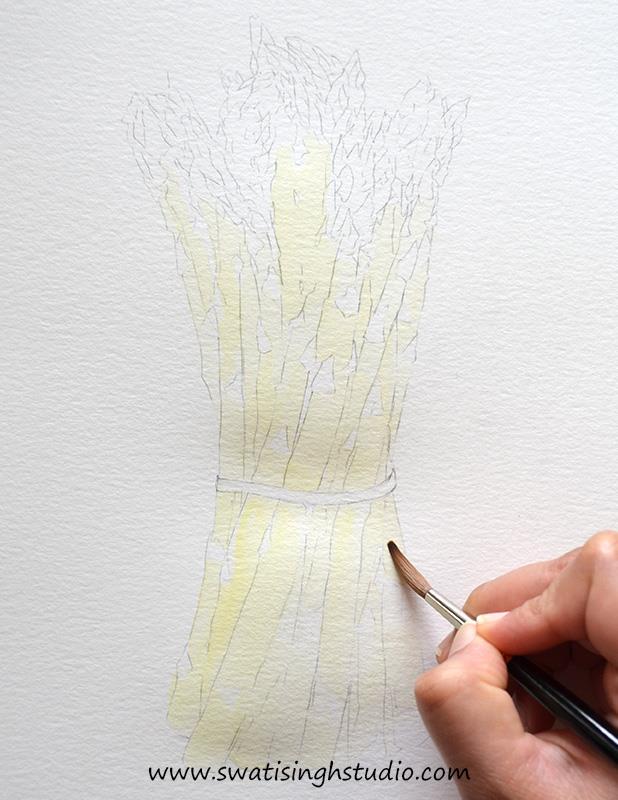
Step 1. Start by applying a thin wash of lemon yellow on the stem area. Leave out the crown and the scales for now.
Step 2. Repeat the above step with a thin wash of sap green. Keep the wash very light in the crown area.
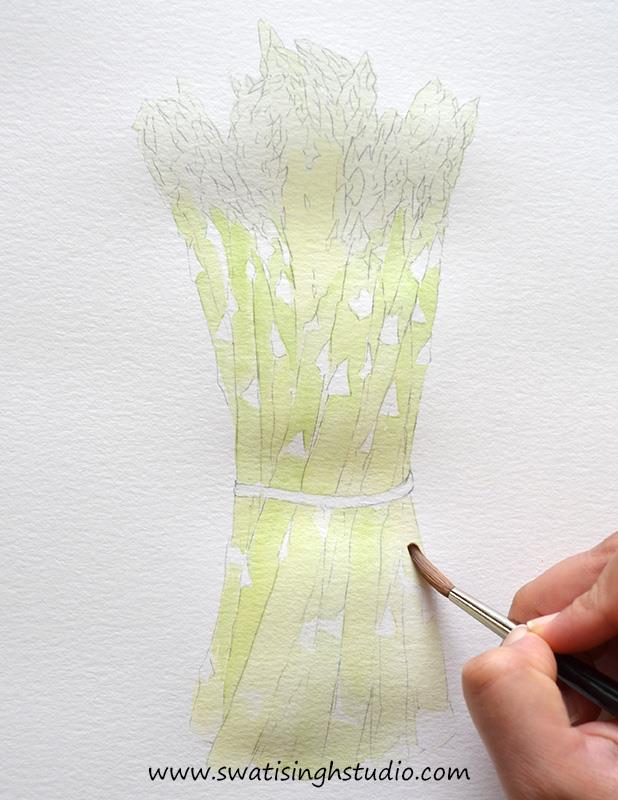
Tip: Paint individual stems separately by following the contour to achieve a more natural look.
Step 3. To add shadows prepare a mix of sap green and a little amount of indigo blue. Apply a thin layer of this color as shown below.
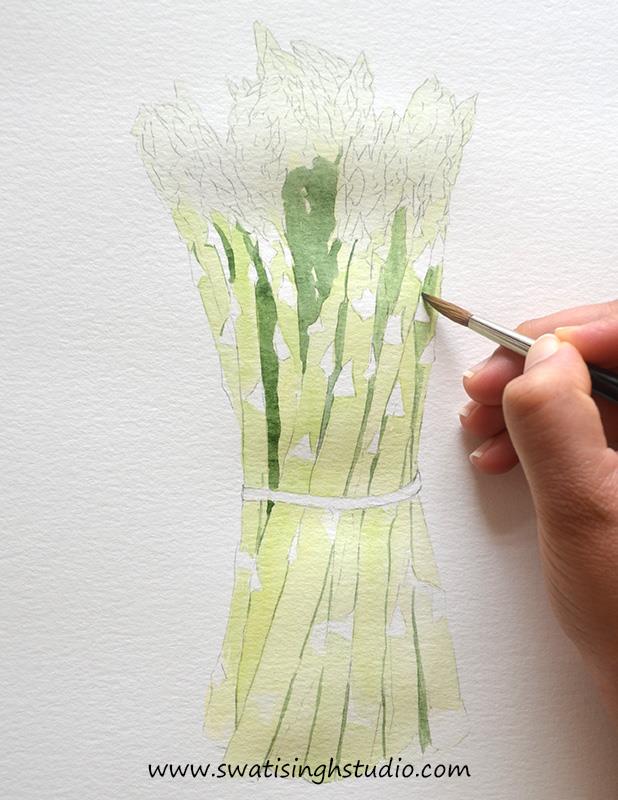
Step 4. Now add a little amount of burnt umber to the color prepared in the above step and you get a darker green.
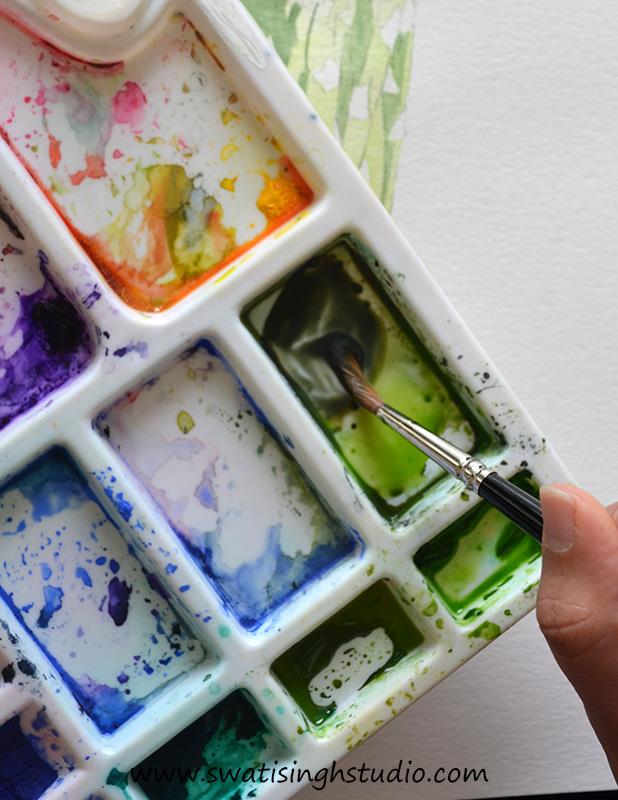
Paint the details of the crown with a number 1 brush as shown below.
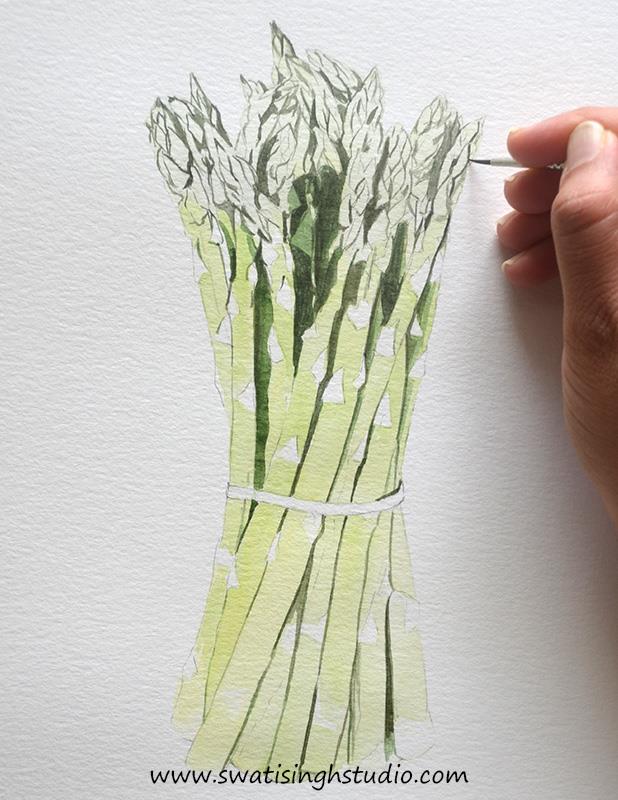
Important: This step is the most time consuming of all. But I promise it will be worth it in the end. So take your time!
Step 5. Now with the outlines in place it is just a matter of filling in the appropriate colors! (Didn’t we love doing that when we were kids! )
If you carefully observe the scales on the stems you will find that they have a pinkish tint to them. To achieve this look simply add a very light wash of red at the tips as shown below.
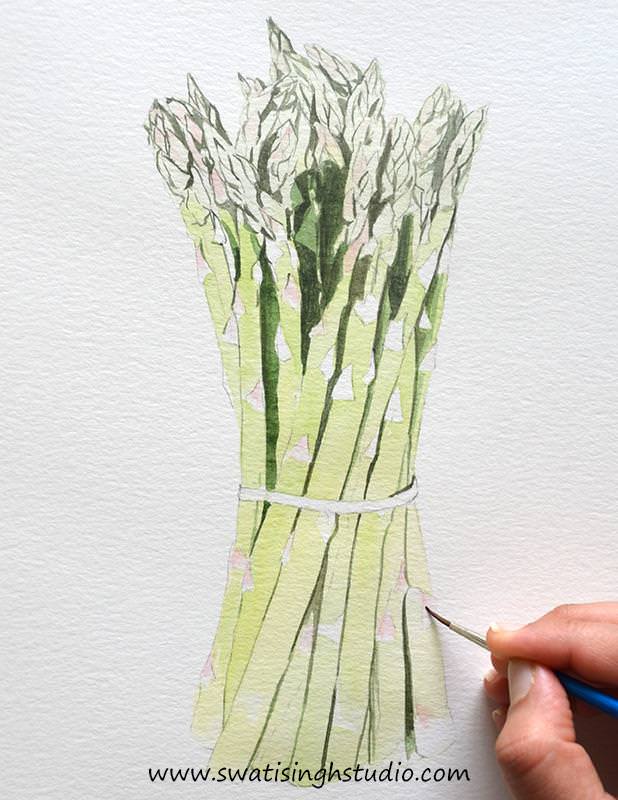
Step 6. Once the details are completely dry add a thin wash of sap green to all the stems. This will make the details and the body come together.

Step 7. The basic sketch is ready. Just keep repeating the layers until you reach the desired saturation. Do not forget to add lemon yellow to the brighter areas to get that sun-kissed look. And you should be done in no time!
I hope you enjoyed this tutorial and please do try it at home. You may SUBSCRIBE to my blog to receive all the future posts directly in your inbox.
I will be back with yet another sketch in the series next Saturday. Till then enjoy painting asparagus!
Swati