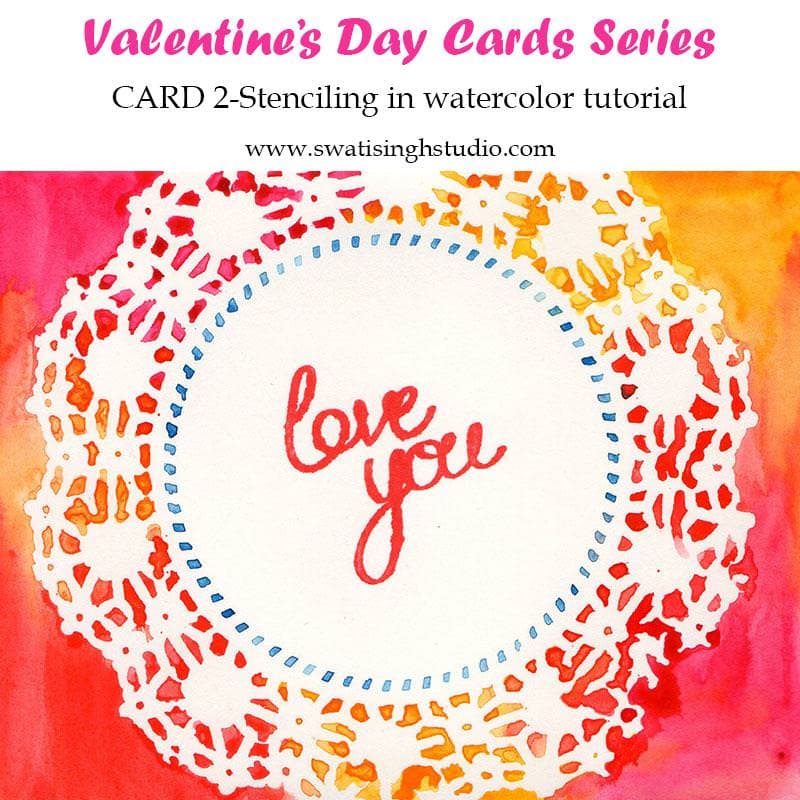
Hello, everyone! I am back with another card tutorial in the Valentine Series.
You all know I love painting realism in watercolors but it does take a huge amount of time to get to the end results. And when you have greeting cards to make, you might not want to devote that much time on each and every card. So I balanced this series with a few quick and easy cards that you can make in no time!
And today’s card is one such super easy and fun card to paint. You may want your kids to join in this one! I promise they will love painting in watercolors. In fact, it is so easy that it doesn’t even require a tutorial.
As we all know, watercolors have this unique property to blend when sufficient water is added to it. So we are going to watch the colors blend today!
In addition to a set of water colors, you require a beautiful stencil of your choice. I chose to use a paper doily as my stencil. You may also cut your own stencils using cardstocks. I love the soft feminine feel of a doily and it makes a perfect option for a Valentine’s Day card.
I recommend a thick round brush for this one so that you can paint larger area in just one go without leaving any streaks.
Let’s get started!
Step 1. Place your stencil over the card and tape it down at the edges so that it doesn’t move while you paint.
Step 2. Choose any three or four colors of your choice and make thick puddles of each color. The colors I am using are
1. Permanent rose
2. Cadmium red
3. Cadmium yellow
4. Turquoise blue
Load your brush with sufficient amount of color (for a vibrant look) and start applying it on to the stencil as shown below! The brighter the colors the better the stencil pattern will stand out.
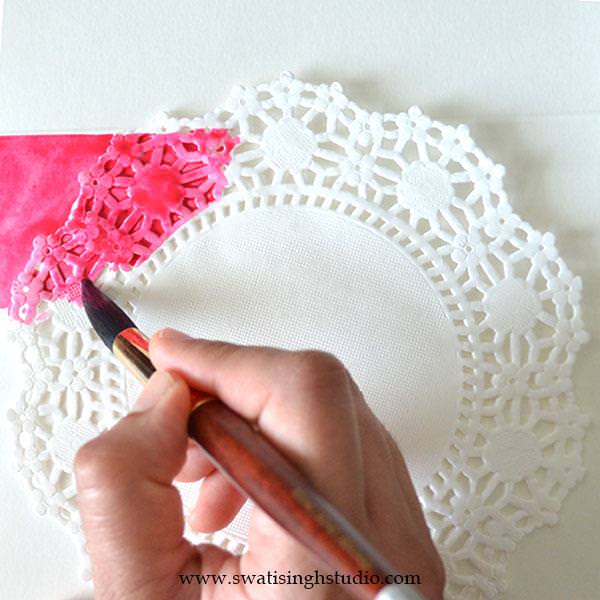
Tip: Make sure you don’t add a lot of water or else it will bleed through the design and it won’t come out clear.
Step 3. Clean your brush in water and load with another color. Let the colors blend freely on paper. It will give a beautiful effect.
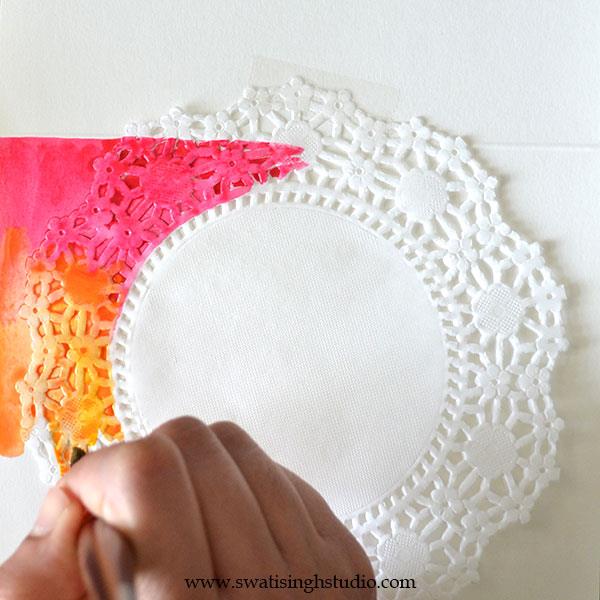
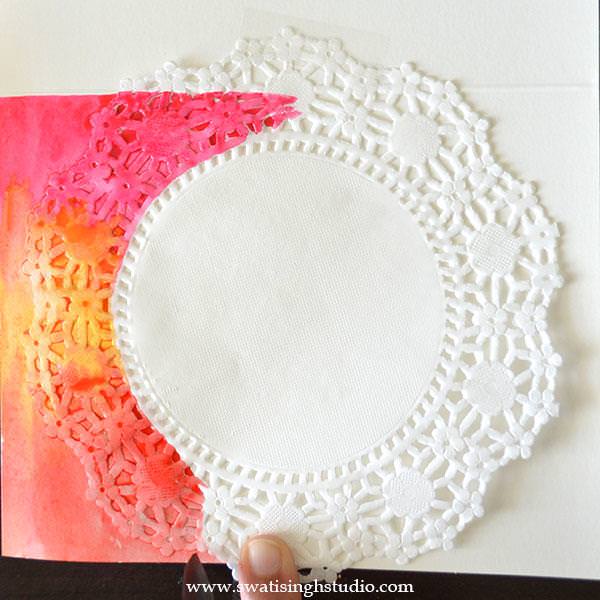
Step 4. Once you are done with all the colors, carefully remove the stencil.
Step 5. Set it aside to completely dry.
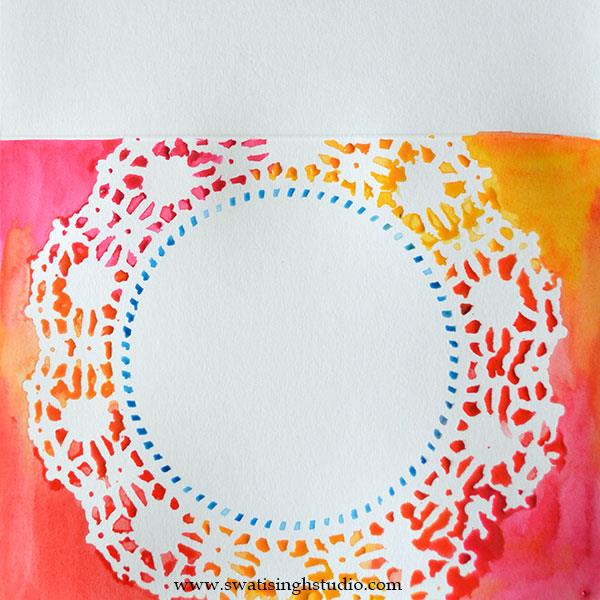
Step 6. Now you may write a message of your choice. I made use of a stamp in red ink as it matches my color scheme.
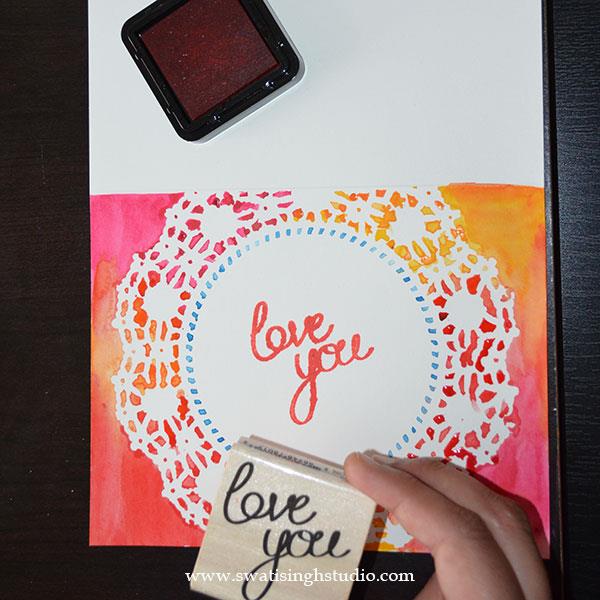
And viola the card is ready in just 5 minutes.
I hope you have fun painting this card with your family this weekend! Let me know your experience in the comment section below!
I will be back with another card next weekend. Do not forget to SUBSCRIBE to my blog for future posts. Enjoy painting!
Swati